If you are looking at a Square D Homeline 100 Amp, 6-space, 12-circuit load center, you are likely installing a subpanel in a garage, shed, or home addition. The wiring diagram for the HOM6-12L100 requires connecting your two hot feeder lines (usually black and red) to the main lugs and your white neutral wire to the isolated neutral bar, but the most critical step is purchasing and installing a separate ground bar kit and removing the green bonding screw to ensure grounds and neutrals remain electrically separated.
Failing to understand the difference between the pre-installed neutral bar and the required separate ground bar is the number one code violation inspectors see with this specific panel. Below, we break down the wiring diagram, the confusing “6 spaces 12 circuits” rating, and the exact steps to wire this unit safely.
Understanding the HOM6-12L100 Specifications
Before stripping a single wire, it is vital to understand what “HOM6-12L100” actually means. This model number tells you the limitations and capabilities of the box.
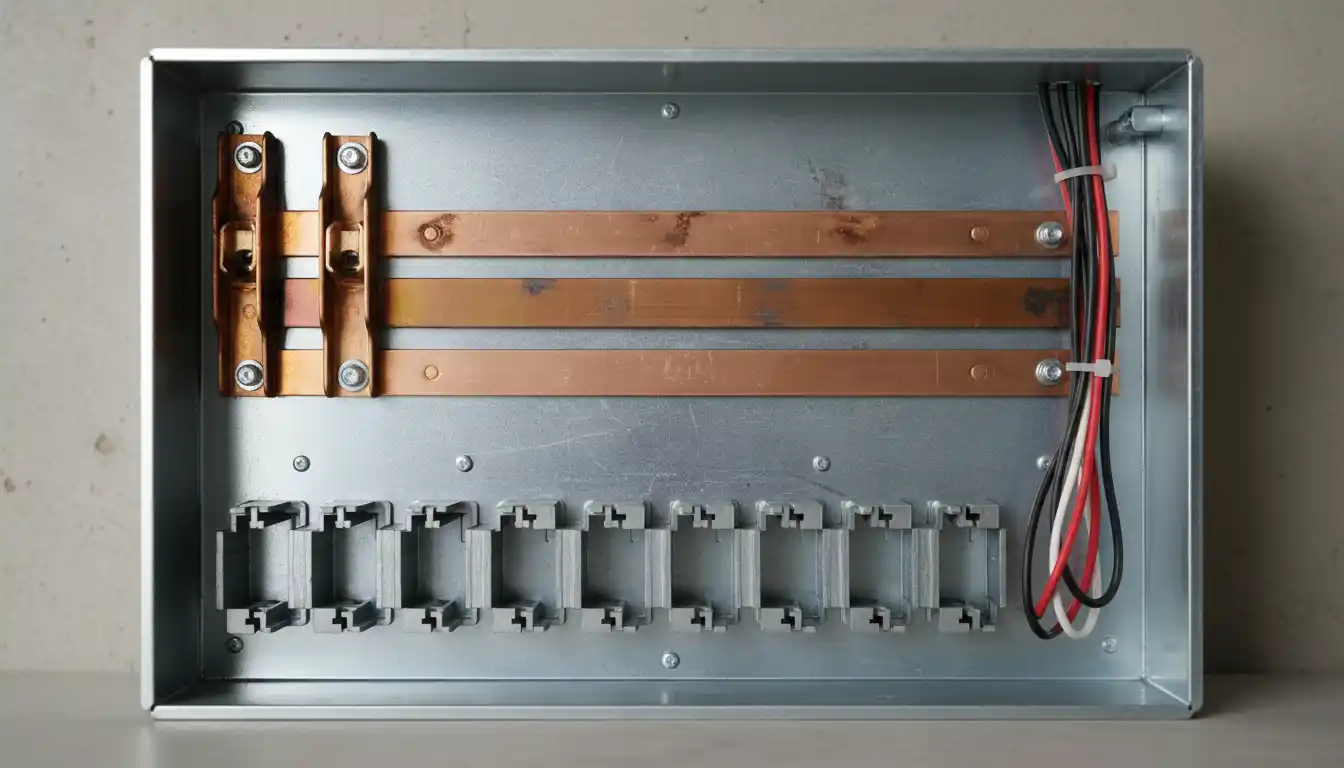
6 Spaces vs. 12 Circuits
This panel physically has 6 slots for breakers. However, it is rated for 12 circuits. This means the bus bar is designed to accept “tandem” or “cheater” breakers (Model HOMT). A tandem breaker fits two circuits into a single one-inch slot. This is excellent for saving space in a compact subpanel, but you must ensure you do not exceed the 100-amp total rating of the panel.
Main Lugs vs. Main Breaker
The “L” in the model number stands for “Main Lugs.” This panel does not have a main shutoff breaker built into it. It is designed to be fed from a breaker located in your primary main panel. Because there is no main breaker to disconnect power at the box itself, you must ensure the feeder breaker in your main panel is turned off before servicing this unit.
The Wiring Diagram Explained
A standard wiring diagram for the HOM6-12L100 involves three distinct sets of connections: the feeder wires, the branch circuits, and the grounding system. Since this unit is almost exclusively used as a subpanel, we will focus on the 4-wire setup required by the National Electrical Code (NEC).
1. Feeder Connections (The Input)
Your feeder cable (likely SER cable or individual THHN wires in conduit) will have four wires:
- Line 1 (Black): Connects to the left main lug.
- Line 2 (Red): Connects to the right main lug.
- Neutral (White): Connects to the main neutral lug located on the silver bar near the top.
- Ground (Bare/Green): DOES NOT connect to the neutral bar. It must connect to a separate ground bar screwed directly into the metal enclosure.
2. The “Hidden” Ground Bar Issue
Here is where the confusion happens. The HOM6-12L100 ships with neutral bars installed. It often does not include a ground bar. Many DIYers mistakenly land their ground wires on the neutral bar, which creates a dangerous “bootleg ground” situation in a subpanel.
You must purchase a grounding bar kit (typically Square D model PK7GTA) separately. You will see pre-drilled holes in the back of the metal cabinet designed to accept this kit. Once installed, all your bare copper or green ground wires go here.
Step-by-Step Installation Guide
Installing this panel requires precision. Unlike rough framing where you might be dealing with plumbers box framing to hide pipes, electrical work leaves zero margin for error.
Step 1: Mount and Prepare the Box
Secure the panel to the wall. If you are mounting it on concrete, use a plywood backer board. Once mounted, remove the knockouts you intend to use. Always use a cable clamp or conduit connector; never run a cable through a raw metal hole as it will slice the insulation.
Step 2: Remove the Bonding Screw
This is the “Originality” tip that saves you from a failed inspection. Look for a long green screw supplied with the panel, often labeled the “Bonding Screw.” In a main service panel, this screw bonds the neutral to the metal case. In this subpanel application, you must NOT install this screw. If it is already installed, remove it. The neutral bar must “float” and not touch the metal cabinet.
Step 3: Install the Ground Bar
Screw your newly purchased ground bar into the pre-tapped holes in the back of the can. Ensure the paint is scraped away under the bar or that the screws thread in tightly to ensure good metal-to-metal contact with the enclosure.
Step 4: Connect Feeder Wires
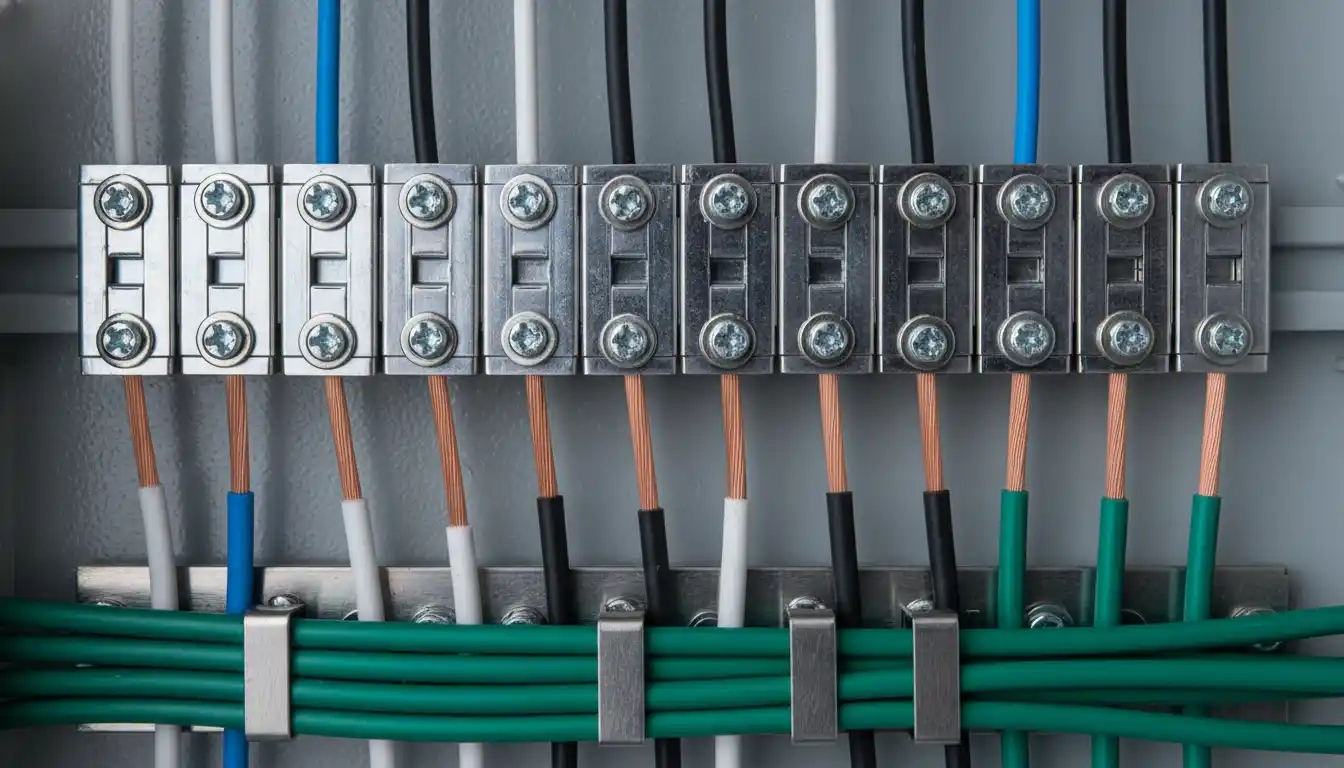
Strip your heavy gauge feeder wires. Apply an anti-oxidant compound (like Noalox) if you are using aluminum wire, which is common for 100-amp feeds. Insert the hot wires into the main lugs and torque them to specification. Do not guess the tightness.
| Connection Type | Wire Gauge | Typical Torque (in-lbs) |
|---|---|---|
| Main Lugs (Al/Cu) | #8 – #2 AWG | 50 in-lbs |
| Main Lugs (Large) | #1 – 1/0 AWG | 50 – 60 in-lbs |
| Neutral Bar (Large Lug) | #8 – 1/0 AWG | 35 – 50 in-lbs |
| Branch Breakers | #14 – #10 AWG | 36 in-lbs |
Note: Always verify the exact torque values printed on the label inside your specific panel door, as manufacturers update specs occasionally.
Common Mistakes to Avoid
Even experienced renovators make mistakes. When planning your project, you might be thinking about upgrading appliances. Perhaps you want to know how to make water boil faster on gas stove setups by switching to a high-powered electric induction cooktop. That cooktop will need a dedicated 40 or 50-amp circuit in this subpanel. Ensure your load calculations account for these heavy-draw additions.
1. Double Tapping Neutrals
You can often put two ground wires under one screw on the ground bar (if listed for it), but you can never put two neutral wires under one screw on the neutral bar. One wire, one screw. This is a crucial safety rule to prevent arcing if the circuit is worked on.
2. Missing Bushings
If you are using conduit to feed the panel, you must install a plastic bushing on the connector threads inside the box. This protects the heavy feeder wires from abrasion. It is a $0.50 part that fails many inspections.
3. Ignoring Pest Protection
Panels in garages or basements are prime real estate for pests. Open knockouts are like welcome doors. While you might worry about finding brown rice shaped bug eggs in your pantry, you definitely don’t want mice nesting in your warm electrical panel. Use knockout seals for any unused holes.
Final Safety Checks
Before turning the main power back on, perform a “tug test” on all wires to ensure they are seated firmly. Visually inspect that no copper strands are touching the metal case or adjacent terminals. Once you flip the feeder breaker, use a multimeter to verify you have 120V from each hot leg to neutral, and 240V between the two hot legs.
The Square D HOM6-12L100 is a robust, reliable panel when wired correctly. The diagram is simple, but the requirement for a separate ground bar and the removal of the bonding screw are the details that separate a safe, code-compliant installation from a fire hazard.
Frequently Asked Questions: Square D HOM6-12L100 Wiring and Subpanel Installation
1. What is the “secret” bonding step most DIYers miss when installing the HOM6-12L100 as a subpanel?
The most critical missed step is removing the green neutral bonding screw. When used as a subpanel, you must isolate the neutral bar from the metal enclosure. If you leave the bonding screw installed, current can return via the ground wire, creating a shock hazard and violating National Electrical Code (NEC). The neutral bus bar must float, while the ground bar (installed separately) must be bonded to the case.
2. Does the Square D HOM6-12L100 require a 3-wire or 4-wire feed?
Current NEC standards require a 4-wire feed for all subpanels. You must run two hot wires (typically black and red), one neutral wire (white), and one grounding wire (green or bare copper). The neutral wire connects to the isolated neutral bar, and the ground wire connects to the equipment ground bar bolted directly to the metal enclosure.
3. What does “6-12” stand for in the model number HOM6-12L100?
The numbers indicate the capacity of the load center. The “6” represents the number of physical 1-inch metal stabs or spaces available in the panel. The “12” indicates the maximum number of circuits allowed if you use tandem (split) breakers. This panel allows you to use tandem breakers in all 6 slots to achieve high density in a small footprint.
4. Does this panel come with a ground bar included?
The HOM6-12L100 is a “Main Lugs” panel, and while many Homeline packs include a ground bar, some specific SKUs do not. You should verify the contents of the box. If one is not included, you must purchase a compatible equipment ground bar kit (such as the Square D PK7GTA) and screw it directly into the pre-drilled holes in the back of the metal enclosure to separate grounds from neutrals.
5. Can I use Square D QO breakers in the Homeline HOM6-12L100 panel?
No, you cannot. Square D manufactures two distinct lines: QO and Homeline. They have different mounting mechanisms and bus bar designs. You must use Square D Homeline (HOM) circuit breakers for this panel. Using other brands or QO breakers will void the UL listing and creates a fire hazard due to poor electrical contact.
6. Since this is a Main Lug panel, how do I shut off the power?
Because the HOM6-12L100 is a Main Lug Only (MLO) device, it does not have a single main breaker built into it. To shut off power to this subpanel, you must turn off the feeder breaker located in your main service panel (the panel supplying power to this unit). Alternatively, you can install a back-fed main breaker with a retaining kit within the subpanel if a local disconnect is required by code.
7. What is the correct torque for the main lugs on this panel?
Torque is not a suggestion; it is a safety requirement. Under-tightening leads to arcing and heat, while over-tightening can strip the aluminum lugs. You must look at the label pasted inside the door of the HOM6-12L100 for the specific torque values (usually measured in inch-pounds) based on the wire gauge you are using, and use a torque wrench to secure the connections.
8. Can I mount the HOM6-12L100 upside down?
Yes, this panel can typically be mounted upside down to accommodate bottom-fed wiring. Since it uses main lugs rather than a gravity-operated main breaker handle, the orientation is flexible. However, you must ensure that any text or labels remain legible or are re-labeled, and that the installation complies with the “up-is-on” rule for the branch circuit breakers you install.
9. What size wire should I use for the 100 Amp main lugs?
The wire size depends on the material (Copper vs. Aluminum) and the temperature rating of the wire insulation (usually 75°C columns in NEC tables). generally, for a full 100A service, you would use #3 AWG Copper or #1 AWG Aluminum. However, always verify the lug range printed on the panel label to ensure the physical lug can accept the gauge of wire you have selected.
10. Why is my subpanel humming after installation?
A humming noise often indicates a loose connection or a breaker that is not seated correctly. Immediately turn off the power source feeding the subpanel. Check that the main lugs are torqued to spec, ensure the neutral and ground wires are tight in their respective bars, and verify that all breakers are snapped firmly onto the bus bar. If the humming persists, the breaker itself may be defective.