You’ve just bought a sleek, modern door knob to update your vintage hallway. You unscrew the old hardware, pull it off, and suddenly, the project grinds to a halt. The new latch mechanism is too bulky, or the circular hole in the door is just a fraction of an inch too small for the new chassis. This is a classic renovation headache: the collision of antique craftsmanship with modern standardization.
The most effective way to replace an old door knob when the hole is the wrong size is to enlarge the bore hole to the modern standard of 2 1/8 inches using a hole saw. Since the existing hole removes the center wood needed for a pilot bit, you must use a clamp-on door lock installation jig or a “stacked hole saw” technique to keep your drill centered and prevent damage to the door.
In this guide, we will walk you through exactly why this mismatch happens and provide three distinct, expert-tested methods to fix it without ruining your door. Whether you are dealing with a pre-1950s mortise lock or just a slightly non-standard 1980s bore, we have the solution.
Understanding the Dimension Mismatch
Before grabbing your drill, it is crucial to understand why the fitment is off. If you don’t diagnose the specific dimension mismatch, you might enlarge the wrong part of the door or compromise the latch mechanism.
The Standard Bore Size Shift
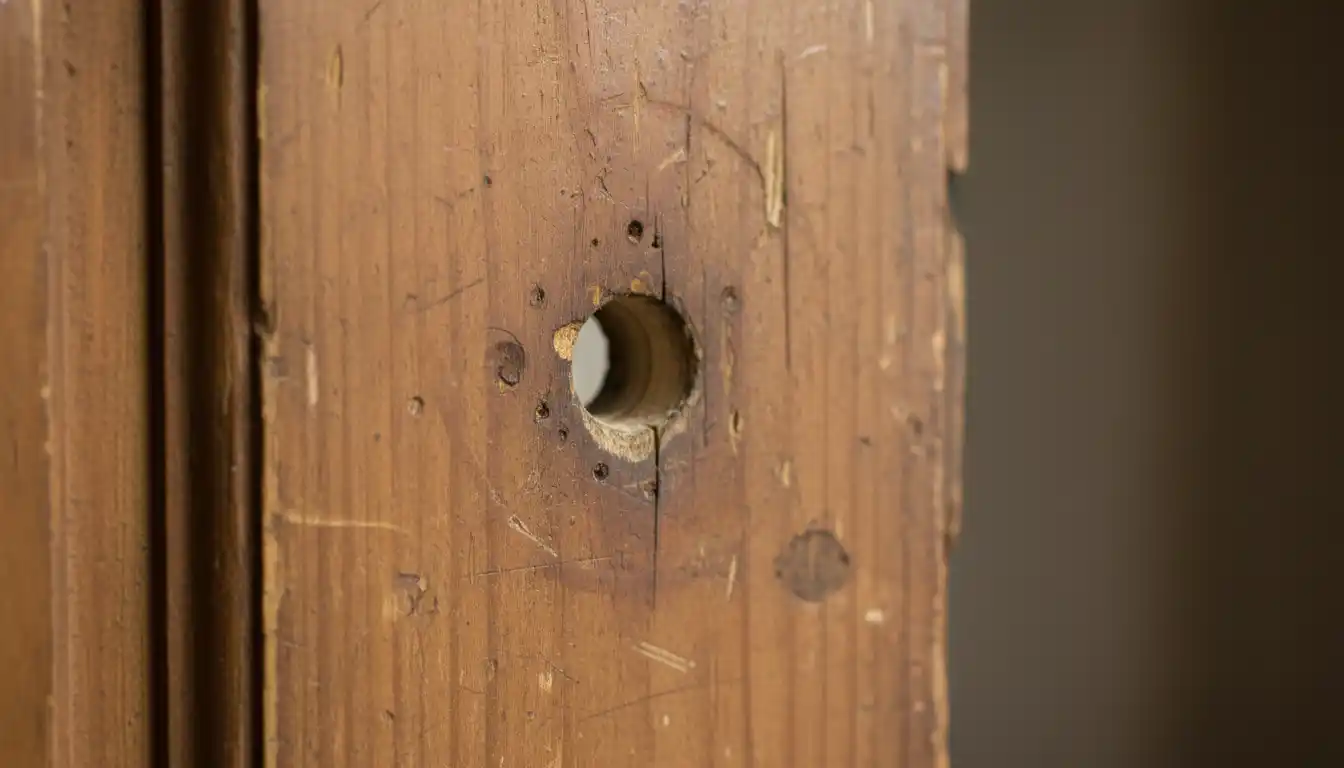
Modern residential door hardware in the United States and much of Europe has standardized around a 2 1/8-inch (54mm) face bore (the large hole). However, doors manufactured before the 1990s—and especially those from the mid-century or earlier—often feature smaller bore holes, typically measuring 1 3/4 inches or even smaller. When you try to insert a modern tubular chassis into this smaller opening, it simply won’t pass through.
The Backset Trap
The “backset” is the distance from the edge of the door to the center of the bore hole. Modern locks usually offer an adjustable latch for either 2 3/8″ or 2 3/4″. Older doors, however, can have wild variations, sometimes as short as 2 inches or as long as 5 inches. If your backset is wrong, enlarging the hole isn’t enough; you may need to move the entire hole location, which is a more complex repair involving wood filler and re-drilling.
Door Thickness Variations
Another often-overlooked factor is door thickness. Modern interior doors are standardizing at 1 3/8 inches. Vintage solid wood doors can be thinner (around 1 1/4 inches). If your door is too thin, the new knob might rattle even if the hole size is correct. In this case, you may need to craft custom spacers or look for hardware specifically designed for thin doors.
Method 1: The DIY Plywood Jig (Best for Budget)
The biggest challenge when enlarging a hole is that your hole saw’s pilot bit (the drill bit in the center) has nothing to bite into. It will spin in the empty air of the existing hole, causing the saw to wander and scar your door surface. You need a guide.
Creating the Guide
Take a scrap piece of plywood or 1-inch thick timber. Use your 2 1/8-inch hole saw to drill a clean hole through this scrap wood. This piece of wood is now your “template.”
Clamping and Drilling
Place your new plywood template over the existing hole on the door. Measure carefully to ensure it is perfectly centered (or adjusted for the correct backset). Clamp the plywood firmly to the door using C-clamps. Now, insert your hole saw into the plywood template. The wood will hold the saw in place, preventing it from walking, allowing you to drill a perfect, clean circle around the old, smaller hole.
Method 2: The “Stacked Hole Saw” Trick (Pro Tip)
This is a brilliant contractor hack that requires no clamps or jigs, but it does require you to have two specific hole saws. It leverages the existing hole to guide the new one.
How It Works
You will need an arbor (the mandrel that holds the saw) that is long enough to accept two saws, or a specialized “oops arbor.” Mount the smaller hole saw (the size of your current hole, e.g., 1 3/4″) inside the larger hole saw (the size you want, e.g., 2 1/8″).
The Execution
When you drill, the smaller inner saw fits snugly into the existing hole, acting as a massive pilot bit. It guides the larger outer saw perfectly concentric to the old hole. This method is fast and guarantees the new hole is perfectly centered on the old one. Just be careful to clear the sawdust frequently, as the gap between the saws can clog quickly.
Method 3: Commercial Installation Kits
If you have multiple doors to update, buying a commercial door lock installation kit is worth the investment. Brands like DEWALT, Irwin, and Milwaukee make plastic or metal jigs that clamp onto the door and include bushings for standard sizes.
These kits essentially automate the “DIY Jig” method. They align the face bore and the edge bore simultaneously. Using a kit is often the safest route if you are worried about splintering an expensive veneer.
Dealing with Latch and Edge Bore Issues
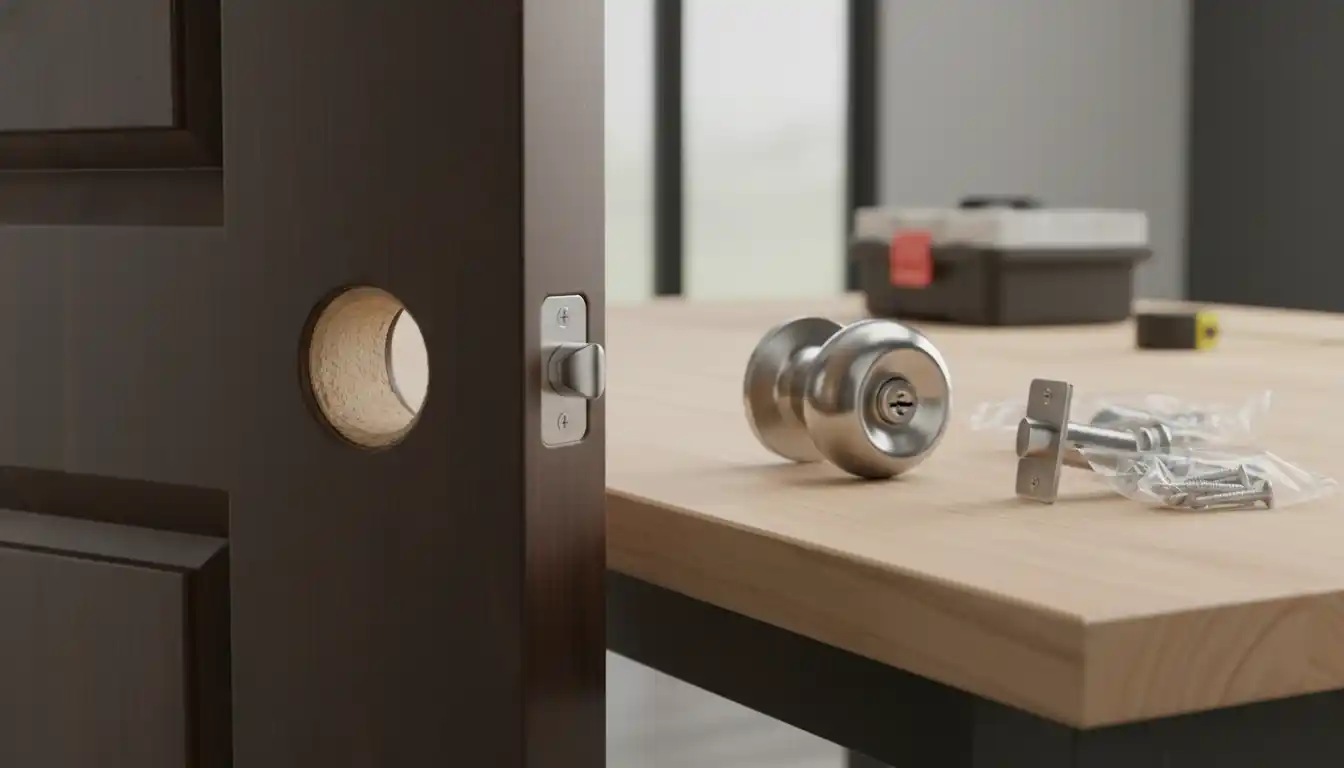
Sometimes the face bore isn’t the only problem. The “edge bore” (where the latch comes out) can also be misaligned or the wrong shape. This is similar to the frustration when a mounting bracket doesn’t fit a junction box; the components theoretically should work together, but the physical constraints say otherwise.
Enlarging the Edge Bore
Old drive-in latches might have used a 7/8″ hole, while modern latches require a 1″ hole. If you force a new latch into a small hole, you risk splitting the door stile. Use a 1-inch spade bit or auger bit to widen this hole. Be extremely gentle and ensure your drill is perfectly level to avoid blowing out the side of the door.
Fixing Stripped Screw Holes
Old doors often have “soft” wood from decades of humidity changes, leading to stripped screw holes where the latch plate attaches. This is akin to a dryer blower wheel being stripped; the torque has nowhere to go. To fix this:
- Drill out the stripped screw holes with a slightly larger bit.
- Glue in a wooden dowel or even a few toothpicks coated in wood glue.
- Wait for the glue to dry, then cut the wood flush.
- Drill a new, tight pilot hole for your latch screws.
The “Nuclear Option”: Filling and Redrilling
If your backset is completely non-standard (e.g., 5 inches) or the old holes are just too messy to salvage with a simple enlargement, you need to start fresh. This involves filling the entire hole with a solid wood plug.
Steps for a Full Reset:
- Use a hole saw to cut a clean plug from a piece of scrap wood (pine or oak, depending on your door).
- Apply generous wood glue to the plug and the inside of the door hole.
- Tap the plug in until it is flush. You may need to use wood filler to smooth out the seams.
- Sand the area completely smooth and repaint or stain.
- Mark your new measurements and drill the door as if it were brand new.
This method allows you to shift the location of the knob entirely, correcting both height and backset issues.
Comparison of Fix Methods
Choosing the right method depends on your tools, your skill level, and the condition of the door. Just as you might weigh the pros and cons of ABS vs PVC toilet flanges based on durability and ease of use, you should select your door repair method based on the specific constraints of your project.
| Method | Difficulty Level | Tools Needed | Best For |
|---|---|---|---|
| DIY Plywood Jig | Moderate | Hole saw, scrap wood, clamps, drill | Single door repairs on a budget. |
| Stacked Hole Saws | Moderate/High | Two hole saws, special arbor | Contractors or those with existing hole saw kits. |
| Commercial Jig Kit | Easy | Installation kit ($20-$40), drill | Homeowners replacing multiple knobs; beginners. |
| Fill and Re-drill | High | Wood plug, glue, sander, filler, paint | Changing backset distance or fixing severely damaged doors. |
Final Touches for a Professional Look
Once you have successfully enlarged the hole and installed the latch, pay attention to the strike plate on the door jamb. Often, the new latch won’t line up perfectly with the old strike plate divot. You may need to use a chisel to widen the mortise on the jamb. Ensure the deadlatch (the small plunger next to the main latch) is not falling into the strike plate hole, as this is a security risk that allows the lock to be “shimmed” open.
Replacing old door knobs in wrong-sized holes is a rite of passage for home renovators. By using a guide or the stacked saw method, you can turn a potential disaster into a clean, professional upgrade that maintains the character of your home while providing the security and functionality of modern hardware.