Prepping a guest bathroom for holiday visitors is part cleaning project, part small repair inspection, and part hospitality exercise. Guests notice the basics first: a clean toilet, a dry floor, good lighting, a place to set their toiletries, and a towel that does not smell like the back of a closet. A little planning ahead of time helps you catch plumbing drips, weak ventilation, and missing supplies before the house fills up.
You do not need to remodel the room or replace every fixture to make it welcoming. The practical approach is to inspect for problems, clean thoroughly, clear clutter, and stock the items guests may be reluctant to ask for. This guide walks through the tasks in a sensible order so you can work efficiently and decide when a small issue deserves professional attention.
Start With a Room-by-Room Inspection
Before you scrub anything, walk into the guest bathroom and look at it as a visitor would. Open the door, turn on the light, and check the ceiling, walls, floor, and fixtures for stains, peeling paint, loose tiles, or signs of moisture. Look under the sink and around the toilet base for drips or water marks that may have dried but left residue.
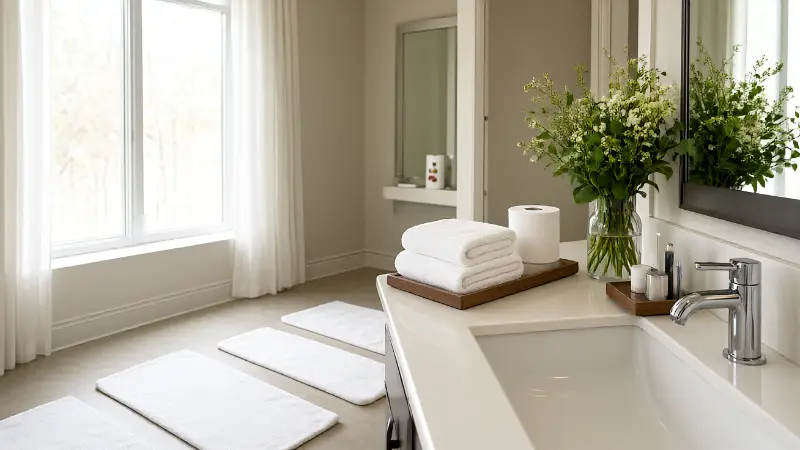
Test the door lock, the light switch, and the exhaust fan. Run the faucet and shower briefly, then watch and listen for leaks, slow drains, or unusual noises. A guest bathroom that sits unused for weeks can develop a dried-out toilet flapper, a slow supply-line seep, or a drain that has not been tested since the last visit.
Write down what you find instead of trying to fix everything from memory. Sort the list into cleaning tasks, supplies to buy, and possible repairs. That simple sort helps you avoid starting a caulk project at the last minute when you should be setting the table.
Check for Water Damage and Soft Spots
Press gently around the toilet base, along the tub edge, and near the shower threshold. A soft floor, crumbling grout, or a spongy spot near the tub can point to water getting under the surface. Small cosmetic flaws are common, but soft flooring is worth investigating before holiday traffic adds more moisture and use.
Look at the caulk line around the tub and shower. Cracked or missing caulk lets water into wall cavities and behind trim. If the damage is limited to the caulk, a careful cleaning and recaulking may be a reasonable DIY repair. If the floor feels soft or the subfloor has swelled, review bathroom subfloor replacement cost before deciding whether to patch or plan a larger repair.
Check under the sink cabinet for warped shelving, rusted fittings, or dark stains. A small drip can damage the cabinet floor over time and encourage mold. Dry the area, tighten only what is meant to be tightened by a homeowner, and call a plumber if a supply line or valve continues to weep.
Test the Toilet, Sink, and Shower
Flush the toilet several times and watch the water level in the bowl and tank. Listen for a running fill valve after the flush finishes. A faint hiss or a tank that refills on its own can waste water and become more noticeable when guests are using the bathroom frequently.
Run both hot and cold water at the sink and shower. Check that the water heats up reasonably and that the pressure is steady. Open the vanity doors while the faucet runs and look for drips at the P-trap and supply connections. If the drain is slow, use a plunger or a drain snake appropriate for the fixture rather than harsh chemical cleaners that may damage older pipes.
Inspect the showerhead for mineral buildup and confirm that the tub or shower drain is clear. A hair clog that has been sitting for months can back up quickly with extra use. Remove visible hair from the drain cover, and use a drain tool if the cover is designed for easy removal.
Know where the shutoff valves are
Find the toilet and sink shutoff valves before guests arrive. Make sure they turn and are not corroded. If a valve is stuck or leaking, a plumber can address it before it becomes an emergency. Show a household member where the main water shutoff is located as a basic precaution.
Deep Clean the Fixtures and Surfaces
Give the room a top-to-bottom cleaning rather than a quick wipe-down. Dust the ceiling corners, exhaust fan cover, light fixtures, and top of the mirror frame first so debris does not fall onto surfaces you already cleaned. Work from high to low and from the back of the room toward the door.
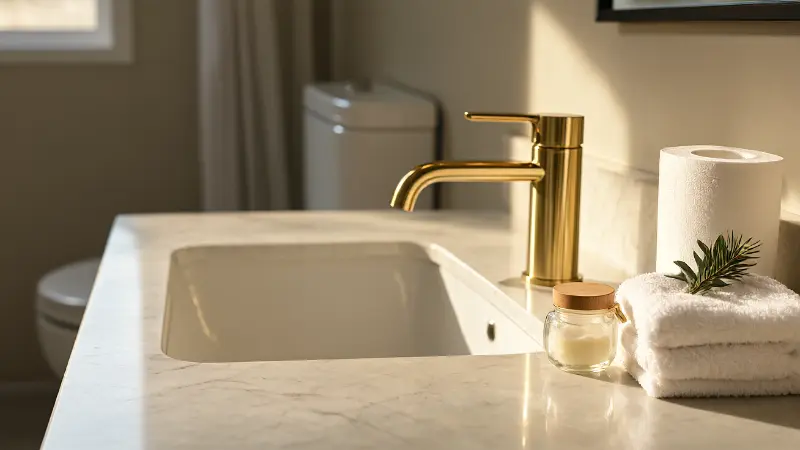
Clean the toilet tank exterior, base, hinges, and the floor around the bolts. Use a bathroom cleaner appropriate for the fixture finish and follow the product label. Avoid mixing cleaning chemicals, and keep the room ventilated while you work.
Scrub the sink basin, faucet aerator area, and vanity counter. Pay attention to the underside of the faucet handle and the seam where the counter meets the backsplash. These are common spots for soap scum and dust that a quick wipe can miss.
Refresh grout, caulk, and glass
Clean grout with a soft brush and a cleaner suitable for the tile type. Avoid aggressive scrubbing on natural stone or older finishes that may be sensitive. If the caulk is moldy or peeling, remove it fully, dry the area, and apply a bathroom-rated sealant according to the label.
For shower glass, use a cleaner that suits the glass coating and a soft cloth or squeegee. Check the shower door tracks for trapped hair and soap residue. A clean track makes the door slide better and reduces standing water that can promote mildew.
Improve Ventilation and Moisture Control
Run the exhaust fan during your cleaning and listen for rattling or a weak airflow. Dust the fan grille and remove lint that may have collected on the cover. A fan that sounds strained or moves very little air may need service or replacement, especially in a bathroom used by several guests in succession.
Check that the fan is connected to a switch that is easy for guests to find. If moisture lingers on the mirror and walls after a shower, ventilation may be inadequate. The placement and sizing of the fan matter, and a guide to bathroom exhaust fan placement can help you understand why moisture control is not only about running the fan longer.
Keep a small squeegee or towel available if the shower has glass or tile that shows water spots. A bath mat with a non-slip backing helps reduce slippery floors, and a second mat near the vanity can catch drips. Change towels and mats after cleaning so the room smells fresh when guests arrive.
Declutter the Vanity and Storage Areas
Guests need a clear place to set a toiletry bag, a phone, and a change of clothes. Remove expired medicines, old cosmetics, hotel samples you will not use, and clutter from the countertop. Leave a few empty drawers or a shelf for guest use.
Check the medicine cabinet and under-sink cabinet for items that should not be accessible to children or visitors. Store personal medications, razors, and cleaning chemicals out of reach. If the bathroom will be shared by young children, add child-resistant storage where appropriate.
Provide a small trash can with a liner and a lid if space allows. Empty it before guests arrive and place a spare liner nearby. A visible wastebasket makes the room feel more considered and helps prevent improvised trash piles.
Stock the Guest Bathroom With Thoughtful Supplies
Think about what a guest may need but may not want to ask for. A clean hand towel, a bath towel, washcloths, hand soap, toilet paper, and a spare roll are the basics. Add a small basket with travel-size shampoo, conditioner, body wash, lotion, and a disposable razor if you have them on hand.
Provide a toothbrush holder or a small cup that guests can use, and leave a clean washcloth within easy reach. A hairdryer is helpful for visitors who travel light, but check the cord and plug before placing it in the room. Keep the outlets near a mirror clear.
Place a few extra toilet paper rolls where guests can see them rather than hidden at the back of a cabinet. A small air freshener can help, but avoid strong scents in a small room. Some guests are sensitive to fragrance, so a neutral or lightly scented option is usually more considerate.
Prepare towels and linens
Wash towels and bath mats before guests arrive and make sure they are fully dry. Damp towels stored in a closed cabinet can develop a musty smell. Set out a fresh towel per guest and keep a spare set in the room or in a nearby linen closet.
Check the shower curtain for mildew and the liner for tears. A clean liner and a curtain that hangs properly make the shower feel more inviting. If the curtain rod is loose, tighten the brackets before it falls during a guest’s visit.
Improve Lighting and Accessibility
Replace burned-out bulbs and confirm that the vanity lighting is bright enough for shaving and makeup. A dim bathroom feels less clean even when it is spotless. If the fixture uses older bulbs, match the type and wattage recommended by the fixture label.
Add a night light or a small plug-in light if guests may use the bathroom after dark. Keep the path from the guest room to the bathroom clear of luggage and furniture. A night light can reduce the chance of tripping in an unfamiliar hallway.
Check that the door opens and closes smoothly and that the lock works from the inside. If the bathroom is shared, confirm that the lock can be opened from the outside in an emergency according to the hardware design. Loose toilet paper holders, towel bars, and grab bars should be tightened before guests arrive.
Make Small Repairs Before the Holiday Rush
Small annoyances become more noticeable when guests are staying over. A toilet seat that shifts, a faucet handle that squeaks, or a drain stopper that does not lift can make the room feel neglected. Fix what you can with basic tools and manufacturer-approved parts.
If a repair involves the water supply, shut off the valve first and confirm the water is off before loosening fittings. Place a towel and a small bucket under the work area to catch drips. If a fitting is corroded or will not turn, stop before you damage it and call a plumber.
If the guest bathroom needs more than a refresh, it helps to understand the scope before starting. A small bathroom remodel cost breakdown can help you compare a quick cosmetic update with a larger layout change. For holiday prep, however, focus on safe, functional improvements rather than opening a major project.
Prepare an emergency kit
Keep a small bathroom kit with a plunger, a spare toilet paper roll, a clean rag, and a bottle of mild cleaner. A plunger stored near the toilet is useful, but make sure it is clean and out of direct view. Guests may be more comfortable handling a minor issue if supplies are easy to find.
Create a Guest Bathroom Checklist
A checklist keeps the preparation from expanding into an all-day project. Divide tasks into cleaning, supplies, repairs, and safety. Start with the tasks that affect basic function, then move to comfort items and decorative touches.
| Task | Why It Matters | When to Do It | DIY or Professional |
|---|---|---|---|
| Test toilet, sink, and shower | Reveals leaks, slow drains, and running valves before heavy use | A few days before guests arrive | DIY test; plumber for repairs |
| Clean and recaulk tub or shower | Helps limit water intrusion and improves appearance | Before cleaning day, allowing dry time | DIY for minor caulk; pro for damage |
| Dust and test exhaust fan | Supports moisture removal and reduces musty odors | During deep clean | DIY cleaning; technician for weak airflow |
| Wash towels, mats, and shower curtain | Removes odors and makes the room feel fresh | One or two days ahead | DIY |
| Clear vanity and stock supplies | Gives guests space and covers common needs | Before guest arrival | DIY |
| Check lighting and night light | Improves safety and usability after dark | During room inspection | DIY bulb replacement; electrician for wiring |
| Inspect floor and subfloor for soft spots | Identifies possible water damage before it spreads | During initial inspection | DIY observation; pro for repair |
| Test GFCI outlets near water | Confirms shock protection is functioning | Before guests arrive | DIY test; electrician for failures |
Use the checklist as a guide rather than a rigid script. Some homes need more attention around older plumbing, while newer bathrooms may only need cleaning and supplies. The point is to notice issues early and keep the room comfortable for visitors.
Add Hospitality Touches Without Overcrowding
A guest bathroom does not need hotel-style displays to feel welcoming. A clean counter with a small tray for soap and lotion, a fresh towel folded on a hook, and a spare roll of toilet paper within sight can be enough. Leave space for the guest’s own belongings instead of filling every surface.
Consider a small sign or label for the Wi-Fi network if guests may need it, but avoid cluttering the mirror with notes. A hook behind the door is useful for robes and towels. A small shelf in the shower keeps bottles off the floor and makes the space easier to clean.
If you have guests with limited mobility, check that the bathroom path is clear and that the toilet and shower are as accessible as the room allows. A temporary grab bar or shower chair may be appropriate if it can be installed safely, but permanent accessibility changes should follow proper installation guidance.
Do a Final Walkthrough the Day Before
The day before guests arrive, walk through the bathroom as if you were staying there. Turn on the light, close the door, and check the room from seated and standing positions. Confirm that the toilet paper, soap, towels, and trash can are all in place.
Run the shower for a minute and check for leaks at the door and around the base. Flush the toilet and listen for a running valve. Make sure the exhaust fan starts and that the mirror is clean enough to use comfortably.
Empty the trash, take out any cleaning supplies you do not want guests to encounter, and set out fresh towels. A final quick wipe of the sink and faucet makes the room feel ready. Keep a spare towel and toilet paper roll nearby so you are not searching during the visit.
Conclusion
Prepping a guest bathroom for holiday visitors comes down to function, cleanliness, and small comforts. Inspect for leaks and soft spots, test the fixtures, clean thoroughly, and make sure ventilation and lighting work as intended. Those steps protect your home and help guests feel at ease.
Stock the room with basic supplies, clear space for their belongings, and handle minor repairs before the holiday rush. Know when a dripping valve, soft floor, or weak exhaust fan needs a professional rather than a quick patch. A calm, well-prepared bathroom is one less thing to worry about when the doorbell starts ringing.
Do the final walkthrough a day ahead and keep the setup simple. Fresh towels, visible toilet paper, a clean counter, and a working fan make a better impression than an overcrowded display. With a focused checklist, the guest bathroom can be ready without becoming a major project.