A squeaky dining chair is easy to ignore during a quiet week, but it becomes much more noticeable when a full table of guests shifts, leans, and scoots in for Thanksgiving dinner. The sound can come from a loose screw, a dry wood joint, a worn glide, or the seat cushion rubbing against the frame. Fixing it before the holiday gives the repair time to set and keeps the noise from becoming a dinner-table distraction.
You do not need a full furniture restoration to quiet most squeaks. A methodical check, a few basic tools, and the right adhesive or lubricant can solve many common causes. This guide walks through diagnosis, tightening, gluing, reinforcement, and the quick decisions that matter when guests are almost at the door.
Why a Squeaky Dining Chair Is Worth Fixing Before Thanksgiving
Thanksgiving puts dining chairs through more movement than usual. Guests turn to talk, children wiggle, and people scoot close to the table. A joint that is slightly loose can announce itself with every shift, and repeated movement may wear the joint further. Addressing it early is kinder to the chair and to the atmosphere.
A squeak can also be a sign of a fastener that has backed out or a glue line that has failed. Those conditions are easier to repair when the chair is stable and clean rather than when a guest is already seated. A short inspection now can prevent a wobbly chair from becoming a safety concern during the meal.
Time is the main constraint. Glue needs clamping time, finishes need drying time, and hardware stores may be busier than usual. Working a few days ahead gives you room to test the repair and decide whether a chair should be swapped out or set aside for a professional.
Diagnose the Squeak Before You Grab Tools
Start by isolating the source. Sit in the chair and rock gently side to side, then front to back, while listening for the location of the noise. Ask a helper to press on the seat, backrest, and legs separately while you crouch nearby. The goal is to separate a frame squeak from a seat, cushion, or floor-contact noise.
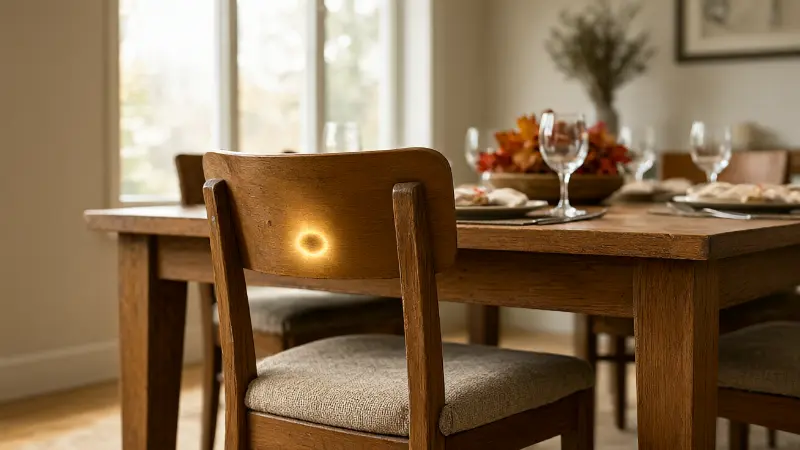
Turn the chair upside down on a padded surface and look at the joints. Check the apron-to-leg connections, the stretchers between the legs, the corner blocks under the seat, and the screws or bolts that hold the seat to the frame. Look for gaps, dark wear lines, cracked wood, or shiny areas where parts have been rubbing.
Test the chair on a different floor surface if possible. A squeak that follows the chair is likely in the furniture, while a noise that stays in one spot may involve the floor or a loose glide. This distinction matters because tightening the wrong part can waste time and sometimes make the problem worse.
Check Fasteners, Glides, and Seat Attachment
Many dining chairs use machine screws, threaded inserts, or wood screws to attach the seat and connect the frame. Check each fastener for looseness, but do not simply crank every screw as tight as it will go. Over-tightening can compress wood, strip threads, or crack a leg, especially in older chairs.
Turn screws until they are snug, then stop. If a screw spins freely, the hole may be stripped, and a slightly larger screw or a proper repair may be needed. For bolts with washers, confirm that the washer is present and that the bolt is not pulling into the wood. Replace missing or damaged hardware with matching parts when possible.
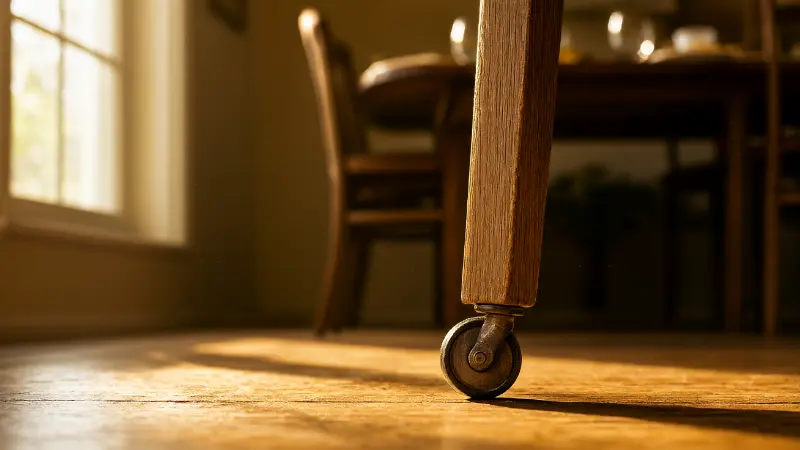
Inspect the glides or feet at the bottom of each leg. Worn glides can make the chair rock and rub, which can sound like a squeak. Clean the feet and replace damaged glides if the chair manufacturer uses a common style. A felt pad can reduce noise on hard floors, but it should not be used to hide a wobbly leg.
Look for rubbing rather than looseness
Some squeaks come from two surfaces rubbing, not from a loose joint. Check whether the seat cushion frame touches the chair apron, whether the backrest rubs against a support, or whether a stretcher contacts another part. A small amount of clearance or a proper buffer may solve the noise without tightening anything.
Tighten and Lubricate the Right Spots
After the fasteners are snug, test the chair again before adding any lubricant. If the squeak persists at a wood-on-wood joint, a small amount of wax or a suitable furniture lubricant may reduce friction. Apply it sparingly to the rubbing area, not to the entire chair, and wipe away excess so it does not attract dust or stain fabric.
Household products such as candle wax or paraffin can work on some wood contacts, but test in a hidden area first. Avoid oils that can soak into unfinished wood, darken the finish, or weaken glue later. If the joint is actually loose, lubrication may quiet it briefly while hiding a repair that still needs glue.
Do not lubricate threaded fasteners that depend on friction to stay put unless the manufacturer recommends it. A screw that keeps backing out needs a mechanical fix, such as a threaded insert repair or a slightly different fastener, rather than a coating that lets it loosen again. If a fastener will not stay tight, stop and assess the wood around it.
Reglue Loose Wood Joints
Wood glue is the right approach for many loose dowel, mortise-and-tenon, or simple butt joints. Start by cleaning old glue and debris from the joint as much as you can without forcing the parts apart. Dry-fit the joint, gather clamps, and work in a warm, ventilated area according to the adhesive label.
Apply glue to the joint surfaces, assemble the parts, and clamp them firmly but not so tightly that you crush the wood. Wipe away squeeze-out with a damp cloth before it dries. Let the chair sit undisturbed for the full clamping time recommended by the adhesive, then give it additional time before putting weight on it.
If a joint will not close completely, do not force it. A splinter, a bent fastener, or a swollen part may be blocking assembly. For antiques or chairs with decorative veneer, consult a furniture restorer before aggressive clamping. Some older chairs use adhesives that behave differently from modern wood glue, and the wrong repair can reduce value.
Use clamps and padding
Clamps can leave marks if they press directly on finished wood. Use scrap wood or padded cauls between the clamp jaw and the chair. Check that the clamp is pulling the joint together in the intended direction rather than twisting the frame. A dry run before glue is applied saves a lot of scrambling.
Reinforce Corner Blocks and Stretchers
Corner blocks under the seat add rigidity, and loose blocks can create a creaking sound. If a block is held by screws, tighten them snugly and confirm that the block sits flush. If the block has separated from the frame, clean the mating surfaces and reglue it with clamps if the design allows access.
Stretchers between the legs often loosen at their joints. Check both ends and the middle connection if the chair has one. A loose stretcher can make the whole chair rack, so repair it before the chair is used for a heavy guest. Avoid adding large metal brackets to visible areas unless the chair is a utility piece and you can install them neatly.
If a leg or stretcher is cracked, do not rely on glue alone without assessing the break. A crack that flexes under load may need a spline, a dowel, or professional repair. Small surface cracks in a finish are different from structural cracks in the wood, and the difference matters for safety.
Address Upholstery and Seat Cushion Noise
Not every squeak comes from wood. Upholstered seats can squeak where the cushion, webbing, or support board rubs against the frame. Press on the seat in different spots and listen. If the noise is muffled and comes from under the fabric, the issue may be a loose staple, a worn support, or a cushion that has shifted.
Check the underside of the seat for loose staples, torn dust covers, or sagging webbing. Do not remove upholstery unless you are comfortable reinstalling it. A loose dust cover can be reattached with appropriate staples, but fabric that is brittle or fragile may tear further. If the seat support is broken, a furniture repair shop can often rebuild it.
For a removable cushion, check whether the hook-and-loop tape, ties, or snaps are still doing their job. A cushion that slides can make a rubbing noise and feel unstable. Replace worn fasteners or add a proper non-slip pad if the chair design allows it without changing the look.
Check the Floor and Adjacent Structure
Test the chair in a different location to rule out the floor. A slight floor unevenness can make one leg carry less load, which encourages rocking and creaking. A glide or felt pad may help, but a chair with a twisted frame may need more than a floor-level fix. Check that all four feet contact the floor evenly.
If the noise seems to follow the floor near a doorway rather than the chair, inspect for loose trim or a rubbing door. A pre-holiday walkthrough can reveal adjacent issues, and guidance on framing a door at bottom of stairs may help if you find a related framing problem. Keep the focus on the chair unless the floor or doorway is clearly involved.
Humidity changes can affect wood furniture and nearby trim. A chair that was quiet in summer may creak in dry indoor air, and a joint that swells in damp weather may loosen later. Repairing the joint properly is more reliable than fighting seasonal movement with repeated tightening.
Quick Fixes vs Proper Repairs Under Holiday Time Pressure
When guests are arriving soon, decide whether the chair needs a full repair or a temporary solution. A loose screw can be tightened in minutes, while a glued joint needs clamping time and should not be rushed. If the repair will not be ready, swap the chair with a stable one and mark the squeaky chair for attention after the holiday.
Use the table below to match common symptoms with sensible actions. The time estimates are general planning aids, not promises. Drying and clamping times vary by product and room conditions, so read the labels and allow extra time if the chair will be used heavily.
| Symptom | Likely Cause | Reasonable Fix | Time Needed |
|---|---|---|---|
| Seat shifts slightly when you sit | Loose seat screws or bolts | Tighten snugly and check washers | 10 to 20 minutes |
| Creak at a leg-to-apron joint | Failed glue line or loose dowel | Clean, reglue, and clamp | Several hours plus drying |
| Chair rocks on a level floor | Worn glide or twisted frame | Replace glides or have frame assessed | 15 minutes to professional repair |
| Muffled squeak under the seat | Cushion, webbing, or staple rubbing | Secure cushion or have upholstery checked | Varies by seat design |
| Sharp squeak at a stretcher | Loose stretcher joint | Reglue joint and clamp | Several hours plus drying |
| Screw spins without tightening | Stripped hole or insert | Repair hole or use appropriate insert | 30 minutes to an hour |
| Crack visible in a leg | Structural wood damage | Stop using; seek professional repair | Professional assessment |
Plan the repair order around drying time. Tighten fasteners and replace glides first because they are quick. Glue joints next so they can set overnight. Leave finish touch-ups for last, and do not put a freshly glued chair back into service until the adhesive has had time to cure.
Touch Up the Finish After Repair
Repairs can leave small marks, squeezed-out glue residue, or clamp shadows. Wipe glue before it dries, and use a scraper or sanding approach only if you are comfortable matching the existing finish. On antique or veneered chairs, aggressive sanding can do more harm than good.
If the chair needs a cosmetic refresh after the squeak is fixed, choosing paint for wood chairs can be tricky, and a comparison of Behr Pro vs Premium Plus helps weigh durability against cost. Paint is not the right choice for every dining chair, especially one with a valuable finish. Consider whether a touch-up pen, wax filler, or a professional refinish is more appropriate.
Allow any finish to cure fully before holiday use. Paint and clear coatings can feel dry before they are ready for heavy contact. Check the product label for recoat and cure times, and keep the chair out of the dining room until it is ready.
Safety and When to Stop
Stop and reassess if you find a cracked leg, a split seat frame, or a joint that will not hold after a proper repair. A chair that collapses under a guest can cause injury, and dining chairs are often used by people who are not expecting a wobbly seat. Set the damaged chair aside and use a stable replacement.
Use eye protection when drilling, driving screws, or prying old fasteners. Keep clamps and sharp tools away from children and pets, and work in a ventilated area when using adhesives or finishes. Do not force a joint with a mallet unless you understand how the chair is constructed; hidden dowels and tenons can break under impact.
If the chair is an antique, a family piece, or has significant value, consult a furniture restorer before glue or hardware changes. A reversible repair is often preferable to a permanent modification. For everyday dining chairs, a careful glue-and-clamp repair is a reasonable DIY approach when the damage is limited to a loose joint.
Plan the Holiday Prep Sequence
Work backward from the meal. If you need chairs at the table, start repairs several days ahead so glue and finish can cure. Clean the dining area after the chairs are stable, not before, because sanding dust and glue residue can settle on nearby surfaces. Keep the repaired chair out of traffic until it is ready.
While you are handling house-wide holiday tasks, a Thanksgiving furnace check before guests can help you avoid a cold dinner and a separate emergency. Group small repairs by room so you are not running between the dining room and the utility area. A written list keeps the work realistic.
Test each repaired chair with a firm but careful sit before guests arrive. Listen for remaining noise and check for wobble. If a chair still squeaks, note whether the sound moved or changed, because that tells you whether the repair addressed the right joint. A quiet chair is more likely when the fix matches the cause.
Conclusion
Fixing a squeaky dining chair before Thanksgiving is usually a matter of finding the source and matching the repair to it. Tighten loose fasteners snugly, replace worn glides, and reglue loose wood joints with proper clamping time. Quick lubrication may help a rubbing surface, but it should not replace a structural repair.
Work a few days ahead so adhesive and finish can cure, and swap in a stable chair if a repair will not be ready. Check for cracks, stripped holes, and cushion noise before the holiday meal. If the damage looks structural or the chair is valuable, stop and seek professional help rather than forcing a fix.
A careful diagnosis, a clean repair, and a realistic timeline can turn a noisy chair into a quiet seat for the holiday. Do the quick checks first, give glued joints the time they need, and keep safety ahead of convenience. That approach protects your furniture and your guests.