A SharkBite fitting that starts leaking after a freeze is a stressful discovery. The push-to-connect design relies on an internal O-ring and a stainless steel grab ring to seal against the pipe, and when ice forms inside the fitting body or the pipe hub, the expansion can compromise that seal. The leak may appear as a slow drip at the collar, a spray from a cracked body, or a separation where the pipe has been pushed out of the fitting. The good news is that many of these failures are repairable, and the cause is usually identifiable.
This guide explains why SharkBite fittings fail after a freeze, how to confirm the leak is at the fitting rather than the pipe, the safe first steps to stop the water, and the options for a permanent repair. It also covers when to replace the fitting, when to cut back the pipe, and when a plumber is the better choice. Safety comes first: shut off the water and keep electricity away from the wet area before you investigate.
Why SharkBite Fittings Can Leak After a Freeze
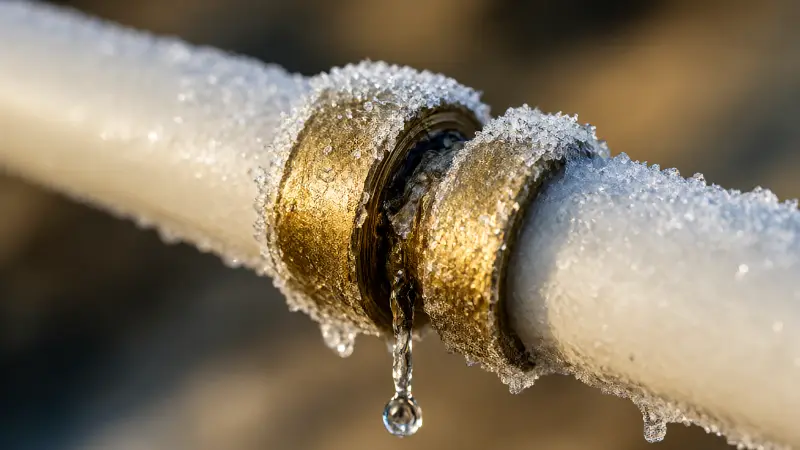
A SharkBite fitting seals through an EPDM O-ring that compresses against the outside of the pipe and a grab ring that bites into the pipe to hold it in place. The fitting is designed to be installed quickly without solder or crimp tools, but that internal seal has specific vulnerabilities in freezing conditions.
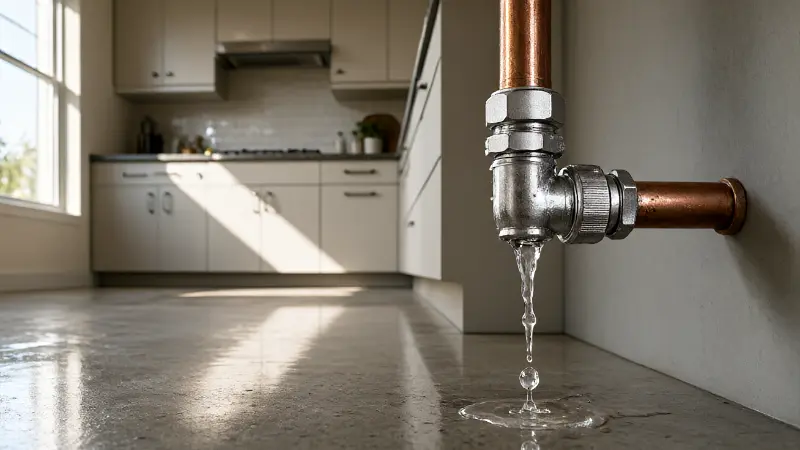
The most common freeze failure is not the O-ring itself but the water trapped in the fitting hub. The hub area, especially on a horizontal fitting, can hold a small amount of water on the fitting side of the O-ring. When that water freezes, it expands and can shear the entire hub off the fitting body. A fitting installed vertically may drain more completely, which is why some homeowners see failures only on horizontal runs.
A freeze can also push the pipe partially out of the fitting. If the pipe was not inserted to the full depth during installation, the grab ring may not have a secure hold, and the expansion of ice can push the pipe back past the O-ring. That produces a leak at the collar that looks like a failed seal but is really a combination of insufficient insertion depth and freeze pressure.
Finally, a freeze can crack the fitting body itself. If the brass or plastic housing is split, the leak will appear as a spray or weep from the housing rather than at the pipe interface. A cracked body cannot be repaired and the fitting must be replaced entirely.
First Steps: Stop the Water and Protect the Area
Shut off the water supply to the affected line. If the fitting is on a branch with its own shutoff valve, close that valve. If not, close the main water valve for the house. Open a nearby faucet to relieve pressure and give the water somewhere to go.
Keep electricity away from the wet area. If water is near an outlet, a switch, or an appliance, turn off the circuit at the breaker before you touch anything. Do not stand in standing water while working on electrical equipment. If water has reached a panel or a light fixture, leave the power off and call an electrician.
Contain the water with towels, a bucket, or a shallow pan. Dry the fitting and the surrounding pipe with a paper towel so you can see exactly where the water is coming from. Document the damage with photos if you plan to file an insurance claim.
Confirm the Leak Is at the Fitting
Before you remove anything, identify the exact point of failure. A leak at the collar where the pipe enters the fitting suggests the O-ring seal has been compromised or the pipe has moved. A leak from the body of the fitting suggests a crack. A leak from a threaded connection or a valve attached to the fitting is a different problem and may not require replacing the push-fit component.
Dry the fitting thoroughly and watch it for a minute or two. A drip that reappears at the collar is a seal failure. A spray or weep from the side of the brass body is a crack. If the pipe itself is wet along its length rather than at the fitting, the freeze may have damaged the pipe rather than the fitting, and a separate repair is needed.
A wet copper line away from the fitting may be showing a copper pipe pinhole leak caused by the same freeze. Dry the pipe along its length and watch for a tiny jet or a mineral crust at one specific point before you assume the fitting is the only problem.
Check the insertion depth mark on the pipe. Most installers mark the pipe with a depth gauge before pushing the fitting on. If the mark is visible outside the fitting, the pipe has moved and the grab ring is not engaged at the correct depth. That is a strong sign that the fitting needs to be removed and reinstalled on a properly prepared pipe end.
Repair Option One: Remove and Reinstall the Fitting
If the fitting body is intact and the O-ring is not damaged, the fitting can sometimes be removed and reinstalled. Shut off the water and drain the line completely. Use a SharkBite disconnect clip or a small adjustable wrench to press the release collar against the fitting, which expands the grab ring and allows the pipe to be pulled free.
Inspect the O-ring inside the fitting for tears, cuts, or debris. If the O-ring is damaged, the fitting should be replaced rather than reused. Inspect the pipe end for scratches, score marks, or burrs. If the pipe surface is damaged where the O-ring made contact, cut the pipe back to a clean section.
Cut the pipe square with a tubing cutter or a PEX cutter. Deburr both the inside and outside edges thoroughly. A sharp burr can lacerate the O-ring as the pipe is inserted, and an angled cut creates a path for water to bypass the seal. Mark the correct insertion depth on the pipe with a depth gauge or a marker.
Push the fitting onto the pipe firmly until it reaches the mark. You should feel and hear it seat. Give a slight twist if the manufacturer allows it, but do not force it. Restore water slowly and watch the fitting for leaks. If it still drips, the O-ring or the fitting body is likely damaged, and replacement is the next step.
Repair Option Two: Replace the Fitting
If the fitting body is cracked, if the O-ring is visibly damaged, or if a reinstall does not stop the leak, replace the fitting. Shut off the water and drain the line. Remove the old fitting with a disconnect tool. Cut the pipe back to a clean, square end and deburr it.
Install a new SharkBite fitting of the same size and type. Push it onto the pipe to the marked depth. For a coupling, repeat on the other side. For a fitting that connects to a valve or a fixture, follow the manufacturer’s instructions for the specific configuration.
Push-fit fittings are convenient, but they are not the only option. If the fitting is in an accessible location and you have PEX tools, a crimp or clamp connection may be more durable over the long term. Some plumbers prefer crimp rings for reliability, especially in freeze-prone locations. A compression or soldered copper repair is another option on copper pipe, but those methods require different skills and tools.
Prevent the Next Freeze
Insulate the pipe and the fitting. Foam pipe insulation over the fitting and the adjacent pipe slows heat loss and keeps the fitting warmer. Pay particular attention to horizontal runs, which are more likely to hold water in the hub and shear off during a freeze.
Seal the drafts that let cold air reach the pipe. A fitting in a crawl space, garage, or exterior wall cabinet is more vulnerable when cold air can blow across it. Air sealing around penetrations and keeping cabinet doors open during cold snaps are simple, effective steps.
Keep the thermostat at a temperature that protects the plumbing even when the house is empty. Disconnect hoses before the first freeze, and drain the outdoor spigots so water cannot freeze behind the wall. If a fixture has already failed, the steps for a hose bib burst after freeze cover the shutoff, drying, and replacement sequence.
If you leave for an extended period, shut off the main valve and consider draining the system according to a plumber’s guidance. If the fitting is in a location that freezes repeatedly, consider replacing the push-fit connection with a crimp or soldered joint when you repair it. That reduces the risk of a repeat failure and gives you a more permanent connection.
When to Call a Plumber
Call a plumber if the leak is inside a wall or ceiling, if the fitting is in a location you cannot access safely, if the pipe is damaged beyond the fitting, or if you are not comfortable with the repair. A plumber can also assess whether the freeze caused damage elsewhere in the run that is not yet visible.
Call a plumber if the fitting is on a main line, a manifold, or a location that serves multiple fixtures. A mistake at a main connection can affect the whole system, and the repair may require shutting down more than one line.
If the moisture extends into an exterior wall cavity or the fixture outside the wall is also damaged, the problem may be larger than the fitting itself. The urgent steps for an outdoor faucet frozen and leaking inside the wall explain how to isolate the line and limit water damage while you arrange service.
If water has reached electrical components, call an electrician as well. Do not restore power to a wet circuit until it has been inspected. The sequence is stop the water, remove the electrical hazard, dry the structure, and then repair the plumbing.
Quick Reference: Symptoms and Actions
The table below matches common SharkBite freeze symptoms with the likely cause and the safest first step.
| Symptom | Likely Cause | Safe First Step | When to Call a Pro |
|---|---|---|---|
| Drip at the collar where the pipe enters | O-ring seal compromised or pipe pushed out | Shut off water; check insertion depth; remove and reinstall if fitting is intact | Fitting body is cracked or pipe is damaged |
| Spray or weep from the fitting body | Cracked brass or plastic housing from ice expansion | Shut off water; replace the fitting | Leak is inside a wall or on a main line |
| Pipe has moved out of the fitting | Insufficient insertion depth plus freeze pressure | Shut off water; cut pipe back and reinstall to full depth | Pipe end is damaged or access is difficult |
| Leak returns after reinstall | O-ring damaged or fitting body compromised | Replace the fitting with a new one | Leak persists after replacement |
| Fitting sheared off at the hub | Water trapped in hub froze and expanded | Shut off water; cut back pipe and install a new fitting | Hub failure on a horizontal run that may need a different fitting type |
FAQ
Can a SharkBite fitting be reused after a freeze?
It can be reused only if the fitting body is intact and the internal O-ring is undamaged. If the O-ring is torn, cut, or displaced, or if the body is cracked, the fitting must be replaced. Inspect both the fitting and the pipe end before deciding.
Why did my SharkBite fitting fail when the pipe did not burst?
The fitting hub can hold a small amount of water on the fitting side of the O-ring. That water freezes and expands, and the expansion can shear the hub off the fitting even when the pipe itself survives. Horizontal fittings are more vulnerable because water drains less completely from the hub.
How do I remove a leaking SharkBite fitting?
Shut off the water and drain the line. Use a SharkBite disconnect clip or a small adjustable wrench to press the release collar against the fitting. That expands the grab ring and allows the pipe to be pulled free. Inspect the pipe and fitting before reinstalling or replacing.
Should I replace a SharkBite fitting with a crimp connection after a freeze?
If the location is prone to freezing and you have the tools, a crimp or clamp connection may be more durable over the long term. Some plumbers consider crimp rings more reliable in freeze-prone spots. The decision depends on your skills, the pipe material, and the accessibility of the location.
Conclusion
A SharkBite fitting leaking after a freeze usually involves a compromised O-ring, a pipe that has moved out of the fitting, or a cracked body caused by ice expansion. Start by shutting off the water and identifying the exact leak point. If the fitting is intact and the pipe is clean, removal and reinstallation to the correct depth may solve the problem. If the body is cracked or the O-ring is damaged, replace the fitting.
Prevention is the durable fix. Insulate the fitting and the adjacent pipe, seal the drafts, and keep the space above freezing. If the location freezes repeatedly, consider a crimp or soldered connection for the repair. A methodical approach protects the fitting, the pipe, and the surrounding structure.