A puddle of gasoline under your Ariens snowblower is more than an inconvenience. It is a fire hazard, an environmental concern, and a sign that the fuel system is not sealing as it should. The two most common locations for that leak are the carburetor itself and the fuel shut-off valve, and the causes range from a simple dried-out gasket to a worn needle and seat that no longer stops the flow of fuel.
This guide explains why an Ariens carburetor leaks gas, why the fuel shut-off valve fails, and how the two problems are often connected. It walks through the likely causes in order of probability, provides diagnostic steps you can do at home, and explains when a rebuild kit is enough and when a replacement part is the safer choice.
Safety First: Treat Every Fuel Leak as Serious
Gasoline vapors are heavier than air and can travel along the floor to an ignition source. A small leak that seems manageable can become dangerous in a garage or shed with a pilot light, a water heater, or a running electrical tool. Before you investigate, move the machine outdoors or into a well-ventilated area, and keep flames, sparks, and smoking materials away.
Do not run the engine if you suspect a leak. Even a slow drip can worsen under vibration and heat. Turn the fuel shut-off valve to the off position if the machine has one, and place a drip pan or absorbent material under the leak. Wear nitrile gloves and eye protection, and dispose of contaminated rags and absorbent material according to local regulations.
If gasoline has soaked into the engine oil, do not start the engine. Fuel can dilute the oil and cause rapid wear or a dangerous crankcase condition. Check the oil level and smell for gasoline; if the oil smells like fuel or the level is unusually high, change the oil after the leak is repaired. The same caution applies to any small engine, and the principles covered in guides on common snowblower gas leak causes transfer across brands.
How the Fuel System Works on an Ariens Snowblower
Most Ariens snowblowers use a gravity-fed fuel system. Fuel flows from the tank through a shut-off valve and a fuel line to the carburetor. The carburetor uses a float and a needle valve to maintain a steady fuel level in the bowl. When the bowl fills, the float rises and pushes the needle against its seat, stopping the flow. When the engine draws fuel, the level drops and the needle opens again.
If any component in that chain fails, fuel can overflow. A needle that does not seat, a float that sinks or sticks, a bowl gasket that dries out, or a shut-off valve that does not close completely can all produce a leak. The location of the puddle often points to the component at fault, but not always, because fuel can travel along the bowl or the frame before dripping.
Understanding the sequence helps you diagnose systematically. Instead of replacing parts at random, you can check the most likely cause first and work toward the less common ones. That approach saves money and reduces the chance of introducing a new problem during repair.
Most Common Cause: The Carburetor Float Needle and Seat
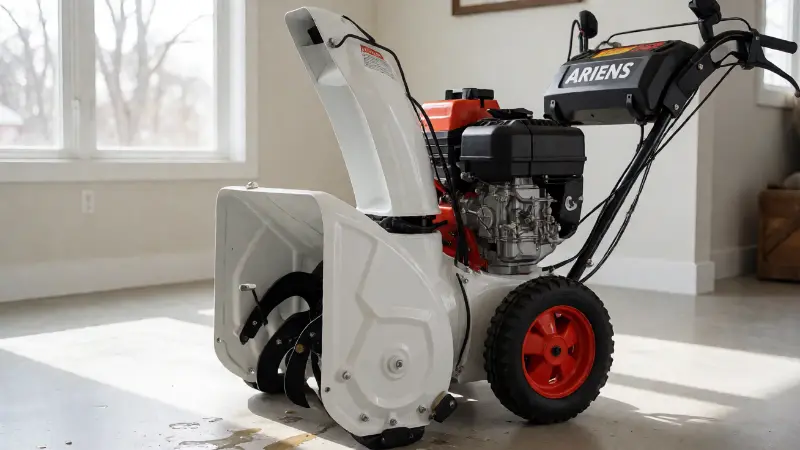
The float needle and seat are the most frequent source of carburetor leaks on Ariens snowblowers. The needle is a small tapered valve that presses into a brass or rubber seat. Over time, the tip can wear, varnish can build up on the seating surface, or debris can become trapped between the needle and the seat. When that happens, fuel continues to flow into the bowl even after the float rises, and the excess overflows through the carburetor’s vent or past the bowl gasket.
Ethanol-blended gasoline makes this problem more likely, especially when the machine sits for months between seasons. Ethanol attracts moisture and can leave behind a sticky residue as it evaporates. That residue can gum up the needle so it cannot close fully, or it can cause the float to stick in the open position. A float that has developed a pinhole and filled with fuel will also sink, holding the needle open.
The fix depends on the condition of the components. A carburetor rebuild kit typically includes a new needle, seat, bowl gasket, and other soft parts. If the seat is pressed into the carburetor body, the kit may include a new seat that must be driven out and replaced carefully. If the carburetor body itself is corroded or cracked, a rebuild may not be enough, and a replacement carburetor is the more reliable path.
Before ordering parts, remove the carburetor bowl and inspect the needle and seat. Look for a visible ring of varnish on the needle tip, debris on the seat, or a float that does not move freely. Shake the float near your ear; if you hear liquid sloshing inside, the float has failed and must be replaced. Clean the passages with carburetor cleaner and replace the soft parts as a set.
Other Carburetor Leak Sources: Gaskets, Cracks, and the Primer Bulb
If the needle and seat are clean and sealing, the next suspects are the gaskets and the carburetor body. The bowl gasket sits between the carburetor body and the bowl, and it can dry out, harden, or tear. A leak from the bottom edge of the carburetor often points to this gasket. The carburetor mounting gasket, where the carburetor attaches to the engine, can also fail and allow fuel to seep out.
A cracked carburetor body is less common but more serious. Vibration and heat can cause hairline cracks, and ethanol corrosion can weaken the metal. If you see fuel weeping from the side of the carburetor body rather than a joint, inspect it closely with a flashlight. A cracked body usually cannot be repaired reliably, and replacement is the practical solution.
The primer bulb is another overlooked leak point. The rubber bulb can become brittle and crack, especially on older machines. Fuel can seep through those cracks or around the base of the bulb. If the primer bulb feels stiff or shows visible cracks, replace it rather than trying to seal it. A patch or tape will not hold up to fuel and vibration.
Fuel lines and the fuel filter are also part of the sealed system. Cracked or hardened fuel lines can leak, and a filter housing with a crack can drip. Replace fuel lines with the correct size and fuel-rated material, and replace the filter rather than attempting a repair. A leak from the fuel pump area, if equipped, can come from loose pulse lines or a cracked pump body.
The Fuel Shut-Off Valve: Why It Leaks and How to Fix It
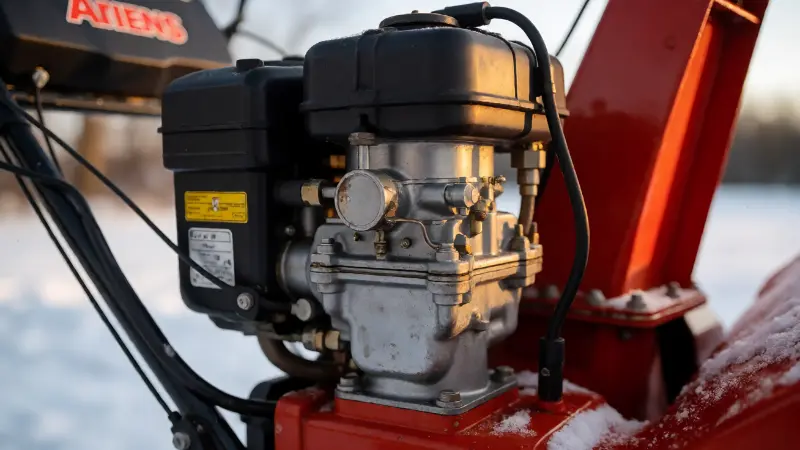
The fuel shut-off valve, also called the fuel tank on/off valve, is designed to stop fuel flow when the engine is not in use. On many Ariens models, this valve is a small plastic or metal assembly attached to the bottom of the fuel tank. It contains a passage and a rotating or sliding seal that opens and closes the flow. Over time, the seal can wear, the valve body can crack, or the O-ring that seals the valve to the tank can fail.
A leaking shut-off valve can produce a drip at the valve itself, at the fuel line connection, or at the base where it meets the tank. Sometimes the valve does not leak externally but fails to stop the flow internally, allowing fuel to seep past the valve and overwhelm the carburetor needle. That internal leak can mimic a carburetor problem, which is why diagnosing the two together is important.
If the valve is leaking externally, first check the fuel line connection. A loose clamp or a cracked line can be the real source. If the valve body is cracked or the seal is worn, replacement is usually the answer. Shut-off valves are generally inexpensive and are not designed to be rebuilt. On some Ariens models, the valve also incorporates the fuel filter, and the entire assembly is replaced as a unit.
Access can be a challenge. On some machines, the valve is tucked behind a panel or positioned so that it hits the housing when you try to unscrew it. If clearance is tight, remove the fuel tank or the surrounding panel to get proper access. Forcing the valve can crack the tank or damage the fitting. If you are unsure where the valve is on a comparable machine, a guide on locating a Craftsman fuel shut-off valve shows the general layout and access points used on many snowblower designs.
Fuel Lines, Filter, and Pump: Often Overlooked Leak Points
Fuel lines degrade from the inside out. Modern fuel hose is designed to resist ethanol, but it still hardens and cracks over time, especially in a machine that sits unused for months. A line that looks fine on the outside can weep fuel at a fitting or develop a pinhole that only leaks under gravity. Replace the entire line rather than cutting off a section and reattaching it; the rest of the line is likely in similar condition.
The fuel filter is another component that can leak. A cracked filter housing or a loose connection at the filter can drip fuel onto the engine or the floor. If the filter is integrated into the shut-off valve, a leak at that assembly points to the valve. If the filter is a separate inline unit, inspect both connections and the housing for cracks.
Some Ariens models use a fuel pump, particularly larger engines or models with a remote tank. The pump can leak from its body, from the pulse line that drives it, or from the inlet and outlet fittings. Loose pulse lines are a common cause of both leaks and running problems. Check that all lines fit tightly and that the pump body is not cracked. If the pump is leaking, replace it rather than attempting a repair.
It is also worth checking the fuel tank itself. A seam crack, a damaged filler neck, or a corroded metal tank can leak. Plastic tanks can develop cracks around the outlet fitting. If the leak appears to come from the tank rather than the valve or lines, inspect the tank carefully and replace it if necessary.
Step-by-Step Diagnosis: Finding the Exact Source
Start by cleaning the area around the carburetor, valve, and lines with a degreaser or a clean rag. Dry everything thoroughly. Place a clean white paper towel or a drip pan under the machine, and turn the fuel valve on. Wait and watch. A fresh drip on a clean surface is much easier to trace than a leak on a grimy engine.
If fuel appears at the bottom of the carburetor bowl, the bowl gasket or the needle and seat are the likely culprits. If fuel appears at the side of the carburetor body, suspect a crack or a failed mounting gasket. If fuel appears at the valve or the tank outlet, focus on the shut-off valve and its O-ring. If fuel appears along a line, replace the line.
When the leak is intermittent, vibration may be a factor. Gently wiggle the fuel lines and the valve while watching for a drip. Do not use excessive force, and keep your face away from the fittings. If the leak only appears when the engine is running, the vibration and fuel demand may be exposing a marginal seal that is not visible at rest. Stop the engine and inspect the same areas.
A useful next step is to isolate the carburetor from the tank. Turn off the fuel valve and disconnect the fuel line at the carburetor inlet. Plug the line or cap the fitting, then turn the valve on and watch the valve and line. If the leak persists with the carburetor isolated, the problem is upstream. If the leak stops, the carburetor is the source. This simple isolation test prevents unnecessary carburetor work.
Comparison Table: Causes, Symptoms, and Fixes
| Cause | Typical symptom | Likely fix | Difficulty |
|---|---|---|---|
| Worn or dirty float needle and seat | Fuel overflows from carburetor vent or bowl area, sometimes with fuel in oil | Carburetor rebuild kit with new needle, seat, and gaskets | Moderate |
| Failed float (sinks or sticks) | Continuous overflow, flooding, strong fuel smell | Replace float and needle/seat | Moderate |
| Dried or torn bowl gasket | Drip from the bottom edge of the carburetor bowl | Replace bowl gasket | Easy |
| Cracked carburetor body | Fuel weeping from the side of the carburetor | Replace carburetor | Moderate to advanced |
| Cracked primer bulb | Fuel seepage around the primer bulb | Replace primer bulb | Easy |
| Worn fuel shut-off valve or O-ring | Drip at the valve, tank outlet, or fuel line connection | Replace valve assembly or O-ring | Easy to moderate |
| Cracked or hardened fuel line | Fuel weeping along the line or at a fitting | Replace fuel line | Easy |
| Leaking fuel filter or pump | Drip at the filter housing or pump body | Replace filter or pump | Easy to moderate |
Repair or Replace? Decision Guidance
A carburetor rebuild kit is often the most economical fix when the body is sound and the problem is limited to the needle, seat, float, and gaskets. Kits are relatively inexpensive and restore the sealing surfaces that cause most leaks. The work requires care, especially when removing and installing the float pin and the needle seat, but it is within reach for a confident DIYer.
A replacement carburetor may be the better choice if the body is cracked, corroded, or heavily varnished, or if a rebuild does not stop the leak. Aftermarket carburetors are available at a range of prices, and quality varies. A genuine OEM carburetor costs more but reduces the risk of fit and tuning problems. If the machine is older and the carburetor is difficult to source, a rebuild kit may be the only practical option.
The shut-off valve is rarely worth rebuilding. Replacement valves are inexpensive, and a new valve restores reliable shut-off. If the valve is integrated with the fuel filter, replace the entire assembly. On machines where access is tight, consider replacing the fuel lines at the same time so you do not have to disassemble the same area twice.
If the leak has caused fuel to enter the crankcase, change the oil after the repair and before running the engine. Fuel dilution can damage bearings and seals. If the engine has been run with diluted oil, inspect for unusual noise or low oil pressure, and have it serviced if you are concerned.
Prevention: How to Avoid Future Leaks
The most effective prevention is to avoid leaving fuel in the machine during the off-season. Run the engine until it stops from fuel starvation, or drain the tank and the carburetor bowl. If you prefer to keep fuel in the tank, add a fuel stabilizer and run the engine briefly to circulate it through the carburetor. Stabilizer slows degradation but does not eliminate it, so fresh fuel and seasonal maintenance still matter.
Use fresh gasoline and avoid storing fuel in a can for extended periods. Ethanol-blended fuel can attract moisture and contribute to corrosion and varnish. If you have had repeated fuel-system problems, consider ethanol-free fuel for small engines. Keep the fuel cap and tank clean, and replace a damaged cap rather than taping over a vent.
Inspect the fuel lines, filter, and valve at the start of each season. Look for hardening, cracks, or fuel residue. A few minutes of inspection can catch a small leak before it becomes a puddle. If you notice a fuel smell even when the machine is off, investigate immediately rather than waiting for a visible drip.
Other snowblower brands have their own quirks, and a guide on common Snow Joe snow blower fixes shows how different machines present similar symptoms. The diagnostic mindset is the same: isolate the system, check the most likely components first, and replace soft parts as a set when they show wear.
FAQ
Why does my Ariens snowblower leak gas only when it is not running?
A leak that appears when the engine is off often points to the float needle and seat. With the engine off and the fuel valve open, gravity keeps pushing fuel into the carburetor. If the needle does not seal, the bowl overfills and fuel escapes. A worn shut-off valve that does not close completely can also allow fuel to seep through when the machine is sitting.
Can I just turn off the fuel valve to stop the leak?
Turning off the valve is a safe temporary step to stop the flow while you diagnose the problem. It is not a repair. If the valve itself is leaking externally, closing it may not stop the drip. If the valve closes internally but the carburetor still leaks when the valve is open, the carburetor needs attention. Do not rely on the valve as a permanent solution.
Is it safe to rebuild the carburetor myself?
A carburetor rebuild is a manageable DIY task for someone comfortable with small parts and careful reassembly. The key risks are losing small components, damaging the float pin or needle seat, and failing to clean the passages thoroughly. Work in a clean, well-lit area, take photos as you disassemble, and use a rebuild kit that matches your engine model.
Why does my Ariens leak gas after I tilt it?
Tilting a snowblower can cause fuel to spill from the carburetor vent or the bowl if the float is slightly off or the needle is marginal. Some leakage when tilted is not unusual, but a significant leak suggests the needle and seat are not sealing properly. Check the float height and the condition of the needle and seat, and avoid tilting the machine more than necessary.
How do I know if gas has gotten into the engine oil?
Check the oil level and smell the dipstick. If the oil level is higher than normal or the oil smells strongly of gasoline, fuel has entered the crankcase. Do not run the engine. Repair the fuel leak, drain the contaminated oil, replace the oil filter if equipped, and refill with fresh oil. Repeated fuel dilution can damage the engine.
Should I replace the fuel lines when I replace the shut-off valve?
It is often wise to replace the fuel lines at the same time, especially if they are old or show signs of hardening or cracking. The lines are inexpensive, and replacing them while you have the valve out avoids having to disassemble the same area again if a line starts leaking later. Use fuel-rated hose of the correct size and secure it with clamps.