Few things are more frustrating than your stand mixer cutting out right in the middle of kneading a thick batch of bread dough or mixing cookie batter. This appliance is the workhorse of the kitchen, and when it fails, it can derail your entire baking schedule. You might worry that the motor has burned out completely or that the machine is beyond repair. Fortunately, most reasons for a mixer stopping during heavy use are safety features or sacrificial parts designed to protect the expensive motor.
When a mixer stalls, it is usually reacting to excessive strain. The most common reason a KitchenAid mixer stops under load is that the thermal overload protection has triggered to prevent the motor from burning out, or the internal worm gear has stripped to sever the connection between the motor and the beater. Understanding which of these has occurred requires observing specific symptoms, such as heat levels, sounds, and whether the motor continues to hum without the beater moving.
Diagnosing the Cause of Power Failure
To fix the issue, you must first identify whether the problem is electrical or mechanical. A mixer that shuts off completely implies an electrical interruption or a safety trip. A mixer that sounds like it is running but stops mixing implies a mechanical disconnect. Accurately diagnosing the root cause saves time and prevents unnecessary part replacements.
Thermal Overload Protection Triggers
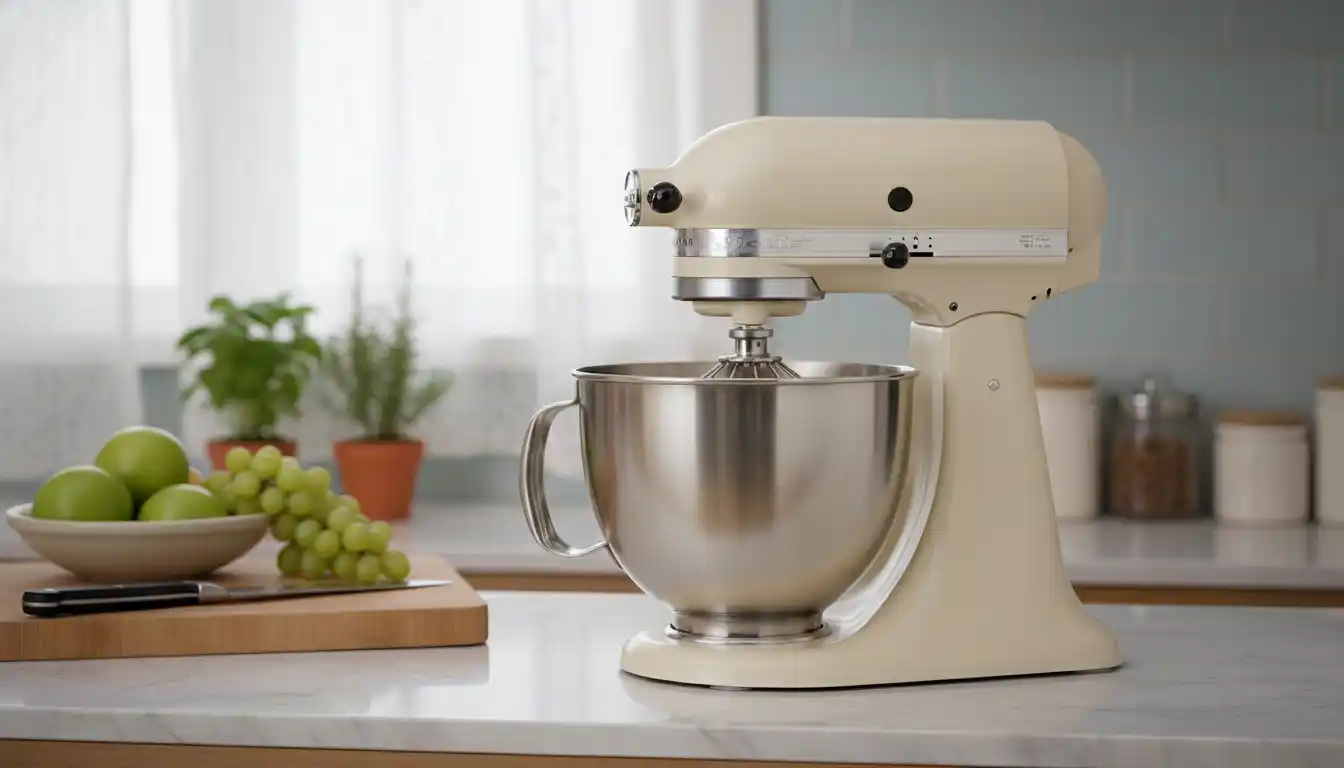
Modern stand mixers, especially the larger Lift-Bowl models, are equipped with a thermal overload sensor. This sensor monitors the temperature of the motor windings during operation. If the internal temperature rises to a dangerous level, the sensor automatically cuts power to the unit. This is not a malfunction but a critical safety feature designed to save your appliance from permanent destruction.
You can identify this issue by feeling the top of the motor head. If the casing is extremely hot to the touch and the machine simply shut off without any grinding noises, it is likely a thermal trip. This often happens when mixing heavy doughs like bagel or pizza dough for extended periods. The machine will not turn back on until the sensor detects that the temperature has dropped to a safe range.
Stripped Worm Gear or Kevlar Gears
If the motor continues to sound like it is running, but the beater has stopped moving against the dough, you are likely dealing with a stripped gear. KitchenAid mixers utilize a sacrificial worm gear made of nylon or Kevlar. This gear is intentionally designed to be the weakest link in the drivetrain. If the torque becomes too great, this gear strips its teeth rather than allowing the force to snap the metal drive shaft or burn out the motor.
This mechanical failure is analogous to how a dryer blower wheel gets stripped over time. It prevents catastrophic damage to the core components. You might hear a clicking sound or a high-pitched whine as the metal worm drive spins against the smooth, stripped teeth of the nylon gear. This requires a physical part replacement but is a relatively inexpensive and standard repair.
Speed Control Plate Malfunctions
The speed control plate at the rear of the mixer governs how much electricity flows to the motor. Over time, the contact points on this plate can become carbonized or the calibration screws can vibrate loose. If the electrical contact is poor, the mixer may stutter and stop when it encounters resistance. The load causes a slight drop in voltage, and if the connection is already weak, the circuit breaks.
This issue often presents as the mixer shutting off and then turning back on if you wiggle the speed lever. It can also cause the mixer to run at inconsistent speeds before stopping entirely. Unlike thermal expansion noise which is harmless, erratic motor sounds here indicate unstable electrical contact that needs cleaning or adjustment.
Immediate Solutions and Troubleshooting
Before disassembling your machine, there are several non-invasive steps you should take. Often, the solution involves adjusting your usage habits or allowing the machine to reset itself. These steps can get you back to baking without needing a screwdriver. Testing these solutions first confirms if the issue is a temporary glitch or a permanent failure.
The Cool-Down Protocol
If you suspect the thermal overload has tripped, patience is your only tool. Unplug the mixer immediately to reset the electronic board and stop any residual current. Move the mixer away from other heat sources, such as a preheating oven. Allow the machine to rest for at least 30 to 45 minutes.
Do not attempt to force the mixer to run by repeatedly flipping the switch. This will only heat the sensor further and delay the reset process. Once the housing feels cool to the touch, plug it back in and try turning it on to the lowest speed. If it starts, the thermal protection did its job.
Reducing Mixture Density
A mixer stopping under load is often a sign that the load is simply too heavy. Many users overestimate the capacity of their bowls, particularly with low-hydration doughs. If the mixer stops, remove half of the dough and try to finish the kneading by hand or in two separate batches.
Refer to your manual regarding the maximum amount of flour recommended. Exceeding this limit puts immense strain on the motor brushes and gears. Just as you need robust foundations like sonotubes for fence posts to handle structural weight, your mixer needs to stay within its torque limits to maintain operation.
Checking the Hall Effect Sensor
On some electronic models, a Hall Effect sensor monitors the rotation of the motor. If the mixer is under heavy load and the rotation slows down significantly, the sensor may interpret this as a jam. The electronic control board will then cut power to prevent damage. This is different from a thermal trip as it can happen even when the machine is cold.
To fix this, unplug the machine for 10 seconds to reset the board. When you restart, increase the speed gradually. Sometimes starting at a slightly higher speed provides the momentum needed to overcome the initial resistance of a stiff dough, preventing the sensor from triggering a stop.
Advanced Repair: Internal Components
If the basic troubleshooting steps fail, you likely have a failed component inside the housing. Opening the mixer is straightforward for anyone with basic DIY skills. You will need a screwdriver, a putty knife, and food-grade grease. Always ensure the unit is unplugged before removing any casing screws.
Replacing the Sacrificial Worm Gear
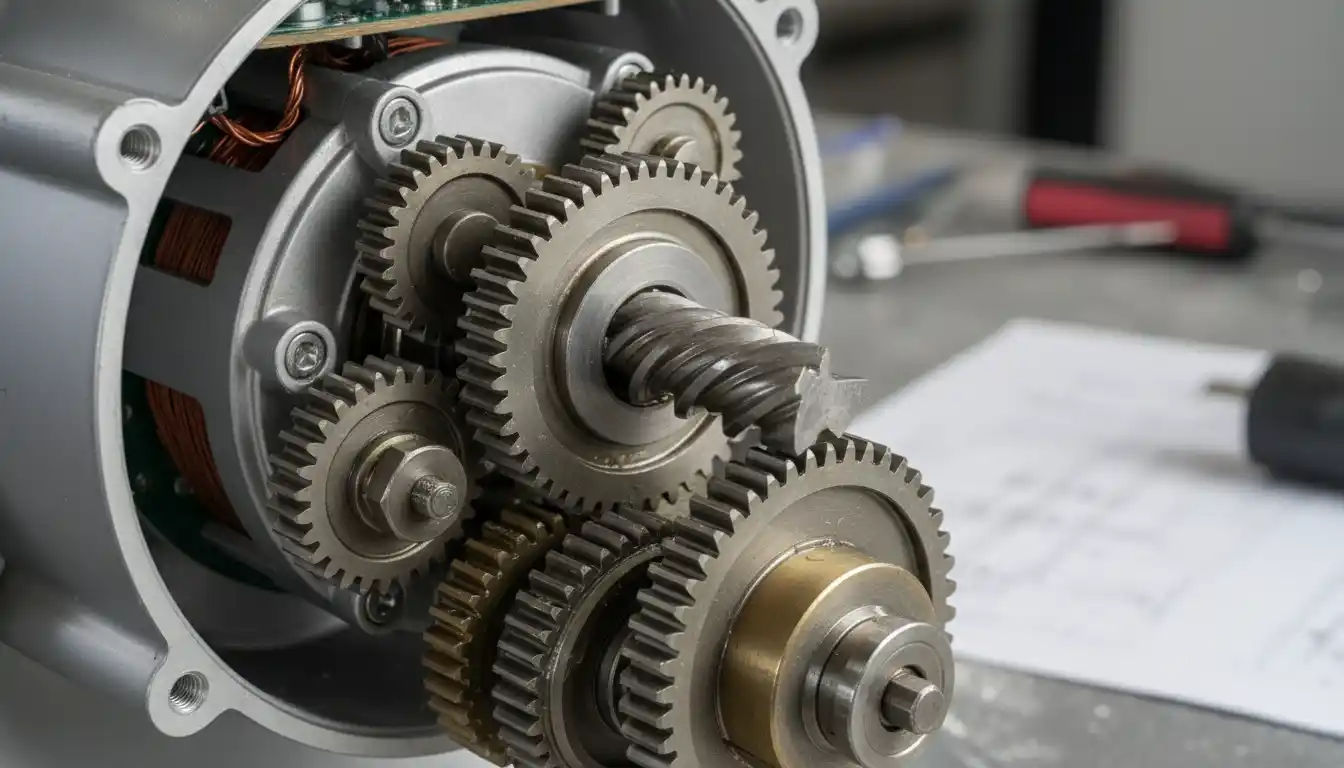
The worm gear is the most common part to fail when a mixer stops under load. To access it, you must remove the metal band around the head and unscrew the top housing. Once the housing is off, you will see the gear assembly encased in grease. You may need to remove a significant amount of grease to inspect the gear teeth.
Inspect the gear teeth closely. If you see a concave section where teeth are missing or shaved down, the gear is destroyed. Clean out all the old grease, as it likely contains plastic shards from the broken gear. Install the new gear, ensuring it aligns perfectly with the metal worm drive on the motor shaft. Repacking the housing with fresh grease is mandatory during this repair.
Servicing the Motor Brushes
Motor brushes conduct electricity to the spinning armature. They are spring-loaded carbon blocks located on the sides of the motor head, accessible via large plastic screw caps on some models. As these brushes wear down, the springs can no longer push them firmly against the commutator. Under load, the vibration causes the brushes to bounce, breaking the electrical circuit and stopping the mixer.
Unscrew the caps and pull out the brushes. If the carbon block is shorter than 3/16 of an inch, or if the surface is pitted and uneven, they must be replaced. This is a very cheap repair that can restore full power to an aging mixer. Ensure the new brushes are inserted in the correct orientation to match the curvature of the armature.
Regreasing the Planetary Housing
Many users do not realize that the grease inside a mixer has a lifespan. Over years, the oil separates from the thickener, leading to liquid oil leaking out of the mixer head. When the grease breaks down, it fails to lubricate the gears under high heat and load. This increases friction significantly, leading to overheating and thermal shutdowns.
Use only food-grade grease. Open the gear housing and scrape out all the old, dark grease. It will likely be liquid and messy. Pack the gears with new, high-viscosity food-grade grease. This reduces the drag on the motor, allowing it to handle heavy loads without generating excess heat.
Preventative Maintenance and Best Practices
Preventing your mixer from stopping under load is better than repairing it. By following specific usage guidelines, you can extend the life of the motor and gears. Most failures are due to user error regarding speed settings and dough consistency.
The “Dime Test” for Beater Clearance
If your beater is set too low, it scrapes the bottom of the bowl. This creates unnecessary friction and drag, which adds to the load the motor must pull. If it is too high, it doesn’t mix efficiently, prompting you to run the mixer longer than necessary.
To perform the dime test, place a dime in the empty bowl. Attach the flat beater and turn the mixer to low speed. The beater should just barely chip the dime, moving it slightly with each rotation. If the dime does not move, lower the beater. If the beater pushes the dime continuously, raise the beater. Proper clearance reduces motor strain significantly.
Adhering to Speed Limits
KitchenAid strictly advises using Speed 2 for kneading yeast doughs. Many users mistakenly believe that a higher speed will get the job done faster. In reality, high speeds with heavy dough create massive torque spikes that strip gears and overheat motors.
Never exceed Speed 2 for heavy dough. The machine is engineered to handle the torque at this specific speed. Faster speeds rely on momentum rather than torque, and when the heavy dough catches the hook, the shock is transferred directly to the sacrificial gear.
Dough Hydration and Capacity
Understanding the hydration ratio of your dough is crucial. Low hydration doughs (stiff doughs like pasta or bagels) are much harder on the motor than high hydration doughs (ciabatta or focaccia). If you are making a stiff dough, reduce the batch size by 25% to 50%.
| Problem Symptom | Probable Cause | Immediate Action | Required Repair |
|---|---|---|---|
| Stops when hot, no noise | Thermal Overload | Unplug and wait 45 mins | None (Safety Reset) |
| Motor runs, beater stops | Stripped Worm Gear | Turn off immediately | Replace Worm Gear |
| Stuttering power, on/off | Worn Motor Brushes | Check brush caps | Replace Carbon Brushes |
| Leaking oil, runs hot | Grease Separation | Clean exterior | Regrease Gear Housing |
| Stops under heavy load only | Excessive Load | Reduce batch size | Adjust Usage Habits |
Listening for Warning Signs
Your mixer will often tell you it is struggling before it actually stops. A laboring motor makes a deep, groaning sound that fluctuates in pitch with the rotation of the hook. If you hear the motor slowing down significantly on the “push” of the knead, the load is too high.
Additionally, listen for the “clicking” mentioned earlier. This is the death rattle of the worm gear. Catching this early allows you to stop the mixer before the gear shreds completely, potentially saving you from having to clean plastic debris out of the entire gear housing.
Conclusion
A KitchenAid mixer stopping under load is a stressful event, but it is rarely a fatal one for the appliance. Whether it is the thermal safety switch saving the motor or the worm gear sacrificing itself to protect the drivetrain, these mechanisms are designed to keep the machine viable for decades. By identifying the specific symptoms—heat, sound, and movement—you can pinpoint the issue quickly.
Regular maintenance, such as checking motor brushes and replacing old grease, can prevent these stops from happening in the first place. Respecting the machine’s limits regarding speed and dough quantity is equally important. With the right care and occasional part replacement, your mixer will continue to be the centerpiece of your kitchen for years to come.