You installed beautiful butcher block countertops to bring warmth and character to your kitchen, but now you’re staring at an ugly gap. Whether it’s a hairline crack separating two staves, a knothole that has popped open, or a widening chasm between the backsplash and the wood, these gaps are more than just cosmetic annoyances—they are crumb traps and breeding grounds for bacteria.
The solution depends entirely on where the gap is. For static cracks or separations within the wood surface, the best filler is a mixture of waterproof wood glue and sanding dust from the same timber, or a food-safe epoxy for larger voids. However, for the gap between the countertop and the wall, you must use a flexible 100% silicone or MS polymer caulk to allow for expansion.
If you use a hard filler like wood putty on an expansion gap, it will crack within weeks. If you use soft caulk on a cutting surface, it will harbor mold. This guide will walk you through choosing the exact right material for your specific problem and how to apply it for a seamless, professional repair.
The Two Types of Gaps (And Why They Happen)
Before you buy a tube of generic filler, you need to diagnose the “movement profile” of the gap. Wood is a hygroscopic material, meaning it constantly absorbs and releases moisture from the air. This causes it to expand and contract across the grain.
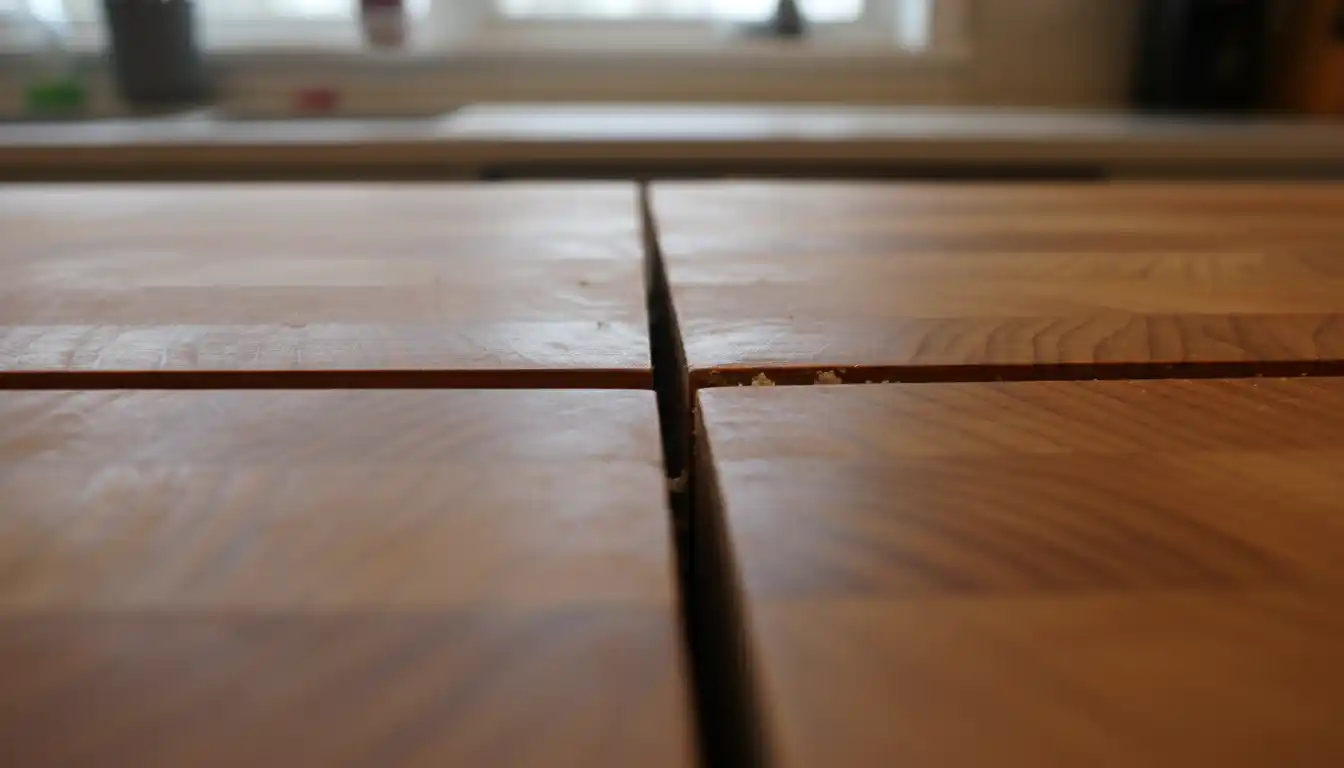
1. Static Gaps (The Wood Split)
These are cracks inside the board or separations between the glued staves (the individual strips of wood). These occur due to wood checking (drying out too fast) or adhesive failure during manufacturing. Because the wood on both sides of this crack moves together, you need a hard, rigid filler that bonds the two sides back together.
2. Dynamic Gaps (The Expansion Joint)
This is the space between your butcher block and the wall, backsplash, or adjacent cabinets. The butcher block expands in width (front to back) as humidity rises. If you fill this gap with a hard material like grout or wood filler, the moving wood will crush the filler and cause it to crumble out. These gaps require a flexible sealant.
Choosing the Right Filler Material
Professional woodworkers rarely use the pre-mixed “wood filler” tubs found in the paint aisle for butcher block. Those products often shrink, don’t take stain well, and look like a beige patch. Here are the superior alternatives.
The “Sawdust and Glue” Method (Best for Hairline Cracks)
For cracks narrower than a credit card, nothing beats making your own filler. By mixing waterproof wood glue (like Titebond III, which is food safe when cured) with fine sawdust from your sanding bag, you create a paste that exactly matches the species of your wood.
The Secret Ratio: Aim for a “peanut butter” consistency. Too much glue will leave a dark, glassy line. Too much sawdust will make it crumbly. A 1:1 mixture is a good starting point, but adding more dust usually hides the repair better. Note that this mixture will dry darker than the raw wood, so test it on a scrap piece if possible.
Epoxy Resin (Best for Knots and Large Voids)
For gaps wider than 1/8 inch or deep knotholes, glue will shrink and crack. Two-part epoxy resin is the gold standard here. It stabilizes the wood and fills the void completely without shrinking. You can tint epoxy with black pigment for a deliberate “feature” look, or mix it with sawdust for a natural blend.
100% Silicone vs. MS Polymer (For Wall Gaps)
For the joint where the counter meets the wall, avoid acrylic latex caulk (painters caulk) if the area gets wet. It degrades over time. Use 100% silicone for the best water resistance. However, silicone cannot be painted. If you need a paintable seal that is still flexible, look for an MS Polymer caulk. It offers the durability of silicone with the paintability of latex.
| Filler Type | Best Use Case | Durability | Food Safety* |
|---|---|---|---|
| Sawdust + Wood Glue | Hairline cracks, separated staves | High (Bonds wood together) | Yes (Use Titebond III) |
| Two-Part Epoxy | Large knots, deep voids, chips | Extreme (Stabilizes cracks) | Yes (Once fully cured) |
| Cellulose Wood Putty | Nail holes, non-structural cosmetic flaws | Low (Prone to shrinking) | Varies (Check label) |
| 100% Silicone | Wall/Backsplash expansion gaps | High (Flexible & Waterproof) | Yes (Cured silicone is inert) |
*Always verify the specific manufacturer’s safety data sheet (SDS) regarding direct food contact.
Step-by-Step Guide: Filling Cracks in the Surface
Repairing a split in the wood requires patience. Rushing the prep work is the most common reason repairs fail.
Step 1: Clean the Gap Thoroughly
Old food, grease, and crumbs are the enemy of adhesion. Use a dental pick, a needle, or a blast of compressed air to clean out the crack. If the crack is greasy, wipe it down with a little acetone or vinegar and let it dry completely. The filler needs raw wood to stick to, not oil.
Step 2: Masking and Protection
If you are using epoxy, this step is non-negotiable. Epoxy stains are notoriously difficult to sand out of the surrounding grain. Apply blue painter’s tape firmly along both sides of the crack, leaving only the gap exposed. If the crack goes all the way through the board (common in splits), you must tape the underside of the countertop as well, or the epoxy will simply drip onto your cabinet contents.
Step 3: Application and Overfilling
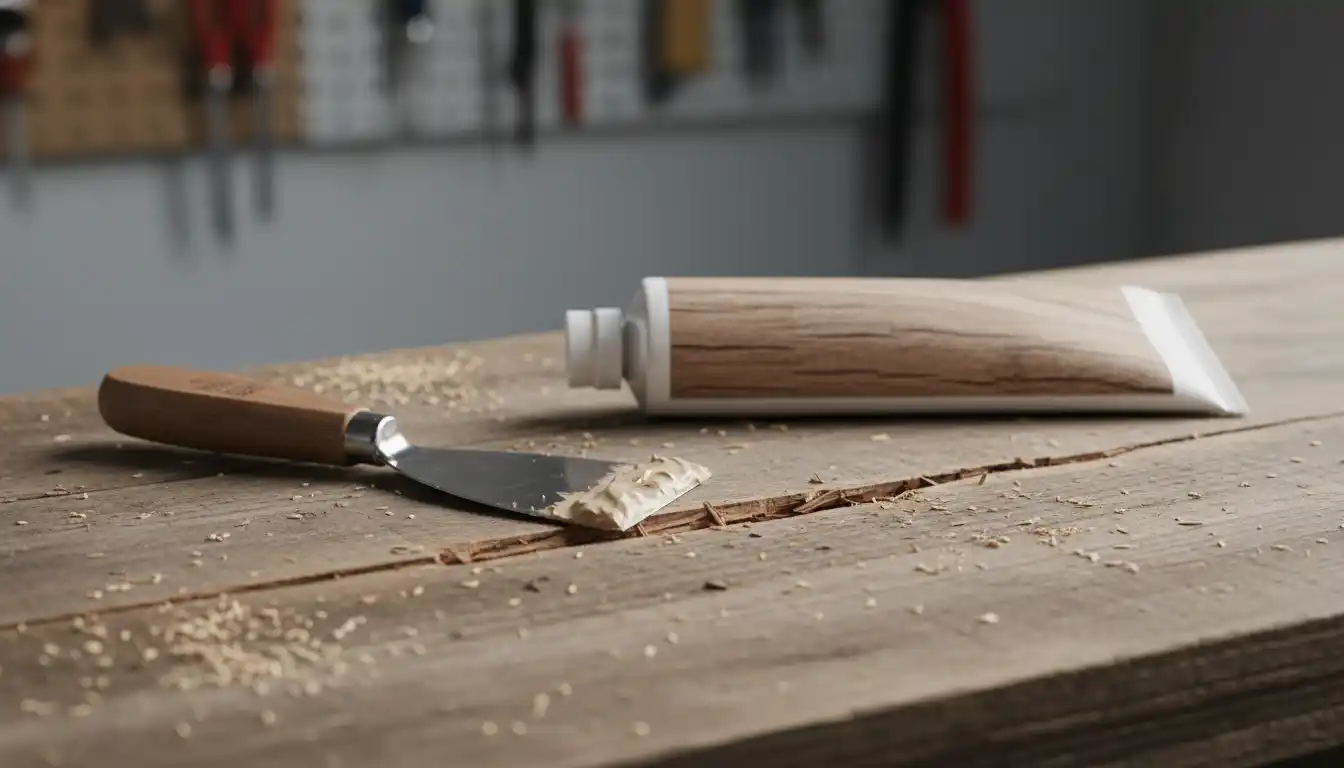
Whether you are using the sawdust-glue mush or epoxy, press the material deep into the crack. Don’t just bridge the top; you want to fill the void. Use a putty knife to force it down.
Crucially, you must overfill the gap slightly. As the mixture dries, it may settle or shrink (especially glue). A slight mound on top ensures that when you sand it flush, you won’t be left with a depression.
Step 4: Sanding Flush
Wait for the filler to cure completely. For wood glue, this is usually 24 hours. For epoxy, check the bottle (some cure in 5 minutes, others take 24 hours). Once hard, remove the tape. Use a random orbital sander with 120-grit paper to level the mound, then progress to 220-grit to blend the repair with the surrounding surface. If you are doing this indoors, you might want to consider how to manage dust without an attic or ventilation system, as fine wood dust hangs in the air.
Step-by-Step Guide: Sealing the Backsplash Gap
The gap at the wall requires a different approach. This is often where homeowners notice drafts or insulation issues, similar to seeing white stuff between double pane windows, which indicates a seal failure. You want to prevent water from dripping behind the cabinets.
1. Remove Old Caulk
Never apply new caulk over old caulk. Use a razor scraper or a caulk removal tool to strip the old sealant away. Clean the area with rubbing alcohol to remove soap scum.
2. The Tape Trick
For a crisp, professional line, apply painter’s tape to the wall and the countertop, leaving a 1/8 to 1/4 inch gap for the caulk bead. Apply the silicone. Smooth it immediately with a caulk tool or a soapy finger. Remove the tape immediately while the caulk is still wet. If you wait for it to dry, pulling the tape will rip the caulk out of the joint.
Finishing and Food Safety
Once your surface repair is sanded smooth, it will look dry and pale compared to the rest of the counter. You must re-seal the area. If you use mineral oil, simply flood the area and let it soak in. The sawdust filler will absorb the oil and darken, blending in with the surrounding wood.
If you have a film finish like polyurethane or Waterlox, you will need to spot-finish carefully. Feather out the edges of the new finish to avoid a visible “halo” ring. If you are doing a kitchen remodel and dealing with tricky spacing, such as a recessed stove outlet, ensure your butcher block has proper clearance from heat sources before applying fresh oil or poly, as heat can dry out the wood and cause new cracks.
Prevention: Stopping Gaps Before They Start
The best gap filler is prevention. Butcher block cracks almost always result from extreme dryness. In the winter, when your heating system dries out the air, the wood shrinks and splits. To prevent this:
- Oil Monthly: Keep the wood fibers saturated with mineral oil or a beeswax conditioner. This slows down the rate of moisture exchange.
- Seal the Bottom: If you installed the countertops yourself, did you seal the underside? If the top is sealed but the bottom is raw, the uneven moisture absorption will cause the wood to cup and crack.
- Control Humidity: Try to keep your home’s humidity between 40-50%. This is healthier for your wood floors, furniture, and countertops alike.