Water intrusion at the base of a wall is one of the most insidious problems a homeowner can face. It often goes unnoticed until the drywall swells, mold blooms, or the structural framing begins to rot. Whether you are finishing a basement, converting a garage, or simply fixing a leak in an existing room, properly sealing the connection between the wood framing and the concrete floor is critical.
The most effective method for waterproofing a wall on a concrete slab involves creating a capillary break using a closed-cell foam sill gasket, supplemented by a “sandwich” of acoustical sealant or polyurethane caulk on both sides of the gasket. For existing walls, applying a fluid-applied flashing membrane at the wall-to-slab junction creates a monolithic seal that prevents water from wicking into the framing.
This guide will walk you through the science of why these joints leak, the specific materials you need, and the step-by-step processes for both new framing and retrofitting existing walls.
The Science of the “Cold Joint” Leak
To fix the problem, you must first understand why it happens. The point where your wood wall meets the concrete floor is known as a “cold joint.” Even if the concrete looks dry, it is essentially a hard sponge.
Capillary Action Explained
Concrete is porous. Through a process called capillary action, moisture from the ground wicks up through the slab. When untreated wood touches this concrete, it acts like a wick, pulling that moisture up into the studs and drywall. This is why you often see rot starting at the bottom of a wall, even if there is no standing water.
The Pressure Treated Myth
Many homeowners believe that using pressure-treated (green) lumber for the bottom plate solves the problem. This is a dangerous misconception. While pressure-treated wood is resistant to rot, it is not waterproof. It will still absorb moisture from the slab and transfer it to the untreated studs above it and the drywall touching it. You need a physical barrier, not just chemically treated wood.
Method 1: New Construction & Framing (The “Sandwich” Seal)
If you are building a new wall or have stripped a room down to the studs, you have the best opportunity to waterproof the wall correctly. The goal here is total isolation of the wood from the concrete.
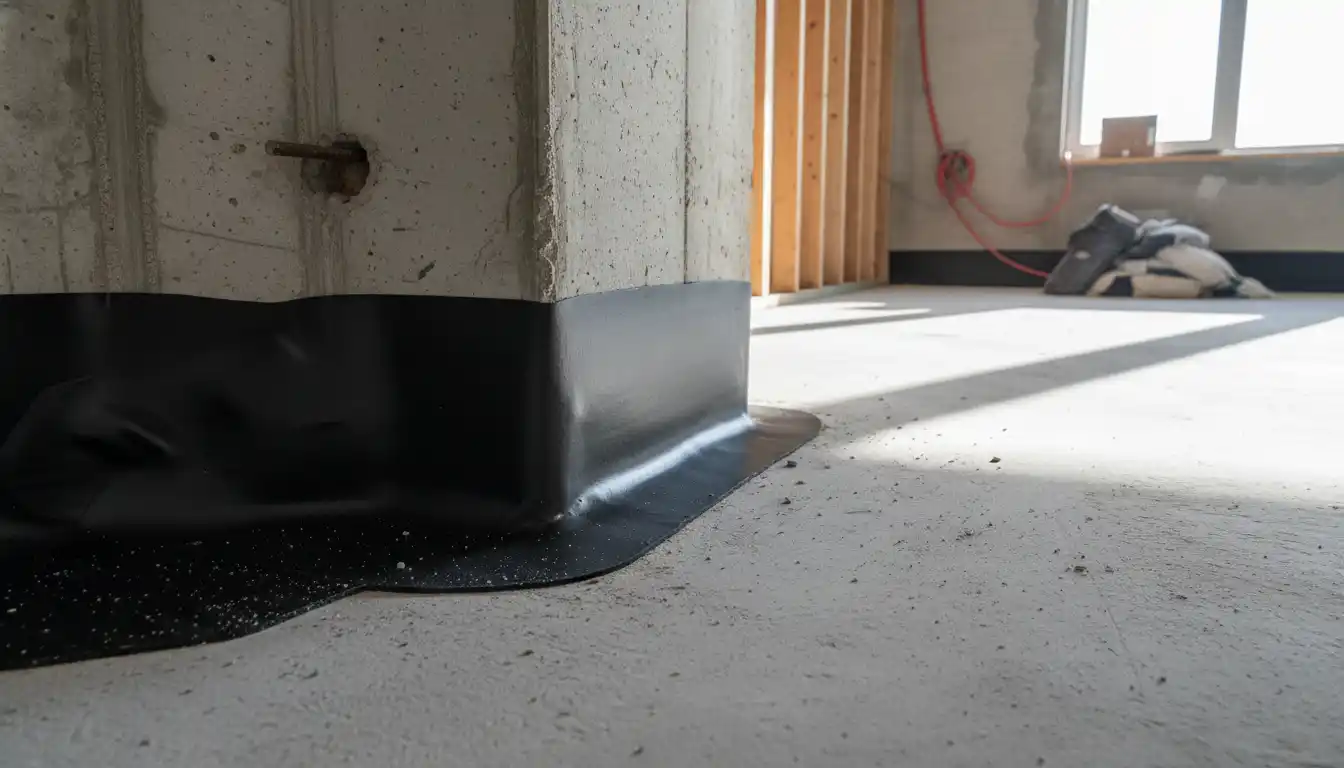
1. The Capillary Break (Sill Gasket)
The first line of defense is a sill gasket. This is usually a roll of pink or blue closed-cell foam. It prevents the wood from physically touching the cold, damp concrete. However, a gasket alone is often insufficient because concrete floors are rarely perfectly smooth. Small gaps underneath the foam can still allow air and water vapor to penetrate.
2. The Double-Bead Sealant Strategy
To create a true waterproof seal, you should use the “sandwich” method, which few standard building codes strictly require but all high-performance builders recommend:
- Step 1: Clean the concrete surface thoroughly to remove dust and debris.
- Step 2: Apply a thick bead of acoustical sealant or polyurethane adhesive directly to the concrete floor where the plate will sit.
- Step 3: Roll out the sill gasket over the wet sealant. This seals the gasket to the floor.
- Step 4: Apply a second bead of sealant on top of the gasket.
- Step 5: Place your pressure-treated bottom plate on top and bolt it down.
This compresses the sealant into every micro-crack in the concrete and the grain of the wood, creating an airtight and watertight bond. When framing these new walls, ensure your anchoring is solid. Unlike lighter projects where you might debate what size screws for balusters are appropriate, securing a sole plate requires heavy-duty expanding wedge anchors or Tapcons to compress that gasket effectively.
Method 2: Retrofitting Existing Walls (Stop the Leak)
Most readers are likely dealing with an existing wall that is already leaking. You cannot easily lift the house or wall to slide a gasket underneath. In this case, you need a “fillet” seal and a fluid-applied membrane.
Step 1: Expose the Joint
You must remove the baseboards and cut back the drywall at least 2 to 4 inches from the floor. You need access to the bare wood plate and the concrete floor. If you find black mold, you may need to replace the section of framing entirely. Renovation often brings surprises, like discovering a mounting bracket that doesn’t fit the junction box or finding rotted sole plates, so be prepared to pause and repair structural damage first.
Step 2: The Fillet Bead
Clean the corner where the wall meets the floor aggressively. Use a wire brush and vacuum. Once clean, apply a high-quality polyurethane sealant (not silicone) into the 90-degree angle between the wood and concrete. Tool this bead so it creates a ramp (fillet) rather than a flat line.
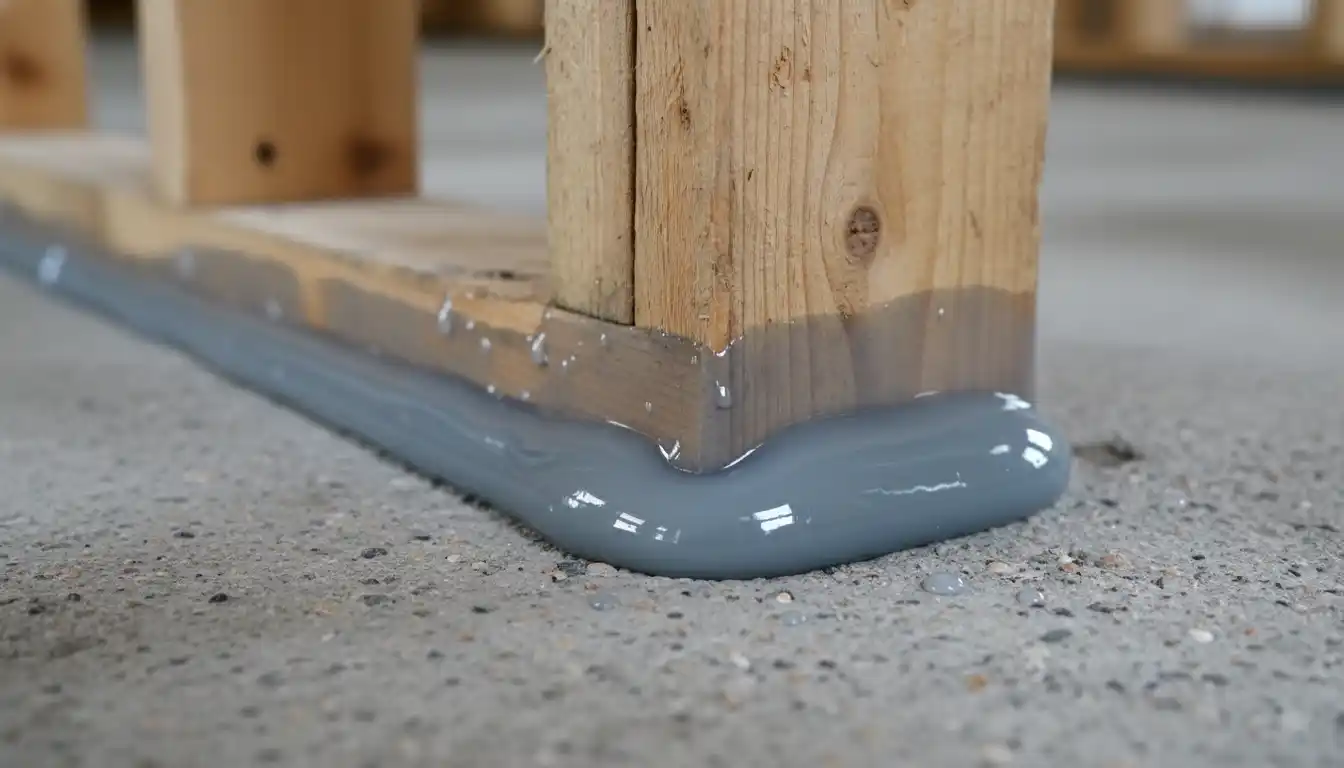
Step 3: Fluid-Applied Flashing
This is the “secret weapon” in modern waterproofing. Products known as “liquid flash” (often used for window installations) are incredible for this application. Paint this thick, rubber-like paste onto the concrete floor (about 2 inches out) and up onto the face of the wood plate (about 2 inches up).
This creates a continuous, rubberized boot around the base of the wall that bridges the gap between materials. It effectively waterproofs the exterior of the plate, preventing any water that pools on the slab from touching the wood.
Material Selection Guide
Choosing the right sealant is more important than the method itself. Silicone caulk will eventually peel off concrete due to alkalinity. Use this table to select the right materials.
| Material | Best Application | Pros | Cons |
|---|---|---|---|
| Polyurethane Sealant | Gap filling, fillet beads, under plates | Extreme adhesion to concrete; flexible; paintable. | Difficult to tool; sticky; long cure time. |
| Closed-Cell Sill Gasket | New construction capillary break | Cheap; effective capillary break; rot-proof. | Does not stop air or water under hydrostatic pressure without sealant. |
| Fluid-Applied Flashing | Retrofit waterproofing; exterior sheathing | Monolithic seal; bonds to everything; spans gaps. | Expensive; requires careful application thickness. |
| Acoustical Sealant | Bedding the sill gasket | Never hardens (stays sticky); self-healing seal. | Extremely messy; hard to clean up. |
Special Considerations for Finished Rooms
If you are waterproofing a kitchen or a bathroom, the stakes are higher. A leak here can ruin expensive cabinetry and flooring. In high-utility areas, such as a kitchen wall housing a recessed stove outlet, moisture wicking behind cabinets can be disastrous because it remains hidden for years.
The “Drywall Gap” Rule
Never install drywall so that it touches the concrete floor. Always leave a 1/2-inch gap between the bottom edge of the drywall and the slab. This prevents the gypsum core from sucking up moisture from the floor like a sponge. The baseboard will cover this gap.
Common Mistakes to Avoid
- Ignoring Exterior Drainage: You cannot waterproof a basement from the inside if you have a lake against your foundation outside. Ensure your gutters are clean and downspouts extend at least 6 feet away from the house.
- Using Silicone Caulk: As mentioned, silicone struggles to bond long-term with concrete. It will eventually pull away, leaving a gap that traps water.
- Sealing Both Sides of a Retaining Wall: If you are waterproofing a basement wall, be careful not to trap moisture inside the wall assembly. Generally, you want to stop water from entering, but if moisture does get in, it needs a way to dry out. However, for the sole plate on a slab, sealing the connection is generally safe and recommended.
Frequently Asked Questions About Waterproofing Walls on Concrete Slabs
Why is the junction between the wall and the concrete slab considered a critical vulnerability?
The area where the wall meets the concrete slab, often referred to as the “cold joint” or wall-floor junction, is the most common entry point for water intrusion. Because concrete shrinks as it cures and walls shift due to thermal expansion, a microscopic gap often forms here. Without proper waterproofing, hydrostatic pressure can force water through this gap, leading to rising damp, mold growth, and structural decay of the bottom plate or drywall.
What is a “cant strip” or “fillet” and why is it necessary for waterproofing?
A cant strip or fillet is a piece of material (often mortar or sealant) shaped to create a 45-degree angle at the 90-degree corner where the wall meets the floor. This is essential because most waterproofing membranes cannot withstand the stress of bending at a sharp 90-degree angle without cracking. The fillet smooths the transition, ensuring the waterproofing membrane remains continuous and intact during structural movement.
Can I apply waterproofing directly over wet or damp concrete?
Generally, standard waterproofing systems require the concrete to be fully cured and dry to ensure proper adhesion. Applying a membrane over wet concrete can trap moisture, causing blisters and delamination as the water vapor tries to escape. However, specific “damp-tolerant” epoxies or primers exist that can be applied to green concrete or damp substrates; always consult the manufacturer’s technical data sheet (TDS) before application.
What is the difference between positive-side and negative-side waterproofing?
Positive-side waterproofing is applied to the exterior face of the wall and slab, stopping water before it enters the structural elements. This is the most effective method as it protects the structure from water damage and corrosive chemicals. Negative-side waterproofing is applied to the interior surface (inside the room). While useful for remedial repairs where the exterior is inaccessible, it allows water to penetrate the wall structure, which acts merely as a dam to keep the interior dry.
How should I prepare the concrete surface before applying a liquid membrane?
Surface preparation is the most critical step for long-term success. The concrete slab must be clean, dry, and sound. You must remove all oil, grease, curing compounds, laitance (weak top layer of cement), and dust, usually via grinding or pressure washing. If the surface is too smooth, it may need to be mechanically roughened to create a surface profile (CSP) that allows the waterproofing material to mechanically bond to the slab.
Do I need a primer before applying the main waterproofing layer?
Yes, in the vast majority of cases, a primer is required. The primer penetrates the concrete pores to create a chemical bond and seals the substrate to prevent pinholes caused by outgassing. Skipping the primer can lead to poor adhesion and premature failure of the waterproofing system. Ensure the primer chosen is compatible with your specific topcoat membrane.
How does a capillary break differ from surface waterproofing?
A capillary break is a physical barrier, such as a plastic Damp Proof Course (DPC) or a layer of crushed stone under the slab, designed to stop water from wicking upward through porous materials. While surface waterproofing seals the outside, a capillary break is installed during construction to interrupt the flow of moisture through capillary action. Ideally, a wall-on-slab system utilizes both a DPC under the wall plate and a surface membrane for maximum protection.
What type of waterproofing material is best for high-movement areas?
For areas subject to thermal expansion or settling, elastomeric waterproofing membranes are the superior choice. Materials such as polyurethane liquids or rubberized asphalt sheets possess high elongation properties, meaning they can stretch significantly without tearing. Cementitious coatings, while strong, are generally rigid and may crack if the slab or wall shifts, compromising the seal.
How do I treat existing cracks in the concrete slab before waterproofing?
Existing cracks must be treated as separate “detailing” work before the main waterproofing application. Hairline cracks can often be bridged by a high-build primer or a stripe coat of the membrane. Larger dynamic cracks usually require routing out (widening) the crack and filling it with a polyurethane sealant or installing a bond breaker tape over the crack. This prevents the movement of the crack from telegraphing through and tearing the new waterproofing layer.
Is a protection board necessary after waterproofing the exterior wall?
Yes, if you are waterproofing an exterior foundation wall that will be backfilled with soil, a protection board or drainage mat is mandatory. Backfilling involves heavy earth and rocks that can puncture, tear, or drag down the waterproofing membrane. A protection board acts as a shield against physical damage during the construction process and provides a drainage plane to direct water down to the footing drain.
Conclusion
Waterproofing a wall on a concrete slab is about more than just
keeping water out; it is about preserving the structural integrity of
your home. By isolating the wood from the concrete with a capillary
break and using high-performance fluid membranes to seal the joint, you
can ensure your walls stay dry and rot-free for decades.
Whether you are building new and using the “sandwich” gasket method
or retrofitting with liquid flashing, taking the time to do this detail
right is the best investment you can make in your home’s longevity.