Basements are often the most underutilized spaces in a home, plagued by dampness, drafts, and security concerns. Old, single-pane windows are frequently the culprits behind these issues. To fill in a basement window correctly, you must completely remove the existing sash and frame, clean the rough concrete opening, install concrete masonry units (CMUs) with Type S mortar, and apply a heavy-duty exterior waterproofing membrane to prevent future leaks.
Ignoring a failing basement window can lead to significant water damage, mold growth, and energy loss. Many homeowners hesitate to tackle this project, fearing it requires expensive professional help. However, with the right materials and a methodical approach, sealing a basement opening is a manageable task that permanently enhances your home’s envelope. This guide provides a detailed, professional roadmap to eliminating that unwanted window for good.
Why You Should Fill in a Basement Window
Deciding to permanently close an opening in your foundation is a significant alteration. Understanding the benefits can help justify the effort and cost involved. Most homeowners choose this path for three primary reasons: water management, security, and renovation layout changes.
Basement windows, especially those in older homes, are notorious for leaking. They are often located at ground level, where snow piles up and rainwater pools. Over time, the seals fail, and water seeps into the wall cavity. By filling the window with solid masonry, you eliminate this weak point entirely, creating a continuous barrier against groundwater.
Security is another major factor. Basement windows are often tucked away in shadows and are easy to break, making them a preferred entry point for intruders. Filling the opening with concrete blocks creates an impenetrable wall, significantly upgrading your home’s physical security profile. Furthermore, if you are remodeling to add a bedroom or a home theater, a window might interfere with your desired wall layout or screen placement.
Assessing the Scope: DIY vs. Professional Masonry
Before swinging a sledgehammer, you must evaluate the complexity of your specific situation. While many eager DIYers can handle this project, certain structural conditions require a professional eye. If your foundation shows signs of bowing, significant cracking, or shifting near the window, do not proceed without consulting a structural engineer.
Safety Considerations and Permits
Masonry work involves heavy lifting and exposure to silica dust. Always wear a respirator approved for concrete dust, safety glasses, and heavy gloves. Additionally, standard safety protocols suggest checking local building codes. Some jurisdictions have strict egress requirements. If the window you plan to fill is the only exit from a basement bedroom, removing it may violate fire safety codes. Ensure you have alternative egress routes established before sealing the opening.
Tools and Materials Required
Success in masonry depends heavily on having the right supplies on hand. Using incorrect mortar or skipping the waterproofing layer will result in a patch that cracks and leaks within a year. The following table outlines the essential materials and their specific functions in this process.
| Category | Item | Purpose |
|---|---|---|
| Masonry | Concrete Blocks (CMUs) | Fills the bulk of the opening; choose 4″, 6″, or 8″ width to match wall. |
| Bonding | Type S Mortar | High-strength mortar specifically designed for below-grade structural applications. |
| Anchoring | Rebar or Wall Ties | Metal reinforcement drilled into the existing wall to tie the new blocks to the old foundation. |
| Waterproofing | Bituminous Membrane | Self-adhering sheet applied to the exterior to stop water penetration. |
| Finishing | Hydraulic Cement | Fast-setting cement used to seal the immediate gaps and stop active leaks. |
Phase 1: Demolition and Preparation
The longevity of your new wall depends entirely on the preparation of the old opening. You cannot simply brick over a wooden frame. The wood will eventually rot, causing the masonry to collapse or settle. You must strip the opening down to the bare concrete foundation.
Removing the Old Sash and Frame
Start by removing the glass sash. If the window is stuck, you may need to break the glass carefully or cut the sash cords. Once the glass is gone, attack the frame. For wood frames, use a reciprocating saw to cut through the bottom sill and the side jambs. Collapse the frame inward with a pry bar. If you have a steel buck window (common in poured concrete foundations), removal is more difficult. You may need an angle grinder to cut the metal tabs holding it into the concrete. Removing the steel completely is best to prevent rust jacking later.
Cleaning and Keying the Concrete
Once the frame is out, you will be left with a rough concrete opening. Use a wire brush and a vacuum to remove all loose debris, moss, old caulk, and dirt. This step is non-negotiable. Mortar will not bond to dirty surfaces. To ensure a mechanical bond, it is often helpful to chip the smooth surface of the existing concrete with a cold chisel. This “keying” process gives the new mortar something to grip.
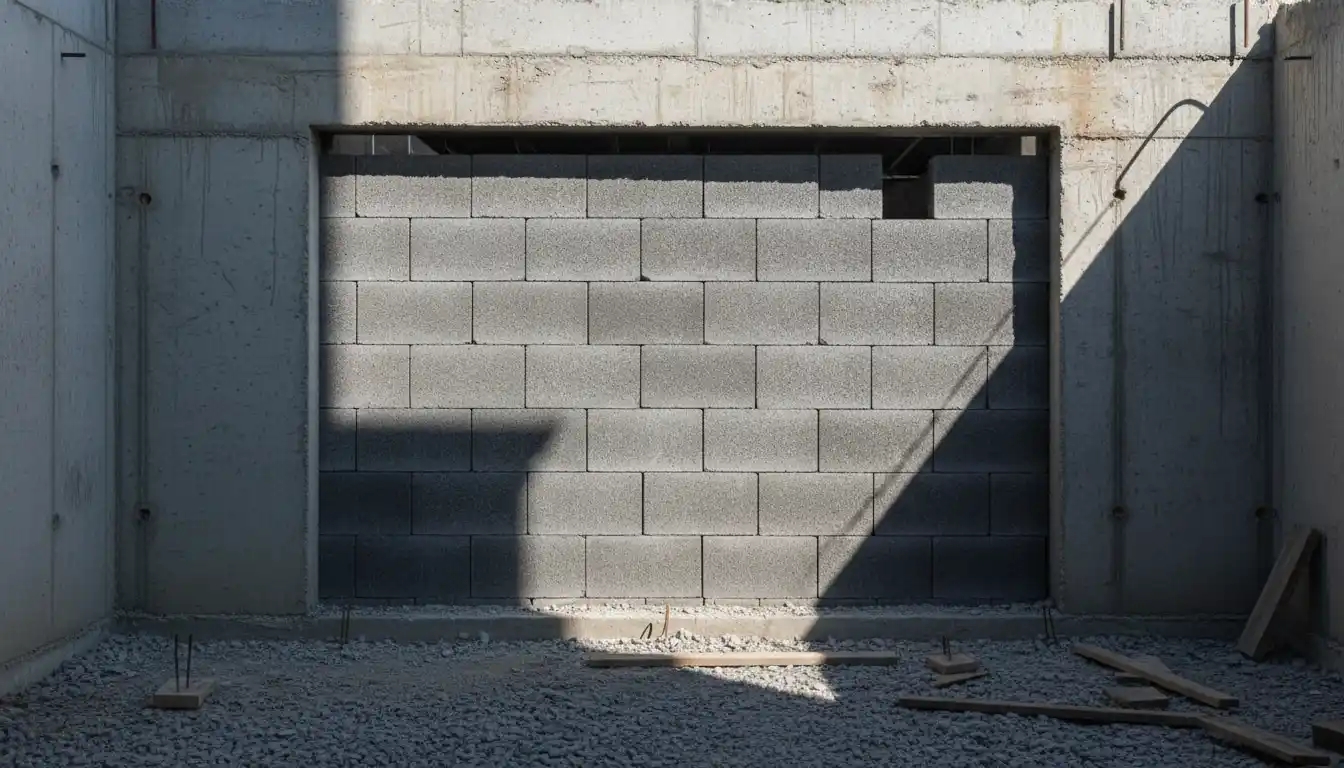
Phase 2: Installing the Concrete Blocks
With the opening prepped, you are ready to rebuild the wall. This is the most labor-intensive part of the project. If you are not experienced with masonry, take your time to ensure the blocks are level and plumb.
Laying the Base Course
Mix your Type S mortar until it reaches the consistency of peanut butter. It should stick to your trowel without sliding off. Trowel a thick bed of mortar onto the bottom of the window opening (the sill). Place your first concrete block into the opening. Tap it gently with the handle of your trowel to seat it. Use a level to ensure it is perfectly horizontal and aligned with the face of the existing foundation wall.
Tying into the Existing Wall
This is a step many online guides skip, but it is vital for structural integrity. You should not rely on mortar adhesion alone to hold the new block wall in place. Drill holes into the existing foundation wall on the sides of the opening, corresponding to the mortar joints of your new blocks. Insert short lengths of rebar or metal wall ties into these holes. As you lay your mortar and blocks, these metal ties will become embedded in the joint, mechanically locking the new patch to the old house. This prevents the new block section from pushing inward due to soil pressure.
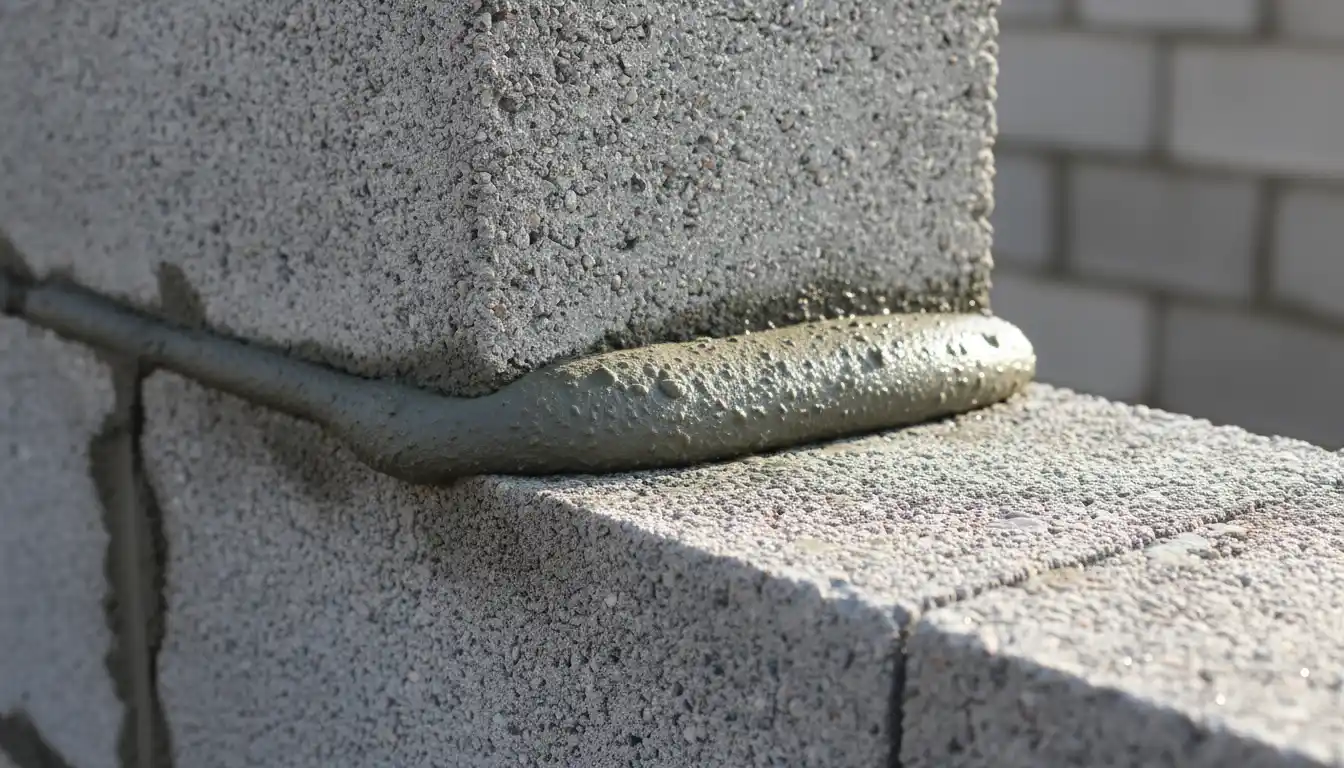
Stacking and Buttering
Continue stacking the blocks. “Butter” the ends of each block with mortar before sliding it next to its neighbor. Stagger the joints if possible, though in small window openings, a simple stack bond (blocks directly on top of each other) is often unavoidable. If you must use a stack bond, the metal wall ties mentioned above are even more critical. Fill any voids in the blocks with rubble and mortar for added mass and security.
The Final Gap
When you reach the top of the opening, you will likely have a small gap between the last block and the existing header that is too small for a full block but too large for just mortar. You can cut a block to fit using a masonry saw, or use bricks to fill the space. Pack the final joint tight with mortar. Some pros prefer to leave a small 1/2 inch gap at the very top and fill it with expanding polyurethane foam designed for masonry. This allows for slight expansion and contraction without cracking the rigid block.
Phase 3: Exterior Waterproofing and Drainage
The masonry work provides the structure, but waterproofing provides the protection. Concrete blocks are porous; without a barrier, water will wick right through them into your basement. This phase must be done from the outside.
Applying the Membrane
Wait for the mortar to cure for at least 24 to 48 hours. Once dry, apply a primer to the exterior of the new blocks and the surrounding old foundation (overlap by at least 6 inches). Apply a self-adhered bituminous waterproofing membrane (often called “peel-and-stick”) over the entire patch. Ensure the membrane extends well beyond the edges of the filled window. This creates a continuous waterproof skin.
Addressing Drainage Issues
Even the best patch will fail if your yard funnels water directly against it. Ensure the soil grade slopes away from your foundation. If you have experienced drainage issues in other areas, such as standing water in a pop-up drain, you know how critical proper flow is. The same logic applies here; keep the water moving away from your new masonry work.
For added protection, install a dimpled drainage board over the waterproofing membrane before backfilling the dirt. This board creates an air gap that allows water to flow down to the footing drains rather than pressing against the wall.
Phase 4: Interior Insulation and Finishing
Now that the outside is sealed, move indoors. A common mistake is to simply drywall over the concrete blocks. This creates a “thermal bridge.” Concrete is a poor insulator. In winter, that block patch will be significantly colder than the surrounding insulated walls, leading to condensation, wet drywall, and mold.
Breaking the Thermal Bridge
Glue rigid foam insulation boards (XPS or EPS) directly to the interior face of the new concrete blocks. Seal the edges of the foam with spray foam. This continuous layer of insulation prevents the warm interior air from touching the cold concrete, eliminating condensation risks. If you are converting the space into a high-use area like a kitchen, maintaining a stable temperature is key. You don’t want to fight against cold drafts while trying to make water boil faster on a gas stove or keep dinner warm. Proper insulation ensures your heating system works efficiently.
Framing and Drywall
Once the foam is in place, you can frame a small wall section over it to match the surrounding depth. Install drywall, tape, mud, and paint. If done correctly, the location of the old window will be completely invisible from the inside.
Exterior Aesthetics: Parging
The final step is making the exterior look good. You now have a patch of concrete blocks showing on your foundation. To blend this in, you need to apply a parge coat. Parging is a thin coat of cement-based mortar applied over masonry to provide a smooth, decorative finish.
Mix a parging mix and apply it with a trowel. You can texture it with a brush or sponge to match the age and style of your existing foundation. If you have other exterior elements that need attention, such as painting Bilco doors with Rustoleum, now is an excellent time to address all your basement exterior maintenance tasks at once.
Troubleshooting Common Post-Installation Issues
Even with careful execution, problems can arise. The most common issue is hairline cracking at the joint between the old and new concrete. This is usually due to the house settling or thermal expansion. If hairline cracks appear, seal them immediately with a high-quality polyurethane masonry caulk. Avoid rigid fillers for these cracks, as they will simply crack again.
If you notice damp spots appearing on your interior drywall after a heavy rain, it indicates a failure in the exterior waterproofing. Unfortunately, the only true fix is to excavate the outside soil and re-apply the waterproofing membrane. This highlights the importance of doing the exterior sealing correctly the first time.
Conclusion
Filling in a basement window is a project that pays dividends in comfort, energy efficiency, and security. While it involves heavy labor and attention to detail, the process is straightforward. By focusing on the critical steps of anchoring the new blocks to the old foundation and establishing a robust waterproof barrier, you ensure that your basement remains dry and secure for decades to come. Whether you are reclaiming wall space for a renovation or simply hardening your home’s defenses, this permanent solution is often the best choice for aging basement windows.