A crowded electrical panel is more than just an eyesore; it is a potential safety hazard and a source of frustration for any homeowner attempting a renovation. Whether you are installing a new subpanel for a garage or simply adding circuits to a maxed-out main breaker box, running out of terminal slots for your ground wires is a common hurdle. Many DIYers resort to dangerous shortcuts, such as “double tapping” multiple wires under a single screw or using incorrect fasteners that fail to create a safe electrical path.
To add a ground bar to a panel, you must purchase a UL-listed ground bar kit compatible with your enclosure, mount it directly to the metal cabinet using machine screws (typically 10-32 thread) or listed grounding screws to ensure electrical continuity, and torque all wire connections to the manufacturer’s specifications.
This guide will walk you through the precise, code-compliant method to install a ground bar. We will move beyond the basics and explain why the common “sheet metal screw” hack violates the National Electrical Code (NEC) and why torque specifications are the secret to a fire-free electrical system.
Why You Need an Additional Ground Bar
Most modern service panels come with a combination of neutral and ground buses. However, as homes grow and electrical needs expand, these bars fill up quickly. You typically need to add a ground bar in two specific scenarios: panel overcrowding and subpanel installation.
Solving Panel Overcrowding
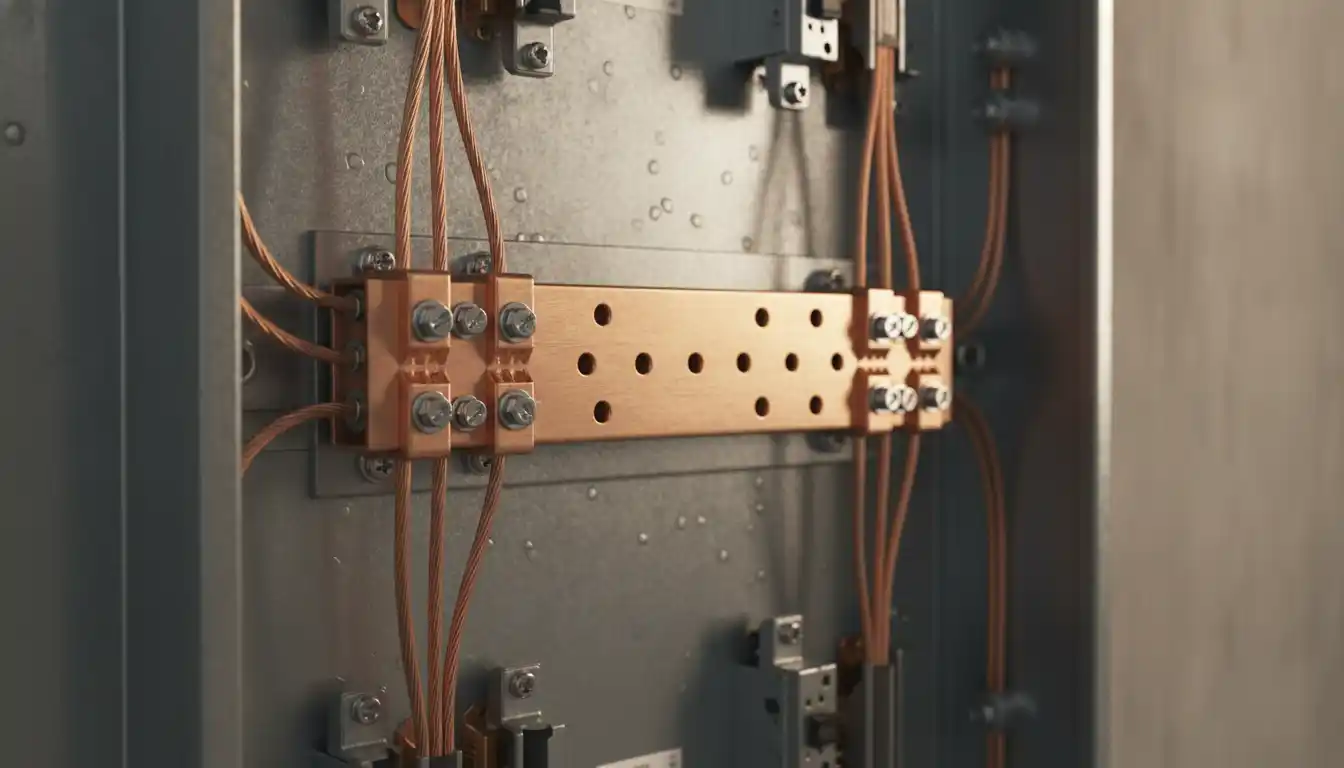
In older panels, it was common practice to place multiple ground wires under a single terminal screw. While some manufacturers allow two or three copper ground wires of the same size under one lug, mixing wire gauges or exceeding the allowed number is a code violation. Adding a new ground bar gives you fresh, dedicated terminals for every circuit, ensuring each wire is securely fastened.
The Subpanel Requirement: Separating Grounds and Neutrals
If you are installing a subpanel (a secondary panel fed from the main service), NEC 250.32 requires you to strictly separate the neutral wires (grounded conductors) from the ground wires (equipment grounding conductors). In the main service panel, neutrals and grounds are bonded together. In a subpanel, the neutral bar must “float” (remain isolated from the metal cabinet), while the ground bar must be bonded directly to the metal enclosure. Since most panels come with bonded bars by default, you often need to install a separate add-on ground bar kit to satisfy this safety requirement.
The “Sheet Metal Screw” Trap: A Critical Safety Warning
One of the most dangerous myths in electrical work is that you can mount a ground bar using any screw that fits. You might see forum posts or videos suggesting the use of standard self-tapping sheet metal screws. This is a severe violation of NEC 250.8.
Standard sheet metal screws are prohibited for grounding connections. Their coarse threads do not engage enough metal to guarantee a low-impedance path for fault current. If a short circuit occurs, a ground bar held on by a sheet metal screw might fail to trip the breaker, leading to energized metal parts and a risk of electrocution.
To comply with the code, you must use one of the following:
- Machine Screws: These have fine threads (commonly 10-32) and must engage at least two full threads into the enclosure metal.
- Listed Grounding Screws: These are specialized thread-forming screws (often green or tri-lobular) designed specifically to cut into the panel steel and create a permanent, gas-tight bond.
Tools and Materials You Will Need
Before you open the panel, ensure you have the correct gear. Working inside a panel requires precision and safety.
- Ground Bar Kit: Ideally, buy the kit made by your panel’s manufacturer (e.g., Square D, Siemens, Eaton). Universal kits exist but verifying the listing compatibility is easier with the same brand.
- Drill and Tap Set (10-32): If your panel does not have pre-drilled mounting holes, you will need to drill and tap your own.
- Torque Screwdriver: Essential for tightening terminal screws to the correct inch-pounds.
- Voltmeter / Non-Contact Voltage Tester: To verify power status.
- PPE: Safety glasses and insulated gloves.
Step-by-Step Guide to Install a Ground Bar
This process assumes you have basic electrical safety knowledge. If you are uncomfortable working near live bus bars, hire a licensed electrician. Even when the main breaker is off, the service entrance cables coming from the meter are always live.
1. Safety and Power Shutdown
Turn off the main breaker to kill power to the branch circuits and the bus bars. Use your voltmeter to confirm that the panel is de-energized. Remember, the big wires feeding the main breaker are still hot. Treat them with extreme caution and never touch them.
2. Selecting the Mounting Location
Look for pre-existing raised “nubs” or pre-drilled holes in the back of the panel enclosure. Manufacturers often punch these holes specifically for accessory ground bars. If you find them, they are usually spaced to fit the standard bars for that brand.
If no holes exist, or they are in an inconvenient spot, you can drill new ones. Choose a location that allows your ground wires to reach easily without stretching. Ensure you are not drilling into the wall behind the panel where plumbing or other wires might hide.
3. Preparing the Metal Surface
Electrical continuity is key. If you are mounting the bar over a painted surface, you must ensure the bar makes metal-to-metal contact with the enclosure. While listed thread-forming screws are designed to cut through paint, it is best practice to scrape away a small patch of paint where the screw heads or the bar itself will contact the steel. This guarantees a solid bond.
4. Mounting the Bar
If using pre-tapped holes, simply align the bar and drive the provided machine screws. If you are drilling new holes:
- Mark the hole locations using the ground bar as a template.
- Drill a hole using a #21 drill bit (for a 10-32 tap).
- Use a 10-32 tap to thread the holes.
- Vacuum up all metal shavings immediately. Metal shavings falling into breakers or bus bars can cause a catastrophic explosion when power is restored.
- Secure the bar using 10-32 machine screws.
Wiring the Ground Bar
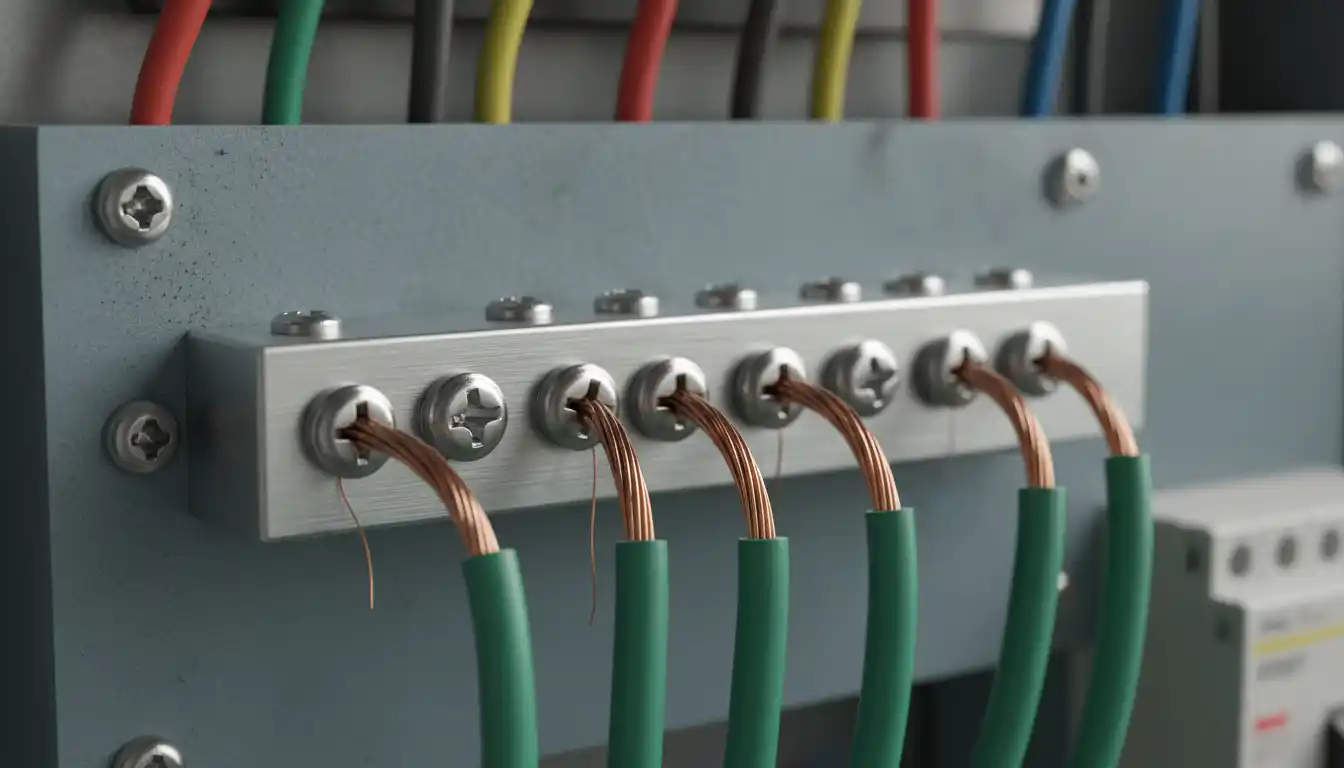
With the bar securely mounted, you can now land your ground wires. Proper wire management is crucial here. Do not let your electrical work be sloppy. Just as you wouldn’t accept a paint roller leaving texture on a smooth finished wall, you shouldn’t accept messy “spaghetti” wiring in your panel.
Strip and Insert
Strip the insulation off the ground wires (if they are insulated) back about 0.5 to 0.75 inches. Insert the wire fully into the terminal. The copper should be visible on the other side of the lug, but insulation should not be pinched under the screw.
Torque to Spec
This is where most DIYers fail. “Hand tight” is not a measurement. Loose connections cause arcing and fires; overtightened connections shear the wire. You must use a torque screwdriver. The torque specification is usually printed on the label inside the panel door or on the ground bar packaging.
| Wire Size (AWG) | Typical Torque (Inch-Pounds) |
|---|---|
| 14 – 10 AWG (Copper) | 20 in-lbs |
| 8 AWG (Copper) | 25 in-lbs |
| 6 – 4 AWG (Copper) | 35 in-lbs |
| Large Lugs (Main Ground) | 50+ in-lbs (Check Label) |
Bonding Requirements and Code Compliance
Once the bar is installed and wired, you must ensure it is correctly bonded. In a main service panel, the ground bar is bonded to the neutral bar (often via a strap or screw) and to the metal enclosure.
In a subpanel, the rules change significantly. Your new ground bar must be bonded to the metal case (which you achieved by screwing it down), but it must remain completely separate from the neutral bar. Ensure no green bonding screw is installed in the neutral bar of your subpanel. If you are running conduit near utility lines, such as in a basement renovation where you might ask can you paint pex pipe for color-coding, always keep your electrical and plumbing systems distinct and properly grounded.
Furthermore, if you are upgrading a bathroom or kitchen circuit to a switched gfci, you will likely need to extend the ground wire to your new ground bar. The GFCI requires a solid reference to ground to function correctly, making your new ground bar installation critical for the device’s safety features.
Final Safety Checks
Before closing the panel, perform a “tug test” on your wires to ensure they are seated firmly. Verify that no stray copper strands are touching adjacent terminals or the neutral bar (in subpanels). Use your vacuum one last time to remove any dust or debris.
Adding a ground bar is a straightforward task if you respect the power of electricity and the rules of the NEC. By using the correct machine screws, scraping the paint for a good bond, and torquing your connections, you ensure that your home’s grounding system will perform flawlessly when it matters most.