Drywall pillowing, often appearing as unsightly bulges or waves on your walls and ceilings, is a common issue for homeowners. This frustrating problem can transform a perfectly smooth surface into one resembling a “ruffles potato chip”. Understanding the root causes and implementing effective solutions is crucial for maintaining the aesthetic appeal and structural integrity of your home.
Ignoring drywall pillowing can lead to more significant structural damage, mold growth, and costly repairs down the line. This comprehensive guide will delve into what causes pillowing, how to accurately diagnose it, and provide actionable steps to achieve smooth, flawless drywall surfaces that stand the test of time.
Understanding Drywall Pillowing: What It Is and Why It Happens
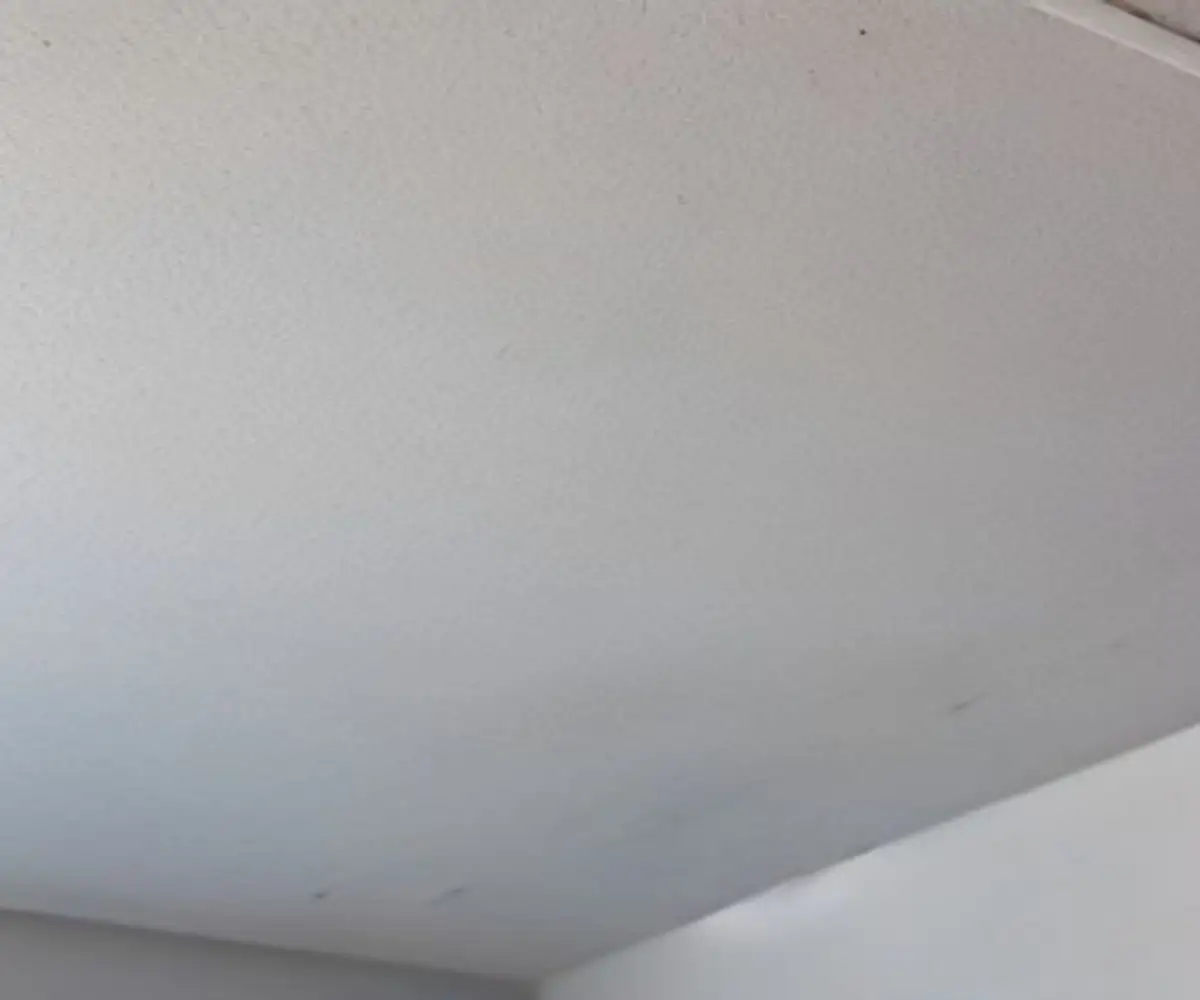
Drywall pillowing refers to the visible bowing or bulging of drywall panels, typically between framing members. This phenomenon is particularly common on ceilings, especially in top-floor rooms where roof trusses are spaced widely. It often indicates an underlying issue that needs immediate attention, not just a cosmetic fix.
Common Causes of Drywall Pillowing
Several factors can contribute to drywall pillowing. Identifying the specific cause in your home is the first step toward a lasting repair. These causes range from environmental conditions to installation errors.
1. Moisture and Humidity Fluctuations
Drywall, primarily composed of a paper-covered gypsum core, is highly susceptible to moisture. When humidity levels rise, drywall absorbs moisture and expands. Conversely, it shrinks when humidity drops, leading to continuous swelling and shrinking that can cause cracks, warping, and pillowing over time. High humidity can also cause paint or wallpaper to bubble, peel, or become discolored. This is particularly prevalent in humid climates or basements.
2. Improper Drywall Installation
Many pillowing issues stem from mistakes made during the initial drywall installation. These errors can compromise the long-term stability of your walls and ceilings.
- Insufficient Fasteners: Using too few screws or nails, or spacing them too far apart, can cause drywall panels to loosen and sag. Over time, these fasteners can also “pop,” becoming visible bumps on the surface.
- Wrong Drywall Thickness: For ceilings, especially those with 24-inch on-center truss spacing, using 1/2-inch drywall instead of the recommended 5/8-inch thickness is a common culprit. Thinner drywall simply isn’t strong enough to handle the span, particularly when combined with the weight of attic insulation.
- Poor Framing: Drywall installation problems often begin with framing issues. Irregular stud spacing, bowed or twisted framing members, or missing blocking at drywall joints can make it impossible to achieve flat surfaces. Even perfectly installed drywall will follow the contours of inadequate framing, leading to wavy walls.
- Improper Joint Compound Application: While less directly related to pillowing, issues like bubbling joint compound can mimic similar surface imperfections. This often happens when mud is applied too thickly, trapping moisture, or when applied over previously painted surfaces without proper preparation.
3. Excess Weight from Insulation
In attics above ceilings, added insulation can exacerbate pillowing, especially if the original drywall was too thin or improperly installed. The sheer weight of blown-in cellulose or even rolled fiberglass can press down on the drywall between joists, causing it to sag. Wet insulation, from a roof leak or poor ventilation, can significantly increase this weight and lead to more severe sagging.
4. Water Damage and Leaks
Direct water damage from leaking pipes, roof leaks, or plumbing failures is a major cause of bulging and pillowing drywall. Water saturates the gypsum core, causing it to swell, soften, and lose its structural integrity. This can also lead to mold growth, which poses both a structural and health risk. It’s important to fix the source of the leak before attempting any repairs.
5. Structural Settlement
The natural settling of a home over time, or more significant foundation shifts, can exert pressure on drywall seams and panels. This movement can cause drywall to bulge or crack, particularly in older homes.
Diagnosing Drywall Pillowing: What to Look For
Before attempting any repairs, it’s crucial to thoroughly inspect the affected area. A sound repair begins with understanding the specific nature and cause of the damage.
- Visual Inspection: Look for visible bowing, waves, or bulges, especially between ceiling joists or wall studs. Pay attention to cracks along seams or at corners.
- Touch Test: Gently press on the pillowed areas. If the drywall feels soft, spongy, or crumbles, it indicates significant moisture damage and potential loss of integrity. If it feels firm but still bulges, the issue might be related to insufficient fastening or inadequate thickness.
- Check for Stains and Odors: Brown staining or a musty smell strongly suggests water damage and potential mold growth.
- Inspect the Attic/Above Area: If the pillowing is on a ceiling, inspect the attic above for signs of leaks, wet insulation, or improper drywall installation (e.g., 1/2-inch drywall on 24-inch centers with heavy insulation).
- Fastener Pops: Look for small, circular bumps where screw or nail heads have pushed through the joint compound and paint. This is often a sign of movement or insufficient fastening.
Comprehensive Solutions to Fix Drywall Pillowing
The repair method depends heavily on the underlying cause and severity of the pillowing. Addressing the root problem is paramount to prevent recurrence.
Step 1: Address the Root Cause
Before any cosmetic repairs, fix what caused the pillowing in the first place. This is the most critical step for a lasting solution.
- Stop Water Leaks: Identify and repair any plumbing leaks or roof issues immediately. Allow the area to dry completely using fans and dehumidifiers for at least 48-72 hours before proceeding with repairs. This is crucial for preventing mold and ensuring new materials adhere properly.
- Manage Humidity: Install dehumidifiers in humid areas like basements and ensure proper ventilation in bathrooms, laundry rooms, and kitchens. Running exhaust fans after use helps push damp air outside. Consider using moisture-resistant drywall in consistently high-humidity zones.
- Reinforce Framing: If framing is inadequate or spaced too widely (e.g., 24 inches on center for 1/2-inch ceiling drywall), consider adding furring strips or blocking perpendicular to the existing joists. This provides additional support for the drywall. Ensure all drywall edges are properly supported by solid framing.
- Adjust Insulation: If excessive or wet insulation is the cause, address moisture issues first. Then, consider reducing the weight or replacing it with lighter, dry insulation. If the drywall thickness is insufficient for the span and insulation weight, replacement might be the only permanent solution.
Step 2: Repairing Minor Pillowing and Loose Drywall
For minor sagging where the drywall is dry, firm, and only slightly loose, resecuring it can be an option.
Tools and Materials Needed:
- Drywall screws (2-1/2 inch for ceilings if adding furring strips, or appropriate length for existing framing)
- Drywall screw gun or drill with a depth-setting bit
- Stud finder
- Pencil
- Straightedge or level
- Joint compound (all-purpose or lightweight)
- Drywall tape (paper or fiberglass mesh)
- Putty knives (6-inch, 10-inch, or 12-inch)
- Sanding sponge or sandpaper (120-150 grit)
- Primer (PVA or stain-blocking for water damage)
- Clean cloths
Procedure:
- Locate Framing: Use a stud finder to accurately locate the ceiling joists or wall studs behind the pillowed area. Mark these lines with a pencil.
- Secure Drywall: Drive new drywall screws into the center of the pillowed areas, ensuring they penetrate into the framing. Space screws approximately 6-8 inches apart along the joists/studs. Drive screws just below the surface, creating a slight dimple without breaking the paper face. Avoid over-tightening.
- Address Nail Pops: If existing nail pops are present, remove the old nail, then drive a new drywall screw nearby into the framing. You may also drive a screw directly through the old nail hole if it still offers purchase.
- Prepare the Surface: Clean the area thoroughly, removing any loose debris or peeling paint. If there are existing cracks or loose tape, it’s best to remove the loose material. For lifting drywall tape, carefully cut out the detached sections with a utility knife.
- Apply Joint Compound: Apply a thin, even layer of all-purpose joint compound over all screw heads, repaired cracks, and seams. Feather the edges smoothly into the existing wall or ceiling.
- Tape Joints (if necessary): If you removed old tape or are addressing new cracks, embed drywall tape into the wet joint compound. Apply another thin layer of mud over the tape, ensuring it’s fully covered and smooth.
- Multiple Coats: Allow each coat of joint compound to dry completely (typically 24 hours). Apply additional thin coats, gradually widening each coat and feathering the edges, until the surface is perfectly smooth and level with the surrounding area. Lightly sand between coats if needed, but aim for minimal sanding.
- Sanding and Priming: Once the final coat is dry, lightly sand the repaired area until it is smooth and seamless with the surrounding surface. Clean off all dust. Apply a high-quality primer, especially a stain-blocking primer if water damage was present, to ensure uniform paint absorption and prevent future stains from bleeding through.
- Paint: Finally, paint the repaired area to match the rest of the wall or ceiling.
Step 3: Replacing Severely Damaged or Pillowed Drywall
If the drywall is severely sagged, soft, crumbling, extensively molded, or has widespread damage (over 30% of a panel), replacement is the safest and most effective solution. This is often the case when 1/2-inch drywall was used on 24-inch ceiling spans with heavy insulation.
Procedure:
- Safety First: Ensure the area is dry and safe. Move furniture and valuables. If water is actively leaking, shut off the source immediately.
- Remove Damaged Drywall: Mark a clean, square or rectangular area around the damaged section, extending a few inches past any visible moisture or compromise. Use a drywall saw or utility knife to carefully cut out the damaged section, ensuring you cut back to solid framing members. This may involve exposing parts of the framing.
- Inspect and Dry: With the drywall removed, inspect the cavity behind the wall or ceiling. Check for mold, wet insulation, or further structural damage. Dry out the area completely using fans and dehumidifiers for at least 48-72 hours. Address any mold growth with appropriate remediation.
- Add Blocking/Reinforcement: If the original framing was inadequate or missing blocking, install new wood blocking between existing studs or joists to provide solid fastening points for the new drywall patch. This is also an opportune time to consider adding furring strips if the entire ceiling needs reinforcement for future prevention, as mentioned in the section on proper structural support in home renovations.
- Install New Drywall: Measure and cut a new piece of drywall to precisely fit the opening. For ceilings, consider using 5/8-inch thick drywall, especially if joists are 24 inches on center. Secure the new panel with drywall screws, spacing them every 6-8 inches into the framing and any newly installed blocking.
- Tape and Finish Joints: Apply joint compound to all seams where the new drywall meets the old. Embed drywall tape (paper or fiberglass mesh) over these seams, ensuring a smooth, flat application. Apply multiple thin coats of joint compound, feathering each layer wider than the last, allowing ample drying time between coats.
- Sanding and Priming: Once all compound layers are dry and smooth, sand the area lightly to blend it seamlessly. Clean off dust and apply a high-quality primer.
- Paint: Finish with paint to match the surrounding surface.
Preventing Drywall Pillowing: Long-Term Strategies
Prevention is always better than cure. By implementing best practices during installation and maintaining your home, you can significantly reduce the risk of drywall pillowing.
1. Proper Installation Techniques
- Use Correct Drywall Thickness: Always use 5/8-inch drywall for ceilings, especially if joists are spaced 24 inches on center, and for walls in high-humidity areas.
- Adequate Fastening: Follow recommended screw spacing guidelines (e.g., every 6-8 inches along joints, every 12 inches in the field) and use a depth-setting screw gun to avoid over-driving.
- Solid Framing: Ensure your framing is straight, plumb, and square. Add extra blocking or furring strips where needed to provide solid backing for all drywall edges and joints.
- Stagger Joints: Stagger drywall joints like floorboards to prevent weak points and visible seams.
- Thin Coats of Mud: Apply joint compound in thin, multiple layers, allowing each to dry completely. This prevents bubbling and ensures a stronger, smoother finish. For more detailed insights on efficient finishing, consider resources that highlight long-term savings through quality home installations.
2. Humidity Control
Maintaining consistent indoor humidity levels is crucial. Use dehumidifiers in basements and humid climates. Ensure proper ventilation in moisture-prone areas like bathrooms and kitchens. Running an exhaust fan directly above a shower is a simple yet effective way to remove excess moisture.
3. Regular Home Maintenance
Regularly inspect your roof, plumbing, and attic for leaks. Promptly repair any water damage to prevent it from affecting your drywall. Ensure attic insulation is dry and not excessively heavy for the ceiling drywall thickness.
4. Choosing the Right Materials
In areas prone to moisture, consider using mold-resistant or moisture-resistant drywall. These specialized products offer enhanced protection against humidity and potential mold growth.
Advanced Techniques and Considerations
While the basic repairs cover most cases, some situations might require more advanced approaches or professional consultation.
For Extensive Ceiling Pillowing
If entire ceiling sections are severely pillowed due to inadequate drywall thickness and wide joist spacing, simply re-screwing may not provide a lasting flat surface. Options include:
- Overlaying with New Drywall: Adding a new layer of 3/8-inch or 1/2-inch drywall over the existing, possibly with furring strips for a flatter surface, can hide imperfections. This increases ceiling thickness, which might impact light fixtures or crown molding.
- Complete Replacement: The most professional approach for severe, widespread pillowing is to remove the old drywall and replace it with 5/8-inch drywall, ensuring proper fastening and, if necessary, adding strapping or sistering joists for better support.
Dealing with Joint Compound Bubbles
Bubbles in joint compound, distinct from drywall pillowing but often confused with it, occur when air is trapped, or the paper face of the drywall separates. To fix:
- Remove the Bubble: Cut around the bubble with a utility knife and peel away the loose paper or compound.
- Prime Exposed Gypsum: Apply a PVA or drywall primer to the exposed gypsum to prevent it from absorbing moisture too quickly from the new compound.
- Apply Compound: Apply thin layers of joint compound, feathering the edges. Ensure your mud is mixed properly, keeping the paddle submerged to avoid whipping in air. Some professionals even suggest adding a few drops of dish soap to the mud to reduce water tension and prevent bubbles, especially over painted surfaces.
When to Call a Professional
While many drywall pillowing issues can be tackled by a determined DIYer, there are situations where professional help is invaluable:
- Extensive Water Damage: If the pillowing is due to a significant leak, especially if it involves structural components or widespread mold, a professional water damage restoration specialist or plumber should be consulted.
- Structural Concerns: If you suspect foundation issues, warped framing, or if the ceiling feels soft and appears to be separating from the joists, a structural engineer or experienced contractor can assess the stability and recommend appropriate action.
- Widespread Pillowing: For entire rooms or ceilings with severe, widespread pillowing, the labor and expertise required for a proper replacement or extensive reinforcement might be beyond a typical DIY project. Professionals can ensure a Level 5 drywall finish, offering the most polished, seamless appearance.
- Uncertainty of Cause: If you cannot confidently identify the root cause of the pillowing, a professional can diagnose the problem accurately and prevent recurring issues.
Here’s a quick reference for common drywall issues and their typical solutions:
| Drywall Issue | Common Causes | Recommended Solution |
|---|---|---|
| Pillowing/Sagging (Minor) | Loose fasteners, minor humidity fluctuations, slight weight from insulation | Re-secure with additional drywall screws into framing, mud and finish. |
| Pillowing/Sagging (Severe) | Insufficient drywall thickness (1/2″ on 24″ O.C. ceilings), heavy/wet insulation, significant water damage, poor framing. | Remove and replace with 5/8″ drywall, add blocking/furring strips, address water source. |
| Water Stains/Soft Spots | Active or past water leaks (plumbing, roof, condensation). | Identify and fix leak, dry area completely, remove damaged drywall, replace, prime with stain-blocker. |
| Joint Tape Lifting/Bubbling | Insufficient mud behind tape, improper mixing, moisture, applying over painted surface without primer. | Cut out loose tape, prime if needed, re-tape with fresh compound, apply thin coats. |
| Nail/Screw Pops | Movement in framing, improper screw depth, insufficient fastening. | Remove old fastener, drive new screw nearby into framing, mud and finish. |
Drywall pillowing can be a daunting sight, but with the right knowledge and approach, it is a fixable problem. By understanding the causes, accurately diagnosing the extent of the damage, and applying the appropriate repair techniques, you can restore your walls and ceilings to their intended smooth, flawless finish. Whether it’s a simple re-securing or a full panel replacement, taking a methodical approach ensures a durable and aesthetically pleasing result for your home.
Remember, patience and attention to detail are key in any drywall repair project. For complex situations, never hesitate to seek the expertise of a qualified professional to ensure the job is done right and safely.