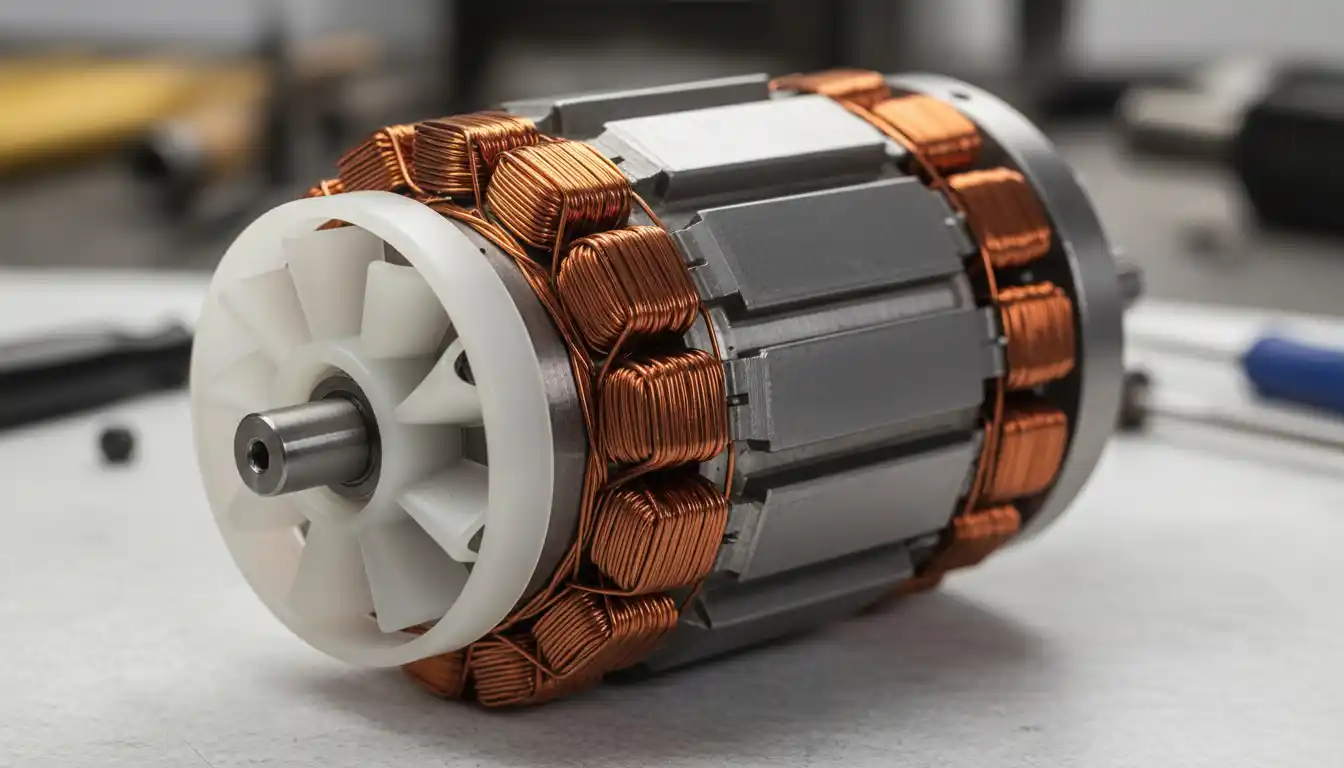
A power tool failure in the middle of a project is every woodworker’s nightmare. If your DeWalt DW714 miter saw has suddenly lost power, started smoking, or is making terrifying grinding noises, the issue likely lies within the heart of the machine: the motor assembly. The “fan motor” in a DW 714 specifically refers to the armature assembly, which includes the electric windings, the commutator, and a plastic cooling fan press-fitted onto the shaft to prevent overheating during operation.
When this component fails, the saw becomes unusable. The cooling fan is integral to the motor’s longevity. If the fan blades shatter or the motor windings burn out, simple troubleshooting can save you the cost of a brand-new saw. This guide will walk you through diagnosing, removing, and replacing the motor components to get your station back in working order.
The Critical Role of the Motor and Fan Assembly
Understanding how your miter saw operates is the first step toward effective repair. The DW 714 utilizes a universal series motor. This type of motor is designed for high torque and variable speed, making it ideal for cutting through hardwoods and thick lumber.
How the Cooling Fan Protects Your Investment
The plastic fan attached to the armature is not just an accessory; it is a critical life-support system for the tool. As the armature spins at thousands of RPMs, the fan pulls air through the intake vents. This air rushes over the copper windings of the field and armature, dissipating the intense heat generated by electrical resistance.
If the fan is obstructed or damaged, heat builds up rapidly. This thermal spike can melt the insulation varnish on the copper wires. Once the insulation fails, a short circuit occurs, permanently destroying the motor. Even a small chip in the fan blade can cause catastrophic failure. An unbalanced fan creates vibration, which wears out the bearings and can cause the spinning armature to wobble and strike the stationary field magnet.
Components of the DW 714 Motor
The “fan motor” term often encompasses several parts working in unison. It is essential to distinguish between them for accurate ordering of replacement parts.
- Armature: The rotating central part of the motor that holds the cooling fan and the commutator.
- Field (Stator): The stationary outer coil that creates the magnetic field.
- Carbon Brushes: Conductive blocks that transfer electricity to the spinning armature.
- Bearings: Metal rings that allow the shaft to spin freely without friction.
The Aerodynamics of Dust and Airflow
Few people discuss the aerodynamics inside a power tool housing. The DW 714 is designed with specific airflow channels. Sawdust is the natural enemy of this system. When dust bypasses the collection bag and enters the motor housing, it can cake onto the fan blades.
This accumulation adds weight and disturbs the delicate balance of the rotor. Just as an unbalanced wheel shakes a car, a dust-laden fan shakes the saw. This vibration is often mistaken for a dull blade or a loose fence, but it is actually the precursor to motor failure.
Diagnosing Common DW 714 Motor Problems
Before buying a new armature, you must confirm the diagnosis. Symptoms of motor failure are usually distinct and observable.
Identifying Carbon Brush Wear
The most common issue is worn carbon brushes. These are consumable parts designed to wear down over time. If your saw is sputtering or failing to start, check the brushes first.
Unscrew the brush caps on the side of the motor housing. Remove the brushes and inspect their length. If they are worn down to less than a quarter-inch, they need replacement. Worn brushes can cause sparking that looks like a motor fire, but is actually a simple maintenance issue.
Recognizing a Burnt Armature
If the brushes are fine, the problem likely lies with the armature. A burnt armature often gives off a distinct, acrid smell of burning plastic and ozone. Look through the vents while puling the trigger (briefly). If you see a ring of fire—continuous sparking around the commutator—this indicates a short in the windings.
Another sign is blackened copper bars on the commutator. If the bars are pitted or missing chunks, the armature is dead. Additionally, inspect the fan. If the plastic blades are melted or shattered, the motor has likely overheated significantly.
Vibration and Bearing Noise
A loud screeching or rumbling noise points to bearing failure. The bearing sits directly behind the fan. If the fan has been unbalanced for some time, the rear bearing takes the brunt of the force. Ignoring this noise will result in the armature seizing up completely.
This vibration can be dangerous. It is not unlike the instability observed when a ceiling fan has structural issues. In both cases, the rotational imbalance compromises the safety and function of the device.
Step-by-Step DW 714 Fan Motor Replacement
Replacing the motor assembly is a straightforward process if you follow the correct order of operations. You will need a screwdriver set, a wrench, and possibly a mallet.
Safety and Preparation
Disconnect the saw from the power source immediately. Never attempt any repair on a plugged-in tool. Clear a workspace on a sturdy bench. You should have good lighting to see the small screws and wires inside the handle assembly.
It is also wise to clean the outside of the saw before opening it. Use compressed air to blow away loose sawdust so it doesn’t fall into the open gear case during repair.
Disassembling the Motor Housing
Start by removing the carbon brushes to prevent them from snapping when you pull the armature out. Unscrew the black caps and set the brushes and springs aside.
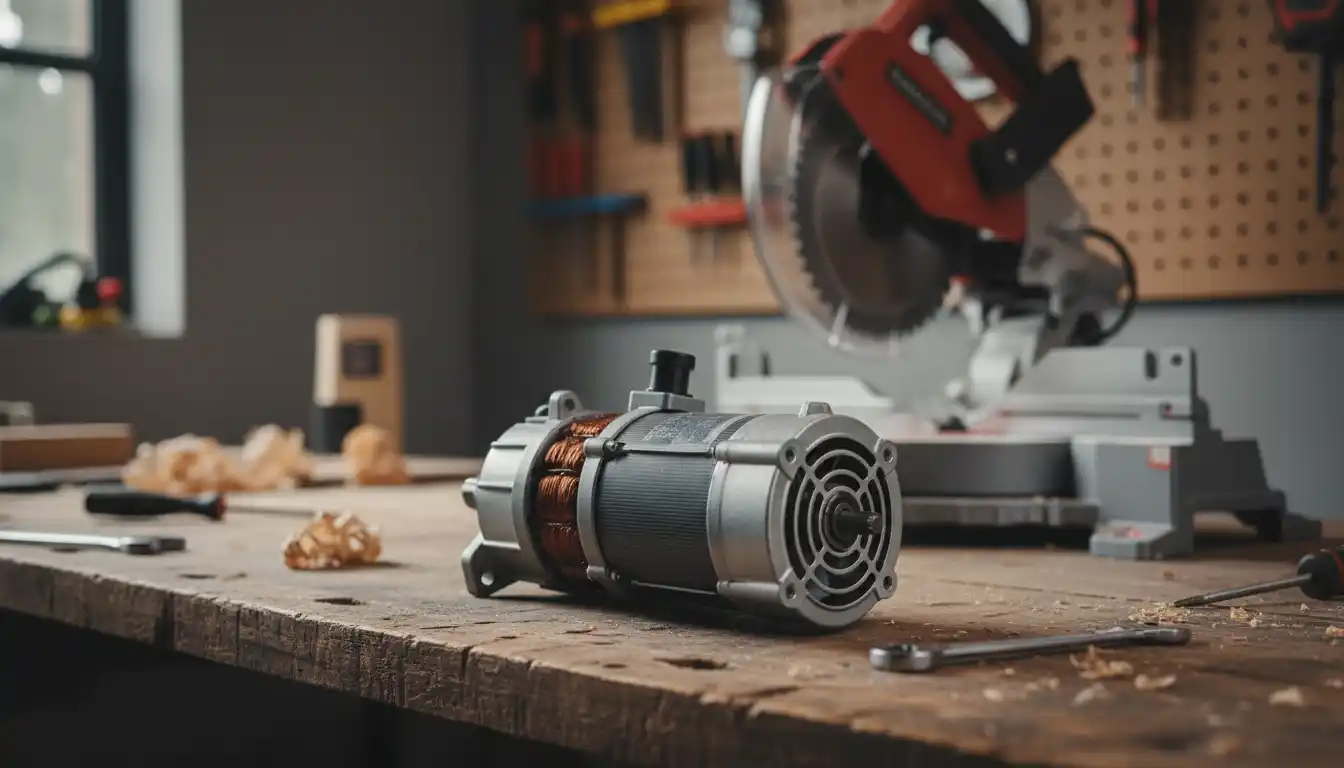
Next, locate the screws securing the motor end cap (the clamshell housing). Remove these screws and carefully pull the plastic housing away. You will see the field coil and the wiring connections. Take a photo of the wiring arrangement with your phone. This reference will be invaluable during reassembly.
Removing the Armature and Fan
The armature is connected to the gear box. You may need to separate the motor housing from the gear case. Once the housing is off, the armature should pull out. Note that the helical gear on the end of the armature meshes with the saw’s transmission. You might need to wiggle it gently to disengage the teeth.
Inspect the empty housing. This is the perfect time to clean out any compacted sawdust. Just as standing water causes issues in plumbing, compacted damp sawdust can cause corrosion and overheating inside a motor housing. Ensure the airways are completely clear.
Installing the New Unit
Slide the new armature into the field coil. Ensure the bearing on the fan side seats perfectly into its recess. If it is not seated correctly, the housing will not close, and forcing it will crack the casing.
Grease the helical gear on the tip of the new armature. Use a high-quality gear grease. Carefully align the gear teeth with the transmission gears and slide the unit home. The fan should spin freely when turned by hand. If there is resistance, the bearing is not aligned.
Reassembly and The “Seating” Process
Replace the motor housing and tighten the screws. Do not overtighten, as this can strip the plastic threads. Reinstall the carbon brushes. If you are installing a new armature, it is highly recommended to install new carbon brushes as well.
Crucial Step: The Break-In Procedure. Do not immediately cut wood. Turn the saw on and let it run at no load (free spinning) for 5 to 10 minutes. This allows the carbon brushes to shape themselves to the curve of the new commutator. This “seating” process ensures maximum electrical contact and extends the life of your new motor.
Advanced Troubleshooting Table
Use this reference table to quickly identify issues based on the behavior of your DW 714.
| Symptom | Likely Cause | Recommended Action |
|---|---|---|
| Excessive Sparking | Worn brushes or uneven commutator | Replace brushes; if sparking persists, replace armature. |
| Burning Smell | Overheating winding insulation | Stop immediately. Inspect fan for blockage. Replace armature if smell persists. |
| Saw Hums but Won’t Spin | Seized bearing or jammed fan | Check for physical obstructions. Spin blade by hand (unplugged) to test bearings. |
| Intermittent Power | Loose wiring or worn switch | Check internal connections. Blow out dust from the trigger switch. |
| Loud Rattle | Broken fan blade | Open motor housing and inspect the plastic fan unit. Replace if cracked. |
Maintenance Tips to Extend Motor Life
Preventative maintenance is cheaper than replacement parts. A few simple habits can double the lifespan of your miter saw’s fan motor.
Effective Dust Extraction
The DW 714 moves a lot of air, and consequently, a lot of dust. The standard dust bag is often insufficient. Connecting a shop vacuum is the best upgrade you can make.
For a permanent workshop setup, you might use rigid piping for extraction. You can join piping systems using rubber couplings to create a flexible yet airtight connection between your saw’s dust port and your cyclone separator. This ensures that fine particulate matter is pulled away from the motor intake vents.
Avoid Overloading the Motor
The DW 714 is a robust tool, but it has limits. Forcing the blade through dense hardwoods causes the amperage to spike. This generates excess heat that the fan may not be able to dissipate quickly enough.
Listen to the tool. If the RPMs drop significantly during a cut, you are pushing too hard. Back off and let the blade do the work. Sharp blades also reduce the load on the motor. A dull blade requires more torque to cut, placing unnecessary stress on the armature windings.
Periodic Inspection
Make it a habit to check your carbon brushes every six months, or more frequently if you use the saw daily. Keeping the commutator clean and the brushes fresh preserves the electrical integrity of the motor. If you notice a change in the sound of the motor, investigate it immediately rather than waiting for a complete failure.
By understanding the mechanics of your DW 714 fan motor and addressing issues early, you ensure that your projects continue without interruption. A well-maintained saw is not just a tool; it is a reliable partner in your craftsmanship.