You have rented a plate compactor, laid your beautiful new paver patio, and are ready for the final step: compacting the polymeric sand. But there is a problem. The rental company forgot to give you the protective polyurethane pad, or perhaps you bought a budget compactor that didn’t come with one. Running a bare metal plate over textured pavers is a recipe for disaster, often resulting in scratches, scuffs, and even cracked stones.
You need a solution immediately, without waiting days for shipping. A piece of low-pile scrap carpet, a heavy-duty rubber stall mat, or even a sheet of plywood are the most effective DIY plate compactor pad alternatives that can save your project from expensive damage.
This guide will walk you through the best materials you likely have lying around, how to attach them safely, and the specific techniques to ensure your hardscape remains flawless.
The Hidden Risks of Compacting Without a Pad
Before diving into the alternatives, it is crucial to understand why that pad is essential. Many DIYers assume the metal plate is smooth enough to glide over concrete pavers without issue. This is a costly misconception.
The “Scuff and Crack” Nightmare
Plate compactors generate thousands of pounds of force. When metal strikes textured concrete or natural stone, it acts like a high-speed hammer. Without a buffer, the vibration pulverizes the high points of the paver’s texture. This leaves behind ugly white scuff marks (especially visible on dark pavers) and can shatter the corners of the bricks. If you are installing expensive natural stone or clay brick, a bare plate is virtually guaranteed to cause breakage.
Why Texture Matters
Commercial pads are made of smooth polyurethane for a reason: they glide. They allow the machine to move forward without dragging the jointing sand out of the cracks. A bare metal plate can sometimes “grab” the grit on the surface, grinding it into the face of the paver. Using the right alternative not only cushions the blow but also mimics this gliding action to protect the finish of your hard work.

Top DIY Plate Compactor Pad Alternatives
If you cannot source an OEM kit, these materials offer excellent protection. We have ranked them by effectiveness and ease of use.
1. Scrap Carpet (The #1 DIY Choice)
The most accessible and popular alternative is a piece of remnant carpet. It is cheap, easy to cut, and provides excellent cushioning. However, not all carpet is created equal. You must use a low-pile or commercial-grade carpet. Plush bedroom carpet is too soft; it will absorb too much of the vibration, preventing the sand from settling properly into the joints.
The downside to carpet is friction. Unlike smooth plastic, carpet texture can create drag. To mitigate this, ensure the “backing” side of the carpet faces the pavers, or use a carpet with a very tight weave. This prevents the loops from snagging on the corners of the pavers.
2. Rubber Stall Mats or Mud Flaps
Heavy-duty rubber is the closest material to the original manufacturer’s pad. Horse stall mats (often found at farm supply stores) or thick truck mud flaps are incredibly durable. They dampen the noise significantly and offer a robust barrier against cracking.
Since these mats are thick, they can be difficult to cut and attach. You may need a sharp utility knife and patience. If you are working on a large driveway, a rubber mat is superior to carpet because it won’t wear through as quickly.
3. The Plywood “Leapfrog” Method
This is a technique rather than a direct attachment. If you cannot attach anything to your machine, you can lay sheets of thin plywood (1/4 inch or luan) directly on the pavers. You then run the compactor over the plywood.
While effective at preventing scuffs, this method is tedious. You have to stop every few feet to move the plywood sheet from behind the machine to the front. It is best reserved for small patios or walkways where you only need to make one or two passes. It works similarly to how plumbers box framing requires methodical spacing and structure—if you rush the placement, you miss spots.
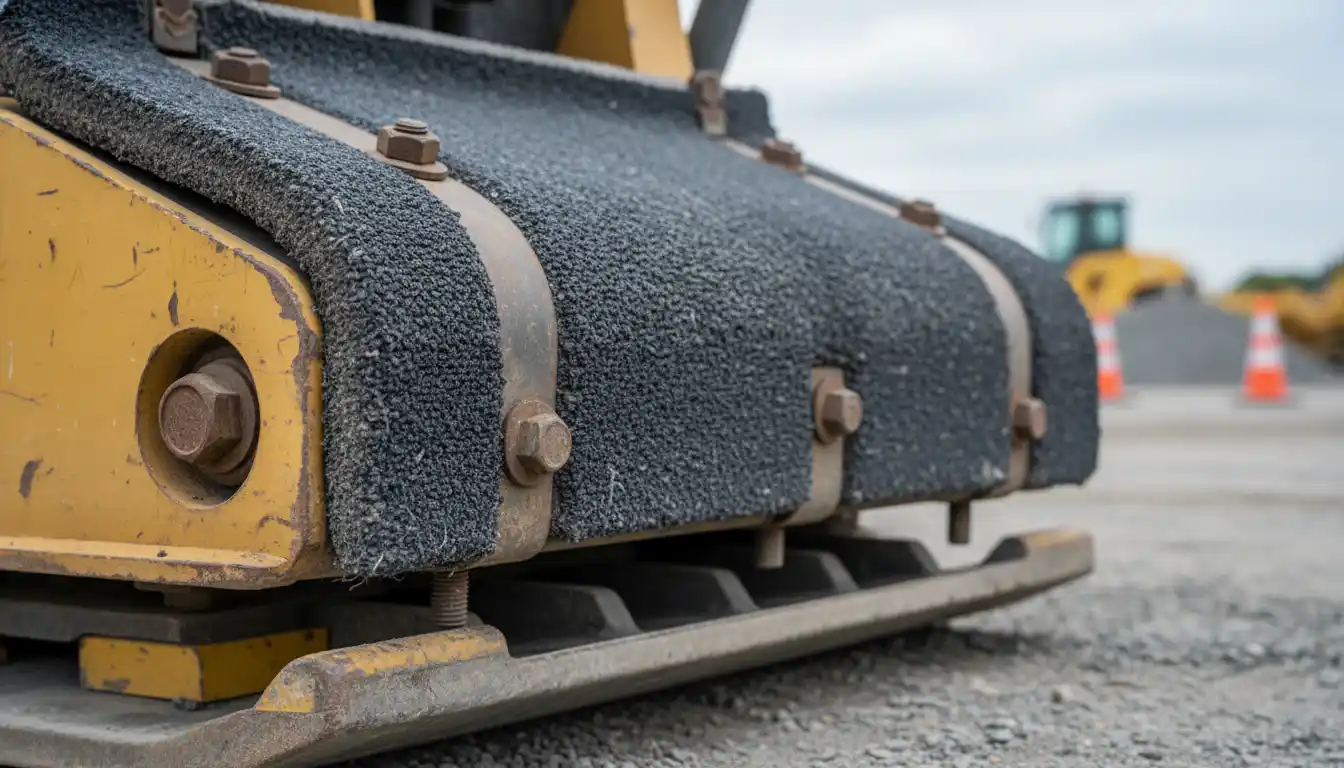
4. Conveyor Belt Scraps
If you have access to industrial scrap, pieces of conveyor belt are arguably the best DIY pads available. They are reinforced with fabric cords, making them tear-resistant, yet the rubber surface is smooth enough to slide over pavers. They are often thinner than stall mats, making them easier to attach to the machine’s base.
Step-by-Step: Securing Your DIY Pad
The biggest challenge with DIY alternatives is keeping them attached. A loose pad can slip under the machine, causing uneven compaction or exposing the metal plate mid-pass. Here is how to lock it down.
The Bungee & Zip Tie Technique
For lighter materials like carpet or thin rubber, bungee cords are the quickest solution. Cut your material so it is about 6 inches wider and longer than the plate. Fold the excess material up over the front and back lips of the metal plate.
Hook bungee cords across the top of the machine, pulling the front flap to the back flap. Ensure the cords are under high tension. For added security, punch holes in the material and use heavy-duty zip ties to anchor it to the compactor’s handle or lifting eye. This setup functions like a makeshift harness. Just be sure the hooks don’t rattle against the engine housing, which could be as annoying and confusing as a Goodman E3 code flashing on your thermostat—you want the machine running smoothly, not vibrating itself apart.
Using C-Clamps for Rigidity
If you are using a thick rubber mat or a mud flap, bungees might not be strong enough. In this case, use C-clamps. Place the mat under the machine and use two small C-clamps on the front lip of the plate to pinch the mat in place.
Warning: Ensure the clamps are positioned so they do not hit the ground as the machine tips forward. This method works best on flat surfaces. If you have a lot of slope, the clamps can dig in.
The Glue Method (And Why to Avoid It)
Some users suggest using contact cement to glue a piece of carpet directly to the metal plate. While this prevents slippage, it is a nightmare to clean up. You will spend hours with acetone and a scraper trying to remove the residue before returning the rental. Only use this method if you own the compactor and plan to use it exclusively for pavers.
Comparison: Commercial vs. DIY Alternatives
Is it worth saving the $100 on a commercial pad? Use this table to decide which route is best for your project.
| Material | Cost | Durability | Protection Level | Best For |
|---|---|---|---|---|
| OEM Poly Pad | $80 – $150 | High | Excellent | Pros & Large Projects |
| Scrap Carpet | Free – $10 | Low (1-2 uses) | Good | DIY Patios & Walkways |
| Rubber Stall Mat | $20 – $40 | Very High | Very Good | Large Driveways |
| Plywood Sheets | $15 – $30 | Medium | High | Small Repairs / Touch-ups |
Expert Tips for a Flawless Finish
Using an alternative pad is only half the battle. The way you operate the machine changes when you have a makeshift buffer attached.
Sweep Before You Compact
This is the most critical step. Before running your compactor (with its fancy new carpet pad) over the pavers, sweep the surface clean. Any loose gravel or sand left on top of the pavers will get trapped between the pad and the stone. The vibration will grind these small rocks into the paver face, creating the very scratches you are trying to avoid.
Moisture Management
Polymeric sand needs to be compacted to lock the pavers together. However, a dry carpet pad can generate static or drag dry sand out of the joints. Lightly misting the sand (not soaking it) before the final pass helps lubricate the surface. If you notice the carpet pad getting too heavy or soggy, stop and let it dry out. A waterlogged pad reduces the compaction force, leading to settling later on.
Fitment is Everything
When cutting your alternative pad, precision helps. If the pad is too narrow, the metal edges will expose themselves when you turn the machine. If it is too wide, it will flap around and potentially get caught under the eccentric housing. Think of it like installing hardware: when a mounting bracket doesn’t fit a junction box, you don’t just force it; you adjust and trim until the fit is secure. Take the time to trim your carpet or rubber mat to have exactly 2-3 inches of overhang on the front and back for attachment, and flush edges on the sides.
Troubleshooting Common Issues
Pad Slipping During Operation
If your DIY pad keeps sliding off, the vibration is likely overcoming your attachment method. Stop immediately. Do not try to hold it in place with your foot while the machine is moving—that is a safety hazard. Switch to a stiffer attachment method, such as bolting a flat metal bar through the carpet into the existing holes on the compactor plate (if available).
Uneven Compaction
If you feel the machine “bouncing” rather than moving forward smoothly, your pad might be too thick. This is common with thick rubber stall mats. The pad absorbs the forward momentum of the exciter. To fix this, you may need to push the machine slightly to help it along, or switch to a thinner material like carpet. Remember, the goal is to vibrate the sand down, not just cushion the machine.
By using these common materials as a plate compactor pad alternative, you can achieve a professional-grade finish without the wait or the high cost of commercial accessories. Just remember to secure it tightly, keep the surface clean, and monitor your progress to ensure your pavers remain pristine.