A screen door that closes perfectly for 90% of its swing but then violently slams shut in the last few inches is more than just an annoyance—it is a hazard to fingers, pets, and the door frame itself. This “end-swing slam” often frightens guests and can eventually crack the door jamb or shatter the glass insert.
The most common reason a screen door slams during the last few inches is an improper adjustment of the pneumatic closer’s screw or a mounting bracket positioned too far from the handle side, causing the rod to lose air pressure leverage before the latch engages.
While many homeowners frantically turn the adjustment screw hoping for a miracle, the real fix often involves checking the geometry of the installation, not just the air pressure. This guide will walk you through the diagnostics and adjustments needed to ensure your storm door closes firmly but quietly.
Understanding Why the Screen Door Slams
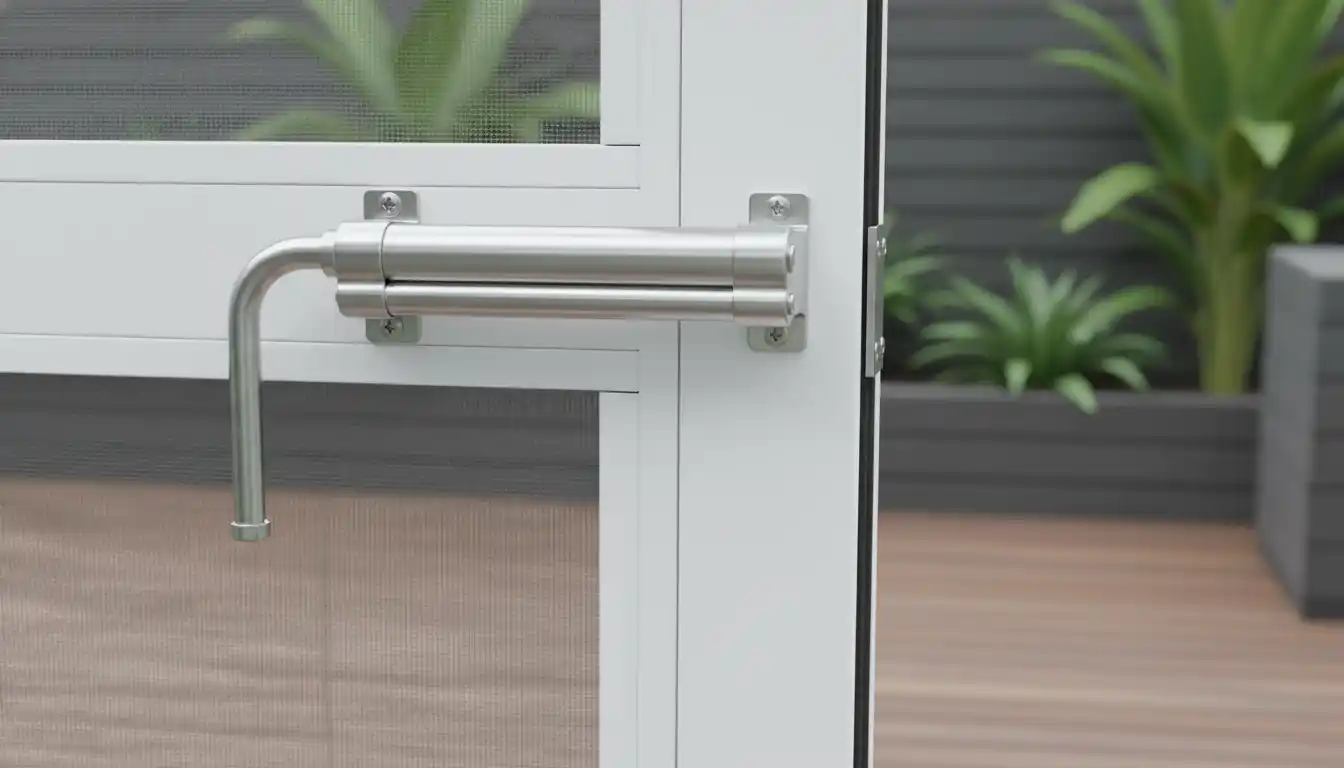
To fix the problem, you must first understand the mechanism inside that metal tube. Most screen and storm doors use a pneumatic closer, which uses air pressure to control the speed of the door. When you open the door, you pull a piston rod out of the cylinder, sucking air in behind it. When the door closes, the spring pushes the piston back, forcing air out through a tiny hole.
The “Latching Kick” Feature
Many standard door closers are designed with an intentional speed increase at the very end of the closing cycle. This is called the “latching power” or “kick.” The internal air seal inside the cylinder often narrows or bypasses airflow in the last 2-4 inches of travel to ensure the door has enough momentum to overcome the friction of the latch and weatherstripping. If your main closing speed is set too fast, this final acceleration turns from a helpful nudge into a violent slam.
The “Free Fall” Zone
If the mounting bracket on the door is installed incorrectly, the piston rod may fully retract into the cylinder before the door is actually closed. Once the rod hits the end of its travel inside the tube, it stops controlling the door. If the door still has an inch to go but the rod has stopped pulling, gravity and wind take over, causing the door to free-fall and slam against the frame.
The Slingshot Effect
A factor few people consider is the flexibility of the door jamb bracket. If the bracket that attaches to the house frame is loose or made of thin metal, it can flex as the door opens. When the door closes, that flexed metal snaps back into place right as the tension releases, acting like a slingshot that hurls the door shut during the final few inches.
Quick Diagnostics: Inspecting Before Adjusting
Before you grab a screwdriver, perform these three quick checks. Adjusting a broken closer is a waste of time, so ensure your hardware is intact first.
1. Check the Mounting Bracket Integrity
Inspect the bracket attached to the door jamb (the house side). Wiggle it with your hand. Is it loose? Are the screws pulling out of the wood? If the bracket moves even a millimeter, it ruins the physics of the closer. If the wood is stripped, you may need to use longer screws or repair the frame. For severe damage, knowing the difference between skim coat vs primer is useful if you end up having to patch and repaint the wood trim around the door.
2. Inspect the Connecting Pin
Look at the pin connecting the rod to the door bracket. Is it bent or worn down? A bent rod creates friction that slows the door down initially, fooling you into loosening the screw, which then causes the door to slam once it overcomes the friction point.
3. Verify the Cylinder Seal
Look for oil leaking around the rod (if it’s a hydraulic model) or listen for a distinct “hiss” (pneumatic). If the rod bounces like a pogo stick when you push it manually, the internal seals are likely blown, and the unit needs replacement.
Step-by-Step Adjustment Guide
If your hardware is solid, follow these steps to tune the pressure. This process requires patience—make small adjustments and test frequently.
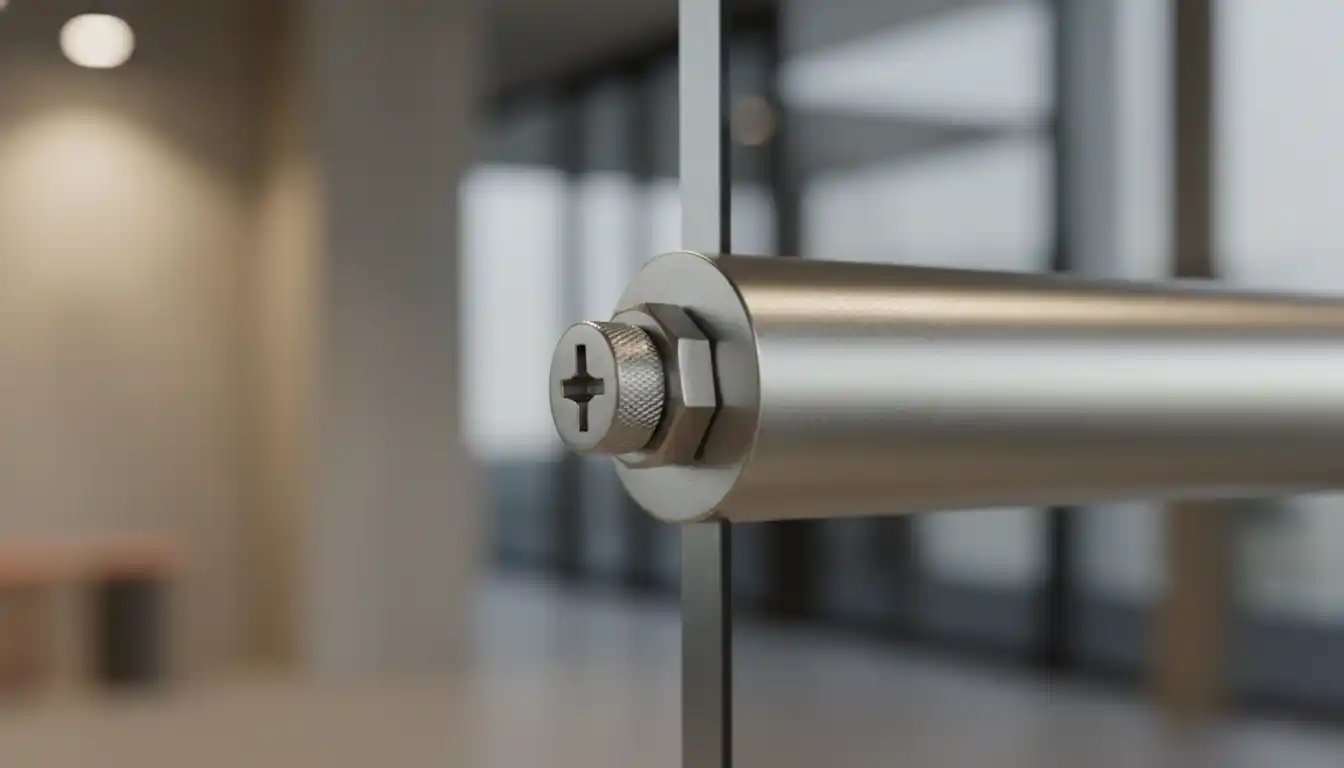
1. Locate the Adjustment Screw
On most standard pneumatic closers, you will find a single Phillips-head screw on the end of the cylinder nearest the door hinge. Some heavy-duty models have two screws, but the principle is similar.
2. Tuning the Closing Speed
The rule of thumb for pneumatic closers is simple:
- Turn Clockwise (Tighten): Reduces airflow, slowing the door down.
- Turn Counter-Clockwise (Loosen): Increases airflow, speeding the door up.
If your door slams, turn the screw clockwise one-quarter turn at a time. Open the door and let it close. Repeat until the main swing is controlled. If you tighten it too much, the door won’t latch at all. If you find yourself in a cycle where it either slams or doesn’t latch, proceed to the bracket adjustment below.
3. Adjusting the Bracket Position (The Secret Fix)
This is the step that fixes the “last few inches” slam when the screw adjustment fails. You need to ensure the closer has tension right up until the latch clicks.
- Unhook the door closer rod from the door bracket by pulling the pin.
- Let the rod retract fully into the cylinder.
- Close the door and latch it.
- Hold the rod up to the bracket. The eyelet of the rod should fall short of the bracket hole by about 1/8 to 1/4 inch.
- If the holes line up perfectly or the rod extends past the bracket, you must move the door bracket further away from the hinge. This ensures that when you connect them, you have to pull the rod out slightly, creating “pre-load” tension that prevents the rod from bottoming out before the door shuts.
When reinstalling the bracket, ensure you are using the correct fasteners. Using flimsy nails instead of robust screws can lead to failure. It is similar to choosing 120 vs 131 framing nails for structural work; the holding power matters significantly when the wind catches the door.
Advanced Troubleshooting: When Screws Don’t Work
The “Short Chain” Stop Hack
If your door slams specifically on windy days, the issue is external pressure. A standard closer cannot fight a 30mph gust. Ensure your wind chain (the spring-loaded chain at the top of the door) is installed to prevent the door from hyperextending, which can bend the closer rod and ruin its ability to dampen the closing force.
Lubricating the Rod
Sometimes the slam is caused by a “stutter” where the rod sticks and then releases suddenly. Clean the metal rod with soap and water, then apply a silicone-based lubricant. Do not use WD-40, as it attracts dirt and gum up the O-rings inside the cylinder.
Patio and Threshold Issues
Occasionally, the door slams because the bottom sweep is hitting a high spot on the threshold, building up tension, and then snapping past it. Check the floor area. If you have drainage issues causing the concrete to heave or settle, you might need to address the patio surface itself. Learning how to drill holes in patio for drainage can prevent water buildup that warps door frames and thresholds.
Troubleshooting Matrix
Use this table to quickly identify the specific behavior of your door and the corresponding fix.
| Symptom | Likely Cause | Recommended Fix |
|---|---|---|
| Door slams immediately after letting go | Adjustment screw too loose | Turn screw clockwise 1/2 turn. |
| Door closes slowly, then slams last 6 inches | “Latching kick” is too aggressive or rod length improper | Move door bracket 1/4″ away from hinge to create pre-load. |
| Door “bounces” open before latching | Trapped air pocket (compressed air) | Open door wide, manually push rod in to bleed air. |
| Door slams only on windy days | Closer too weak for door weight | Upgrade to a heavy-duty closer or install a second closer at the top/bottom. |
| Rod hisses loudly and offers no resistance | Blown internal seal | Replace the entire closer unit. |
Fixing a Screen Door That Slams the Last Few Inches: FAQ
1. Why does my screen door close slowly but then slam shut the last few inches?
This common issue is often caused by the “latching range” of your pneumatic closer. Most closers are designed with an internal bypass mechanism that releases air pressure quickly in the final few inches to ensure the latch clicks securely. If the main closing speed is set too fast, or if the mounting bracket is positioned incorrectly, this final release of pressure creates a violent slam rather than a firm latch.
2. How do I adjust the screw on the closer to stop the banging?
Locate the adjustment screw at the end of the pneumatic cylinder (the tube). Turn this screw clockwise to tighten it, which restricts airflow and slows down the door’s overall movement. Make small adjustments—about a quarter-turn at a time—and test the door. While this slows the main “sweep” of the door, you may need to adjust the mounting pin position to specifically target the final slam.
3. What are the two holes on the door bracket for?
The bracket that attaches the closer to your door typically has two holes: one for summer (screen) and one for winter (glass). Switching the connecting pin to the hole furthest from the cylinder tube is the “winter” setting, which provides more power to latch the door against wind or air pressure. If your door is slamming, moving the pin to the “summer” hole (closest to the tube) reduces the spring tension and can soften the final closing action.
4. Will moving the door bracket location fix the “last inch” slam?
Yes, this is often the most effective fix for the specific “slam at the end” problem. If adjusting the screw doesn’t work, try moving the door-side bracket slightly further away from the hinge (about 1/2 to 1 inch). This forces the piston rod to stay extended longer, keeping the internal cushion active until the very last moment, effectively delaying or softening the “latch speed” acceleration.
5. Why does the door slam when the glass is in, but not the screen?
When the solid glass panel is installed, your house creates an air cushion that resists the door closing, followed by a sudden vacuum effect that sucks it shut once the seal is broken. This variance in air pressure messes with the pneumatic closer’s calibration. You typically need to adjust the tension screw clockwise during changing seasons (when swapping glass for screen) to compensate for these air pressure changes.
6. How can I tell if my pneumatic closer cylinder is broken?
Inspect the metal rod and the tube for any oily residue. If you see oil leaking, the internal seals have failed, and the closer can no longer compress air to cushion the door. Additionally, if you turn the adjustment screw all the way in (clockwise) and the door still slams freely with no resistance, the cylinder is “blown” and must be replaced.
7. What is the difference between “sweep speed” and “latch speed”?
“Sweep speed” refers to the speed at which the door travels from fully open to about 5-10 degrees from closed. “Latch speed” is the acceleration in those final few inches to overcome the friction of the strike plate. On standard residential storm doors, a single screw usually controls both, but the mechanical design prioritizes the latch. Higher-end closers may have two separate screws (marked ‘S’ and ‘L’) to adjust these independently.
8. My door bounces off the frame before slamming. How do I fix this?
A bouncing door usually indicates the closing speed is too fast, causing the door to hit the air cushion or weatherstripping with excessive force, bounce back, and then get caught by the latch mechanism which slams it shut. Slow the door down significantly by turning the adjustment screw clockwise. If the bounce persists, check that the mounting brackets are tight and not wiggling, as loose hardware absorbs the closer’s dampening force.
9. Will installing a second closer help stop the noise?
If you have a heavy glass storm door or a solid wood screen door, a single standard-duty closer may not be strong enough to control the weight, leading to slamming. Installing a second closer (typically adding one to the top if you only have one at the bottom) distributes the weight evenly. This allows you to set both closers to a gentler speed, providing smoother control specifically for those last few inches.
10. Can I add anything to the frame to dampen the sound if I can’t fix the mechanic?
If the mechanics are functioning but the noise is still bothersome, you can apply small furniture pads or felt dots to the inside of the door frame where the door makes contact. Additionally, ensuring the weatherstripping is in good condition acts as a natural shock absorber. However, avoid thick rubber stops that prevent the latch from engaging, as this will defeat the purpose of the security door.
Conclusion
A screen door slamming in the last few inches is rarely a sign that you need a new door; it is almost always a physics problem. By balancing the air pressure via the screw and ensuring the mechanical leverage is correct by adjusting the bracket, you can silence the bang. Remember, the goal is a “click,” not a “crash.” Start with the screw, check the bracket geometry, and inspect your seals. Your family’s fingers—and your peace of mind—will thank you.