Visible drywall seams can transform an otherwise beautiful room into an amateurish project. They catch the light, highlight imperfections, and diminish the overall appeal of your home. Achieving perfectly smooth, seamless walls often seems like a daunting task, especially when working with a tight budget.
However, with the right techniques, affordable materials, and a bit of patience, anyone can master the art of hiding drywall seams. This comprehensive guide will reveal the professional secrets to achieving flawless walls without breaking the bank, ensuring your home looks professionally finished.
Understanding the Enemy: Why Drywall Seams Appear
Before tackling the problem, it is essential to understand why drywall seams become visible. Identifying the root causes helps in applying the correct solutions and preventing future issues. Many factors contribute to these unsightly lines.
Poor Taping & Mudding Techniques
One of the most common culprits is improper application of joint compound and tape. Inadequate compound layers, insufficient tape embedding, or uneven feathering can all lead to visible seams. Rushing through the process often results in mistakes that become glaringly obvious after painting.
Settling & Movement
Even perfectly finished walls can develop visible seams over time. Houses naturally settle, and fluctuations in temperature and humidity cause drywall to expand and contract. This movement can stress seams, leading to hairline cracks or tape lifting.
Substandard Materials
Cutting corners on materials might seem like a budget-friendly option, but it often backfires. Cheap drywall tape that lacks sufficient strength or low-quality joint compound can compromise the integrity of the seam finish. Investing in decent, but not necessarily expensive, materials is crucial for lasting results.
Improper Installation
The foundation of a good finish starts with proper drywall installation. Misaligned sheets, insufficient fasteners, or improper gapping between panels can create inherent weaknesses. These issues make it incredibly difficult to achieve a truly invisible seam, regardless of mudding skill.
Painting Mistakes
Sometimes, the drywall work itself is sound, but painting errors expose the seams. Skipping primer, using thin paint coats, or applying paint unevenly can highlight subtle surface imperfections. A uniform surface is essential before any paint is applied.
The Budget-Friendly Toolkit: Essential Materials & Tools
You do not need a garage full of expensive equipment to hide drywall seams like a pro. A carefully selected, budget-conscious toolkit is all it takes. Focusing on quality essentials will serve you well for many projects to come.
Joint Compound: Your Primary Weapon
Joint compound, often called mud, is central to hiding seams. For budget projects, an all-purpose joint compound is your best friend. It is versatile enough for taping, filling, and finishing, making it a cost-effective choice. While lightweight compounds are easier to sand, all-purpose offers excellent value and durability.
Setting-type compounds, or “hot mud,” dry quickly but are harder to sand and generally more expensive. Stick to all-purpose for most of your seam work to save money and frustration.
Drywall Tape: The Reinforcement
Paper tape is the industry standard for strength and durability in seam finishing. It embeds well into joint compound and provides excellent crack resistance. While fiberglass mesh tape is self-adhesive and convenient for small patches, paper tape is superior for long seams.
For budget projects, buying a roll of paper tape is a smart investment. It is inexpensive and crucial for creating strong, lasting seams.
Taping Knives & Trowels: The Artist’s Brushes
A set of three taping knives will cover all your needs: a 6-inch, a 10-inch, and a 12-inch. The 6-inch knife is perfect for embedding tape and filling screw holes. The 10-inch and 12-inch knives are essential for feathering out successive coats of compound, creating a smooth transition to the wall surface.
Investing in decent quality stainless steel knives will ensure they last for years. Avoid flimsy plastic tools that can flex and create uneven finishes.
Sanding Tools: The Smooth Finishers
A pole sander makes quick work of large wall areas, saving your back and knees. For smaller areas and detailed work, a hand sander or sanding sponges are invaluable. Always use fine-grit sandpaper (150-220 grit) for the final finish to avoid scratching the surface.
Remember to prioritize dust control; a sanding screen attached to a pole sander can help, but a good quality dust mask is non-negotiable for your health.
Mixing Tools & Other Essentials
A drill with a paddle mixer attachment makes mixing joint compound effortless and lump-free. A mud pan is also indispensable for holding compound while you work. Other necessities include a utility knife for trimming tape, a straightedge for precise cuts, and clean rags for wiping tools.
One often-overlooked budget tip is to invest in good quality basic tools once. A sturdy set of taping knives and a reliable drill will outlast multiple sets of cheaper alternatives. This saves money in the long run and ensures consistent results.
Mastering the Art: Step-by-Step Guide to Hiding Seams
Hiding drywall seams is a systematic process requiring patience and attention to detail. Follow these steps meticulously, and you will achieve professional results without the professional price tag.
Step 1: Preparation is Paramount
Thorough preparation is the secret weapon of every drywall professional. Begin by ensuring the entire surface is clean and free of dust, grease, or debris. Use a damp cloth to wipe down the drywall panels, especially along the seams.
Next, carefully inspect all existing seams, screw holes, and corner beads. Look for any loose tape, protruding screws, or areas where the drywall paper is torn. Tighten any loose screws or nails, ensuring they are slightly recessed below the surface without breaking the paper. A critical, often overlooked step is to pre-fill any minor gaps between drywall sheets or deeper screw holes with a thin layer of all-purpose joint compound before applying tape. This creates a solid foundation, prevents voids, and ultimately saves compound in later steps.
Step 2: The First Coat – Embedding the Tape
This is where the magic begins. Apply a thin, even layer of all-purpose joint compound directly over the seam using your 6-inch taping knife. The layer should be just thick enough to embed the tape. Immediately unroll and center your paper tape over the wet compound.
Using your 6-inch knife, firmly embed the tape into the compound, starting from the center and working outwards. Apply consistent pressure to squeeze out any excess compound and air bubbles from beneath the tape. The goal is to have the tape completely saturated and flat against the drywall. Wipe off any excess mud that oozes out, leaving only a thin, smooth layer covering the tape. For external corners, apply corner beads first, then tape and mud over them.
Step 3: The Second Coat – Feathering for Smoothness
Allow the first coat to dry completely. Drying times vary depending on humidity and temperature, but typically range from 12 to 24 hours. Once dry, apply a second, wider, and slightly thicker coat of joint compound using your 10-inch taping knife. This coat should extend approximately 2-3 inches beyond the edges of the first coat, feathering seamlessly into the untouched drywall.
Focus on creating a gradual transition, eliminating any ridges from the first coat. This is also the stage to address any remaining screw or nail dimples, filling them with compound and smoothing flush with the surface. Ensure there are no visible humps or valleys; the surface should feel consistently flat.
Step 4: The Third Coat – The Finish Layer
After the second coat has thoroughly dried, it’s time for the final finishing layer. Using your 12-inch taping knife, apply the widest and thinnest coat yet. This layer should extend another 2-3 inches beyond the second coat, creating a very gradual, almost imperceptible feather into the wall.
The objective here is to achieve a perfectly flat, smooth surface free of any imperfections. A professional trick is to use a portable work light held parallel to the wall surface after this coat dries. The raking light will cast shadows on any subtle imperfections, revealing areas that need more attention before sanding. This simple “light test” is invaluable for identifying issues that are otherwise invisible.
Step 5: Sanding for Perfection
Sanding is a critical step, but it requires a delicate touch. Once the final coat is completely dry, use fine-grit sandpaper (150-220 grit) on a pole sander or hand sander. Sand lightly and evenly, using long, overlapping strokes. The goal is to smooth out any ridges or imperfections, not to sand down to the tape.
Be careful not to over-sand, as this can scuff the drywall paper or create depressions. After sanding, use a damp cloth to wipe down the entire surface, removing all sanding dust. This step is crucial for paint adhesion and revealing the true smoothness of your work. Always wear a dust mask to protect your lungs.
Step 6: Priming – The Non-Negotiable Step
Never skip priming drywall, especially after mudding. Primer serves several vital functions: it seals the porous joint compound, ensures uniform paint absorption, and provides a consistent base for your final paint coats. Skipping primer can lead to “flashing,” where the painted seams appear duller or shinier than the surrounding drywall.
A good quality PVA (polyvinyl acetate) primer is an excellent budget-friendly choice for new drywall or newly mudded areas. For an extra budget-savvy move, consider using a tinted primer if your final paint color is going to be dark or vibrant. Tinting the primer to a similar shade as your topcoat significantly reduces the number of final paint coats needed, saving you money on paint and labor. This ensures better color coverage and a more uniform finish.
Step 7: Painting – The Final Reveal
Once the primer is dry, you are ready to paint. For the best results, apply two thin coats of good quality paint rather than one thick coat. Thin coats dry more evenly and provide a smoother finish. Use a high-quality roller for walls and a brush for cutting in edges. Allow adequate drying time between coats as recommended by the paint manufacturer.
The final paint coats will reveal the success of your seam-hiding efforts. A smooth, uniform finish with no visible seams is the ultimate reward for your hard work.
Advanced Budget Techniques & Common Pitfalls to Avoid
Even with the basic steps mastered, certain situations require specific approaches. Knowing these advanced tips and common mistakes can save time and money.
Corner Solutions: Internal and External
Corners are often the trickiest areas. For internal corners, fold your paper tape down the middle lengthwise, apply compound to both sides of the corner, and then embed the tape. Use a specialized corner tool or simply your 6-inch knife, bending it slightly, to press the tape firmly into the corner. The key is to apply just enough compound to embed the tape and then feather out the edges, avoiding excessive buildup. A unique approach is the “minimal mud” technique for corners, where compound is only applied to the very edges of the tape during the second and third coats, allowing the tape itself to define the crisp line, preventing bulky corners.
For external corners, metal or vinyl corner beads are essential for durability and a crisp edge. Install these first, then tape and mud over them following the same three-coat process. This protects the corner from damage and provides a clean line.
Dealing with Difficult Seams
Butt joints (where the non-tapered ends of drywall sheets meet) are notoriously challenging because they lack the recessed edge for tape. To hide these effectively, you must feather the compound much wider than tapered seams, often 18-24 inches across the wall. This “floating” technique makes the slight hump of the butt joint imperceptible. Similarly, ceiling seams require extra care, often benefiting from a mud hawk to hold compound overhead and reduce fatigue.
The Importance of Lighting
Lighting is your best friend when finishing drywall. Always work in a well-lit area. Use a strong, portable work light and position it parallel to the wall surface (raking light) to highlight imperfections. This technique is crucial for spotting ridges, depressions, and missed spots before they are permanently sealed under paint. What looks smooth in ambient light can reveal many flaws under direct, angled light.
Common Mistakes and How to Prevent Them
Many common errors can derail a budget drywall project. One major mistake is not allowing sufficient drying time between coats. Rushing this step leads to cracking and bubbling. Always allow each coat to dry completely, which can take 12-24 hours depending on conditions. Another pitfall is applying too much compound at once; thin, even coats are always better. Excessive compound requires more sanding and increases the risk of cracking.
Over-sanding can scuff the drywall paper, creating a fuzzy surface that shows through paint, while under-sanding leaves ridges. Always use a light touch and fine-grit paper. Skipping primer is another frequent error that leads to inconsistent paint finishes. For issues related to uneven surfaces, understanding techniques for fixing a drywall patch that isn’t flush can provide valuable insights. Additionally, maintaining clean tools is vital; dried mud on your knives can create unwanted streaks and ridges in your fresh compound. For other surface defects, solutions for drywall flashing ruining your walls might offer relevant guidance.
Cost-Saving Strategies Without Compromising Quality
Achieving professional-looking drywall seams on a budget is entirely possible with smart planning and execution. Strategic purchasing and clever techniques can significantly reduce costs without sacrificing the quality of your finish.
Buy in Bulk When Possible
Joint compound, sandpaper, and tape are staples for any drywall project. If you have multiple rooms or a larger project, buying these items in larger quantities can often lead to substantial savings per unit. A 5-gallon bucket of all-purpose joint compound is usually more cost-effective than multiple smaller tubs.
However, only buy what you realistically need to avoid waste. Unopened compound can last, but once opened, it has a limited shelf life.
Rent Specialty Tools for One-Off Projects
For tools you will only use once or very rarely, consider renting instead of buying. Items like a drywall lift for ceiling installation or a power sander can be expensive purchases. Rental costs are often a fraction of the retail price, making them a budget-friendly option for specific tasks.
This strategy allows you to use professional-grade equipment without the significant upfront investment, leading to better results.
DIY vs. Professional: Knowing Your Limits
One of the biggest budget decisions is whether to do the work yourself or hire a professional. For hiding drywall seams, many homeowners can achieve excellent results with patience and the right guidance. Tackling this task yourself offers significant labor cost savings.
However, be realistic about your skill level and time commitment. If the task seems overwhelming, consider doing the prep work yourself (like cleaning and tightening screws) and hiring a professional for the more intricate mudding and sanding, or vice versa.
Repurpose and Reuse
Look around your home for items that can be repurposed. Clean 5-gallon buckets that once held paint or primer are perfect for mixing joint compound. Old, clean paint roller trays can serve as mud pans in a pinch. Even old paint rollers can be thoroughly cleaned and used for mixing smaller batches of compound.
This approach minimizes waste and reduces the need to purchase new, dedicated items, contributing to your overall budget savings.
Compound Customization for Easier Work
A lesser-known professional tip is to slightly thin all-purpose joint compound with a small amount of water for the final finish coats. Adding just a splash of water (start with a tablespoon per gallon of mud) and mixing thoroughly can make the compound smoother, easier to spread, and significantly reduce sanding effort. This technique allows for thinner, more uniform coats, leading to a flatter finish with less work. However, this should only be done for finish coats, not for embedding tape, as it can reduce strength. Always add water gradually to avoid making the compound too runny.
| Feature | All-Purpose Joint Compound | Lightweight All-Purpose Joint Compound | Setting-Type (Hot Mud) Joint Compound |
|---|---|---|---|
| Cost | Budget-friendly | Mid-range | Higher |
| Drying Time | Slow (12-24 hours) | Medium (6-12 hours) | Fast (20-90 minutes) |
| Sanding Ease | Moderate | Easiest | Difficult (hardens like cement) |
| Strength | High | Moderate | Very High |
| Best Use | Taping, filling, finishing | Finishing, top coats | Fast repairs, deep fills, patches |
| Budget Tip | Best overall value | Good for final, easy-sand coats | Avoid for general seam work on budget |
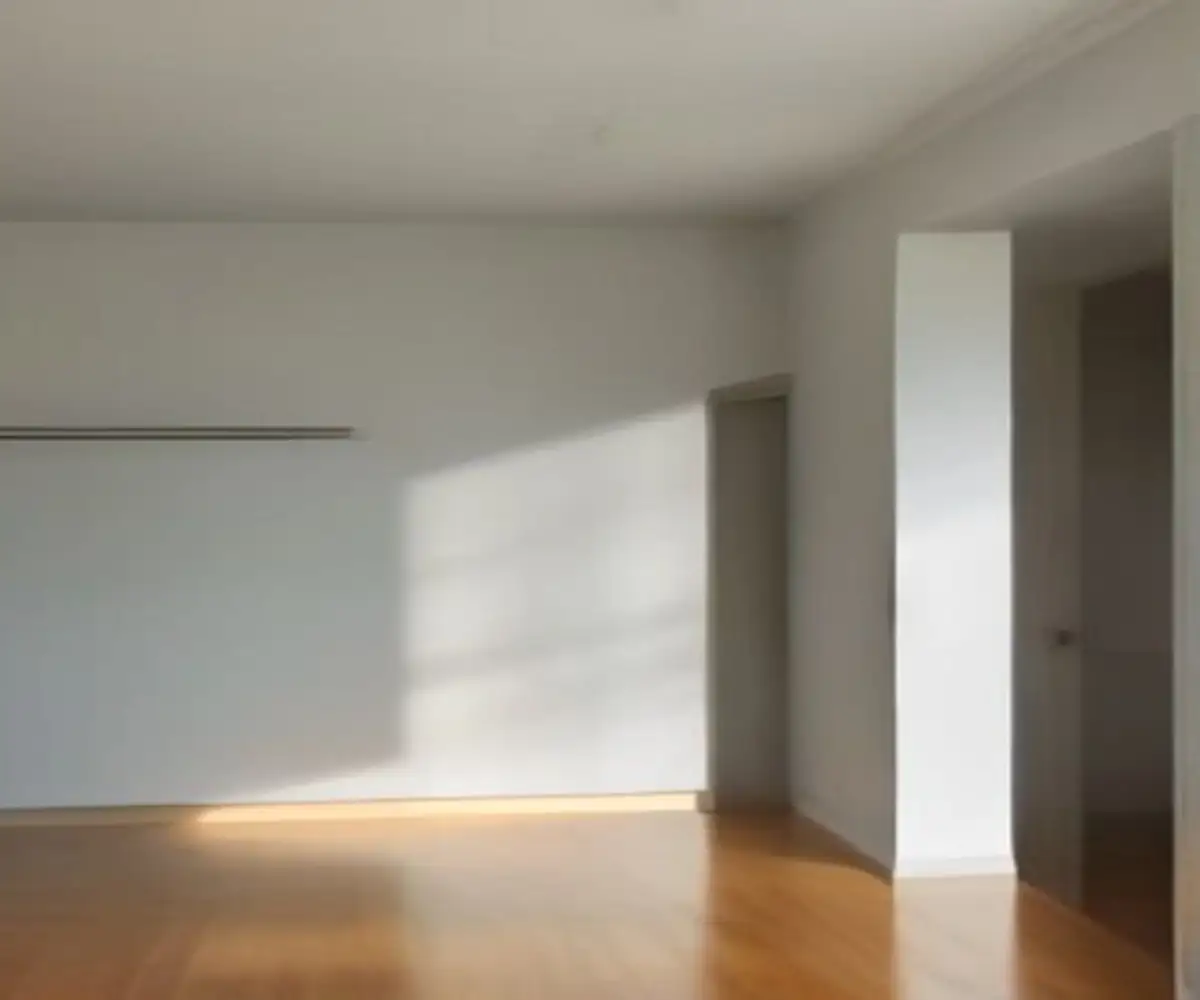
Maintaining Your Flawless Walls
Once you have achieved perfectly hidden drywall seams, a little maintenance can ensure they stay that way for years. Protecting your investment ensures your hard work endures.
Addressing Future Cracks
Even with the best techniques, minor hairline cracks can sometimes reappear due to house settling. For small cracks, a thin bead of paintable caulk can often provide a quick and effective fix. For larger cracks, a more involved repair might be necessary, including re-taping and mudding the affected area.
Regular inspections can catch these issues early, preventing them from becoming larger, more costly problems.
Humidity Control
Controlling the humidity levels in your home can significantly reduce drywall movement. Excessive humidity can cause drywall to swell, while very dry conditions can lead to shrinkage. Maintaining a consistent indoor humidity level, especially during seasonal changes, helps preserve the integrity of your drywall seams.
This is particularly important in regions with extreme temperature fluctuations, where different types of drywall might be considered for their stability.
Proper Cleaning
When cleaning your walls, use gentle methods. Harsh scrubbing or abrasive cleaners can damage the paint finish and potentially expose underlying imperfections. A soft cloth with mild soap and water is usually sufficient for most wall cleaning tasks.
Avoid excessive moisture, especially around seams, as prolonged dampness can compromise the joint compound and tape.
Conclusion: Achieve Professional Seams on a Budget
Hiding drywall seams on a budget is a highly achievable goal for any determined homeowner. It requires patience, attention to detail, and a commitment to following proven techniques. By understanding the causes of visible seams, equipping yourself with the right budget-friendly tools, and meticulously following each step from preparation to painting, you can transform your walls into a seamless canvas.
Remember that the true secret lies not in expensive materials, but in methodical application and careful finishing. Embrace the process, learn from any minor setbacks, and take pride in the beautiful, professional-looking walls you create. Your home will thank you for the flawless finish, proving that high-quality results do not always require a high-end budget.