Adding a sub panel to a detached garage is the single best upgrade you can make for a functional workshop or electric vehicle charging station. However, because it is a “detached” structure, the wiring code requirements are significantly stricter than for a sub panel inside your main house. A 60 amp sub panel for a detached garage requires a 4-wire feeder system (two hots, one neutral, one ground), a dedicated disconnect switch at the garage, and its own local grounding electrode system consisting of two ground rods driven into the earth.
Many homeowners underestimate the complexity of this project, assuming they can simply extend a wire from the house. Doing so without a disconnect or local grounding is a major code violation that creates shock hazards. This guide breaks down the specific wire sizes, trenching depths, and grounding rules you need to follow to pass inspection and power your tools safely.
Why 60 Amps is the “Sweet Spot” for Detached Garages
When planning a garage electrical upgrade, you might debate between 50, 60, or 100 amps. For most detached garages, 60 amps offers the perfect balance between capacity and cost.
Powering Heavy-Duty Workshop Tools
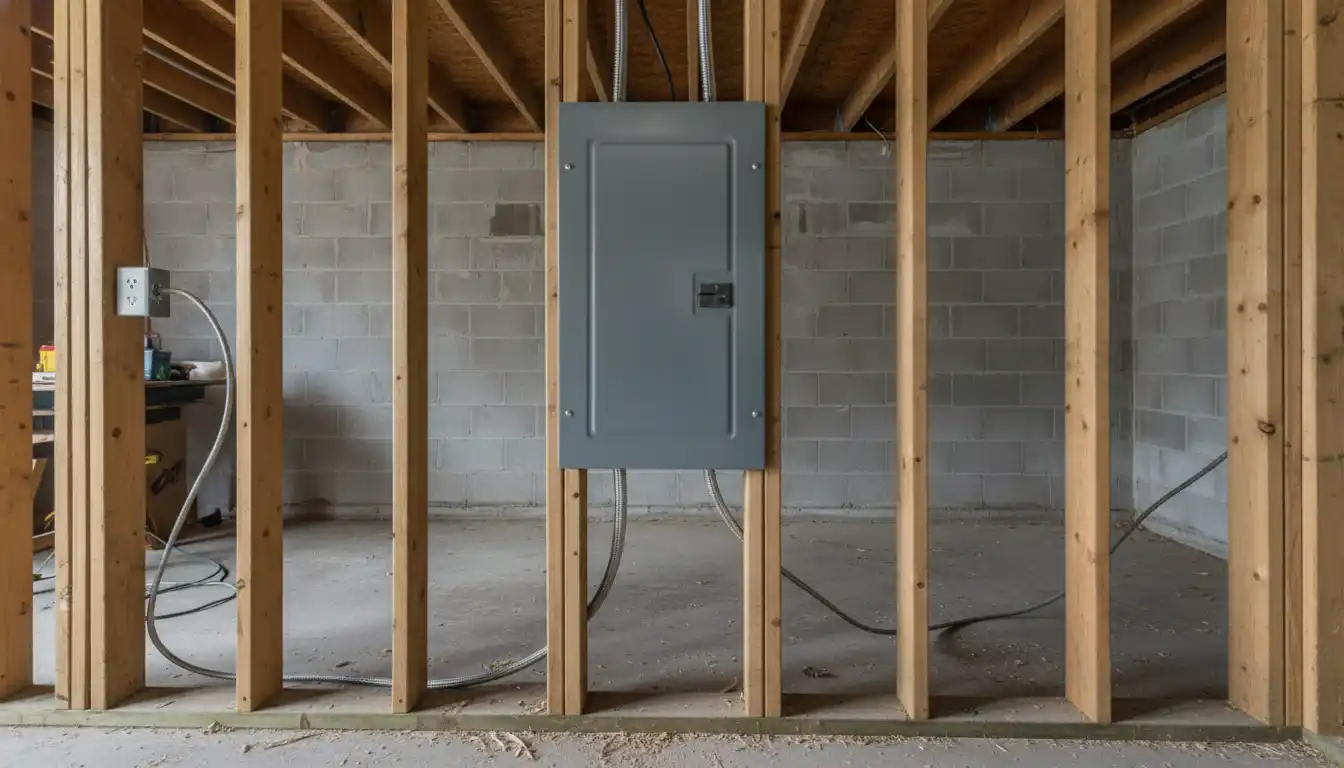
A 60 amp service provides ample power for a serious DIY workshop. You can simultaneously run lighting, a garage door opener, and high-draw tools like a table saw or an air compressor. Unlike a 30 amp service, which might trip if a compressor kicks on while you are sawing, 60 amps gives you the headroom to operate multiple 120V and 240V circuits without constant breaker trips.
Electric Vehicle Charging Considerations
If you plan to charge an electric vehicle (EV), a 60 amp panel is generally sufficient, but you must be careful with load calculations. A Level 2 EV charger running at 48 amps is considered a “continuous load” and requires a 60 amp breaker by itself, which would max out your panel. A smarter approach for a 60 amp sub panel is to install a charger set to 30 or 40 amps. This leaves 20-30 amps of remaining capacity for lights and door openers, ensuring you don’t trip the main feeder breaker while charging your car.
Cost vs. 100 Amp Upgrades
Jumping to a 100 amp service often requires much thicker, more expensive wire (like #1 or #1/0 Aluminum) and potentially upgrading your home’s main service panel to handle the load. A 60 amp feeder typically uses #6 Copper or #4 Aluminum wire, which is far easier to work with and significantly cheaper. Unless you are running a commercial welding shop or an entire apartment above the garage, 60 amps is the most cost-effective choice.
Critical Wire Sizing and Distance calculations
The most common failure point in detached garage wiring is using the wrong wire size for the distance. Voltage drop can ruin your motors and dim your lights if the garage is far from the house.
Copper vs. Aluminum Conductors
For a 60 amp sub panel, you have two primary material choices: copper or aluminum. #6 THHN Copper is the standard for runs under 100 feet; it is conductive and fits easily into standard 3/4-inch or 1-inch conduit. However, #4 Aluminum (XHHW or THHN) is much cheaper and lighter. Many electricians prefer aluminum for the long underground feeder to the garage because the cost savings are substantial. Just ensure you use Noalox anti-oxidant paste on the aluminum terminations to prevent corrosion.
Calculating Voltage Drop for Long Runs
If your detached garage is more than 100 feet from your main panel, you cannot simply use the standard wire size. Resistance in the wire causes voltage to drop over long distances. If the voltage drops more than 3%, your tools may overheat. For a 150-foot run, you should upgrade from #6 copper to #4 copper, or from #4 aluminum to #2 aluminum. This “upsizing” ensures that your garage receives the full 240 volts it needs.
Conduit Size and Fill Ratios
You cannot stuff wires into a pipe that is too small. The National Electrical Code (NEC) limits how many wires can fill a conduit to prevent heat buildup and jamming during installation. For a 60 amp feeder consisting of three #6 conductors (hots/neutral) and one #10 ground, a 1-inch Schedule 40 PVC conduit is the minimum recommended size. While 3/4-inch might technically meet the fill rate for THHN individual wires, pulling them through 100 feet of 3/4-inch pipe is a nightmare. Always oversize your conduit to 1 inch or 1.25 inches to make the pulling process smoother.
Installation Steps: From Main Panel to Garage
Bringing power to a detached structure involves excavation and precise routing. This is where physical labor meets electrical code.
Digging the Trench: Depth and Safety
You must dig your trench to a specific depth depending on the wiring method you choose. For Direct Burial Cable (UF-B), the trench must be 24 inches deep. However, UF cable is difficult to replace if it fails. A better professional standard is using PVC conduit, which requires a trench depth of 18 inches. If you are crossing under a driveway, you must use Schedule 80 PVC (the gray pipe with thick walls) to protect the conductors from the weight of vehicles.
The Four-Wire System Explained
Decades ago, it was common to run only three wires to a garage, bonding the neutral and ground together. This is now illegal and dangerous for detached structures. You must run four wires:
- Hot 1 (Black)
- Hot 2 (Red or marked Black)
- Neutral (White)
- Ground (Green or Bare)
This separation ensures that return current flows only on the neutral wire, not on the metal casing of your tools or panel.
Installing the Disconnect Means
The NEC requires a “disconnecting means” located either outside the building or inside nearest the point of entrance. The easiest way to satisfy this for a 60 amp sub panel is to use a panel that includes a main breaker. Even though the power is fed from a breaker in your main house, the “Main Breaker” in the garage panel acts as your local disconnect switch. This allows you to cut power to the entire garage instantly in an emergency without running back to the house.
| Distance to Garage | Recommended Copper Wire | Recommended Aluminum Wire | Ground Wire Size | Min Conduit Size (PVC) |
|---|---|---|---|---|
| 0 – 80 Feet | #6 THHN | #4 XHHW/THHN | #10 Cu / #8 Al | 1 Inch |
| 81 – 150 Feet | #4 THHN | #2 XHHW/THHN | #8 Cu / #6 Al | 1.25 Inch |
| 151 – 250 Feet | #3 THHN | #1 XHHW/THHN | #8 Cu / #6 Al | 1.5 Inch |
Grounding and Bonding: The Most Common Mistakes
Grounding a detached garage is different from grounding a sub panel in a basement. Because the garage is physically separated by earth, it needs its own connection to the ground.
Installing Local Grounding Rods
You must install a grounding electrode system at the detached garage. Typically, this means driving two 8-foot copper-clad ground rods into the earth, spaced at least 6 feet apart. A #6 bare copper wire connects these rods to the ground bar inside your new sub panel. Do not assume the ground wire coming from the house is enough; the local rods protect against lightning and stabilize voltage relative to the local earth potential.
Separating Neutrals and Grounds (Crucial!)
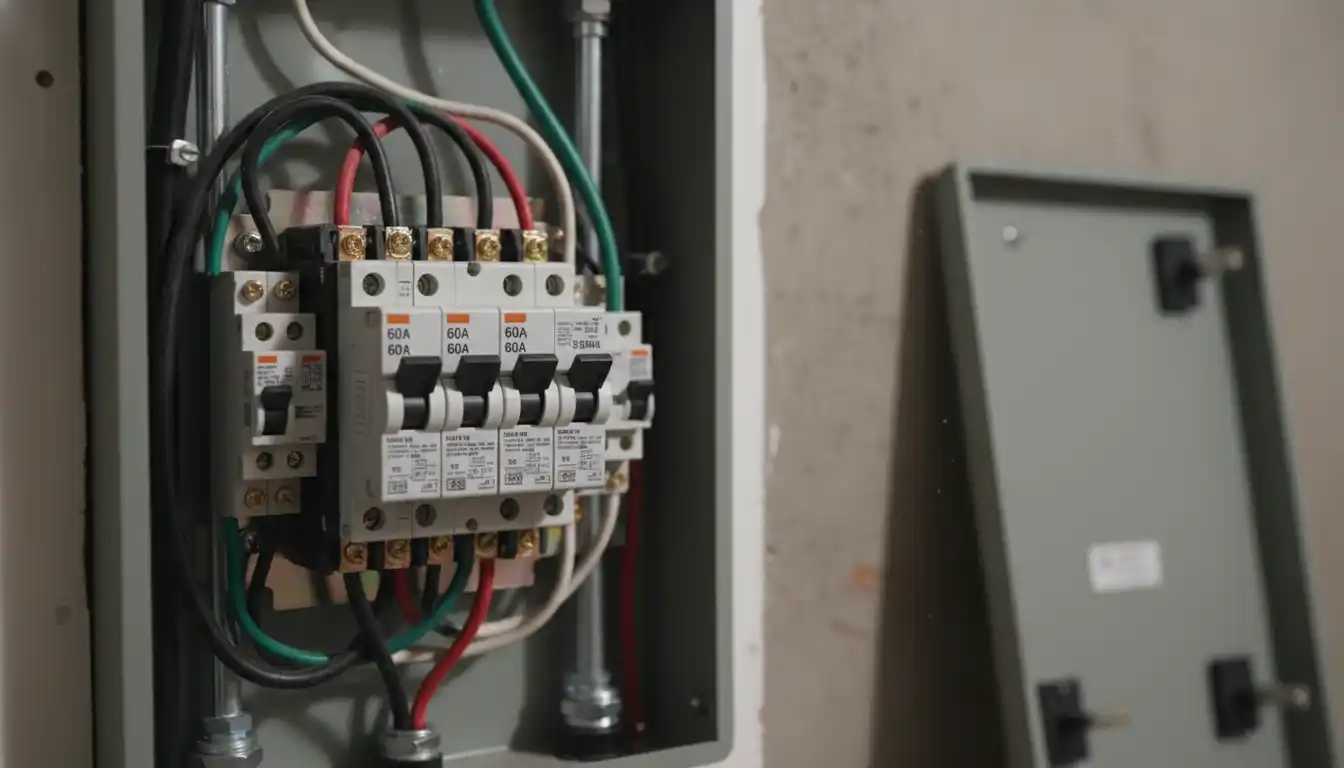
Inside your main service panel, the neutral bus bar and the ground bus bar are connected (bonded). In your detached garage sub panel, you must remove this bond. Most panels come with a green “bonding screw” or strap—you must throw this away. You need to purchase a separate ground bar kit if your panel doesn’t have one. Connect your white neutral wire to the isolated neutral bar, and your green ground wire (plus the wire from the ground rods) to the ground bar. If you leave them connected, you create parallel paths for current, which violates code and creates a shock hazard.
Bonding Metal Pathways
If you have metal water pipes or gas piping entering the garage, these must also be bonded to the garage’s grounding system. This ensures that if a live wire accidentally touches a pipe, it will trip the breaker rather than electrifying your plumbing. However, most modern detached garages use PEX or PVC, which eliminates this requirement.
Interior Finishing and Workflow
Once the panel is mounted and energized, you will likely be finishing the interior of the garage. It is vital to plan your framing and mechanicals around the electrical rough-in.
Framing Considerations
When you are mounting the sub panel, you might need to add blocking between studs to support the heavy metal box. If you are planning significant structural changes, such as modifying the wall structure for natural light, you should review double window framing techniques to ensure you don’t compromise the wall’s integrity near your electrical service.
Ventilation and HVAC
A 60 amp panel allows you to install a mini-split AC or a powerful exhaust fan. If you are turning the garage into a paint booth or welding shop, proper airflow is critical. You might need to install a gable vent from the inside to manage fumes and heat without cutting into the exterior siding unnecessarily.
Handling Heavy Equipment
If you are installing a large HVAC unit or moving heavy compressed gas cylinders for welding, be mindful of the physical load. For example, knowing the weight of an empty 410a cylinder can be useful if you are DIY-ing your AC setup or clearing out scrap metal debris after the project. Always ensure your workspace is clear of tripping hazards around the new electrical panel.
Troubleshooting and Final Inspection
Before you call the inspector, perform your own safety checks. A failed inspection often leads to expensive rework.
Testing Voltage at the Sub Panel
Use a multimeter to check your work before plugging anything in. You should read 120V from each hot leg to neutral, and 120V from each hot leg to ground. Crucially, you should read 240V between the two hot legs. If you read 0V between hots, you likely installed a “skinny” twin breaker in the main panel on the same phase instead of a proper double-pole breaker.
Common Inspection Failures to Avoid
Inspectors frequently fail garage sub panels for these reasons:
- Missing Oxidation Inhibitor: If you used aluminum wire, did you apply the anti-oxidant paste?
- Improper Burial Depth: Did you take a photo of the trench with a tape measure before filling it in?
- Mixed Neutrals and Grounds: Did you forget to remove the green bonding screw?
- No Disconnect: Is there a main breaker or switch effectively located at the garage?
Future-Proofing Your Electrical Setup
Even if you don’t need all 60 amps today, you likely will in the future. By installing a large enough conduit (1.25 inch or larger) and a panel with extra slots (at least 12-24 spaces), you ensure that adding a second EV charger, a welder, or a sauna down the road is as simple as snapping in a new breaker. The cost difference between a small 8-slot panel and a 20-slot panel is negligible compared to the labor of replacing it later.