You open a bucket of joint compound you stored in the garage a few months ago, expecting to do a quick patch job. Instead, you are hit with a wave of stench that smells like rotten eggs or sour milk, and the surface looks like a science experiment gone wrong. Drywall mud molding is a common issue caused by the organic binders in the compound feeding on moisture and bacteria, rendering the material unusable.
While drywall mud (joint compound) is essentially rock dust (gypsum) and water, the adhesives and thickeners that make it creamy are organic. This makes your bucket a perfect petri dish for mold if stored improperly. Understanding how to identify bad mud, whether you can salvage it, and how to prevent it from happening again can save you time, money, and the headache of stripping smelly mud off your walls later.
Is Your Drywall Mud Molding? Recognizing the Signs
Before you dip your knife in, you need to be certain the product is safe. Using moldy mud isn’t just gross; it can compromise the structural integrity of your repair and introduce active mold spores into your living space. The signs are usually unmistakable if you know what to look for.
The “Rotten Egg” Smell Test
The most reliable indicator of spoiled joint compound is the smell. Fresh mud has a faint, earthy, chalky scent. If your bucket smells like rotten eggs, ammonia, or sour milk, it is contaminated with bacteria. This smell is produced by anaerobic bacteria consuming the organic binders in the paste. Even if you scrape off the visible mold, that smell permeates the entire bucket. More importantly, if you apply this mud to your wall, the smell often returns whenever the humidity rises, haunting the room for years.
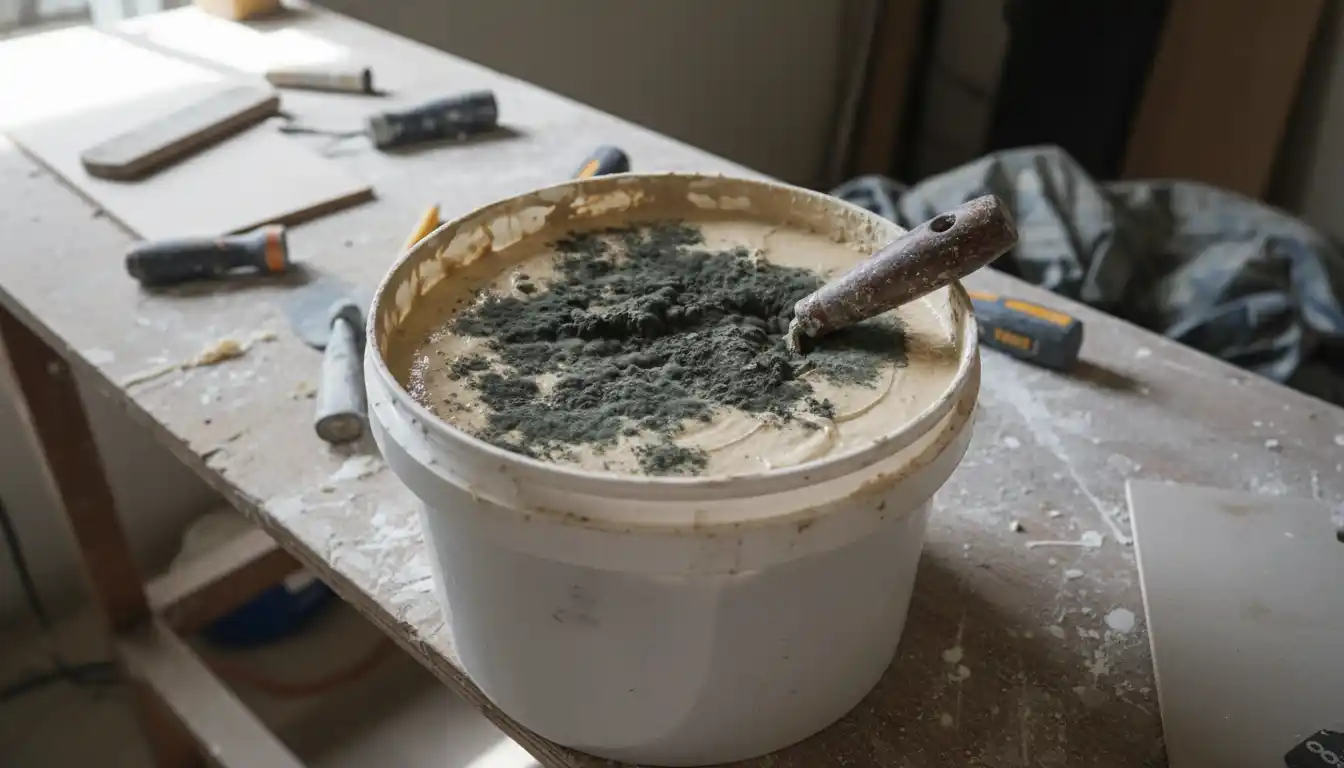
Visual Indicators: Colors and Textures
Mold on drywall mud presents in various disgusting shades. You might see fuzzy patches of black, green, or even orange growth on the surface. Sometimes, it appears as a slimy pink film. Do not confuse this with the clear liquid that often sits on top of the mud; that is just water separation. However, if that water is cloudy, discolored, or slimy, the bucket is compromised.
Mold vs. Separated Water
It is normal for the solids in joint compound to settle at the bottom, leaving a layer of clear or yellowish water on top. This is not mold. If the water is clear and the mud smells fine, you can simply mix it back in with a paddle mixer. However, if the water has a “skin” on top or solids floating in it, that is a biological growth, not a chemical separation.
Why Does Joint Compound Go Bad?
Many homeowners assume drywall mud is inorganic and lasts forever. In reality, pre-mixed joint compound has a limited shelf life because it contains organic glues (like polyvinyl acetate), starch, and thickeners. These ingredients are food for mold and bacteria.
The Organic Buffet: Binders and Glues
Standard all-purpose joint compound is formulated with organic binders to help it stick to the wall and harden. When these binders are exposed to air and moisture in a sealed environment, they begin to ferment. This is why “hot mud” (powdered setting-type compound) rarely molds in the bag—it lacks the moisture required to kickstart this biological process until you mix it.
The “Dirty Knife” Effect
One of the most common causes of mold is cross-contamination. If you dip a dirty taping knife—one that has touched old wall debris, dust, or your hands—back into the bucket, you are introducing bacteria. Once you seal the lid, those bacteria thrive in the dark, moist environment. Professional tapers often pour the mud they need into a “mud pan” or separate hawk and never return unused mud to the original bucket.
Improper Storage Conditions
Storing your compound in an area with fluctuating temperatures, like a garage or shed, accelerates spoilage. Freezing cycles can separate the polymers, while heat promotes bacterial growth. Additionally, if the lid wasn’t snapped on 100% tight, air infiltration dries out the surface and invites airborne spores to settle.
Can You Fix Moldy Drywall Mud?
This is the controversial question. Some thrifty DIYers will tell you to scrape and bleach, while manufacturers will tell you to toss it. Here is the reality of the situation.
The “Skim and Bleach” Method (Use at Your Own Risk)
If the mold is limited to a few small specks of surface fuzz and the mud underneath smells completely neutral, you might be able to salvage it for a small patch in a garage or unfinished area. The method involves scraping off the top inch of mud, discarding it, and then mixing in a small amount of bleach (about a capful) to kill remaining spores. However, this is risky. Bleach can alter the chemical composition of the binders, making the mud crumbly or changing how paint adheres to it later.
When to Throw It Out
If the mud smells rancid, throw it away. Period. The bacteria have colonized the entire mixture, not just the surface. No amount of mixing or bleach will remove the smell of rotting organic material. If you apply this to your wall, you are essentially painting your home with bacterial waste. Given that a new bucket of mud costs less than $20, risking a permanent smell in your bedroom or living room is mathematically unsound.
What to Do If You Already Applied Moldy Mud
Sometimes you don’t notice the smell until the mud starts drying on the wall. As the water evaporates, it releases the foul odor into the room. If you find yourself in this unfortunate position, you have a few options.
Does the Smell Go Away When It Dries?
In mild cases, the smell may dissipate once the mud is 100% dry and cured. However, in many cases, the smell reactivates whenever the humidity rises—such as after a shower or during a rainy week. This is because the bacteria are dormant but not gone. If the mud is in a utility room near a piezoelectric water heater or damp basement, the ambient moisture can keep the smell alive indefinitely.
Sealing the Stink: Why Regular Paint Won’t Work
Standard latex paint is breathable; it allows water vapor and odors to pass through. Painting over smelly mud with latex paint will NOT stop the odor. You must use a shellac-based primer (like Zinsser BIN) or a high-quality oil-based primer. These primers create an impermeable vapor barrier that locks the odor into the wall. This is the only way to save the wall without tearing it out.
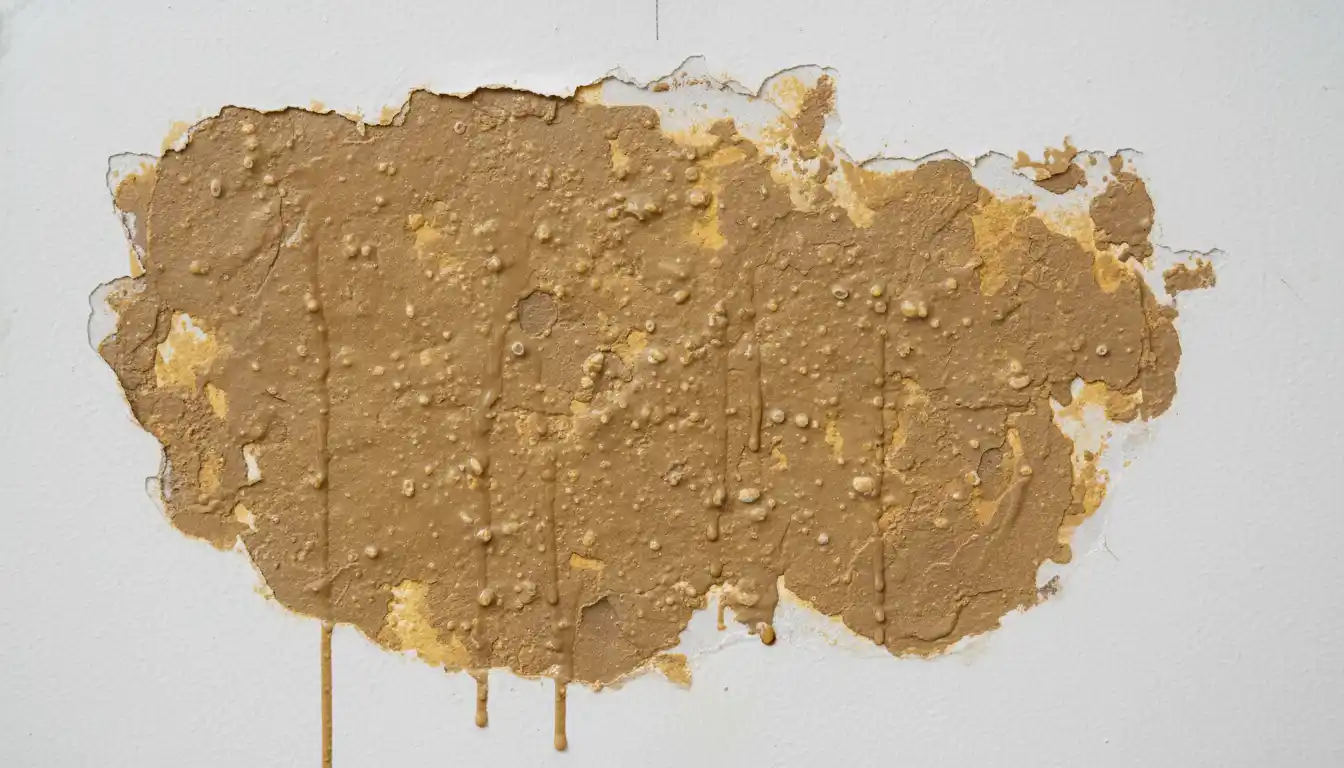
The Nuclear Option: Removal
If the mold growth is severe or the shellac primer fails to contain the smell, you must remove the contaminated material. This means scraping off the mud or cutting out the section of drywall entirely and replacing it. It is a labor-intensive fix, which is why checking your mud before applying it is so critical.
Prevention: How to Store Mud Like a Pro
You can make a bucket of joint compound last for months, or even a year, if you store it correctly. The goal is to prevent air contact and inhibit bacterial growth.
The “Water Cap” Trick
The absolute best way to store an opened bucket of pre-mixed mud is to level the surface flat with your knife, wipe the sides of the bucket clean with a wet sponge, and then gently pour about an inch of clean water on top. Do not mix it in. This layer of water acts as an air seal, preventing oxygen from reaching the mud. When you need to use the mud again, simply pour the water off. For extra protection, some pros add a teaspoon of bleach to this water cap water.
Clean Tools, Clean Bucket
Never work directly out of the 5-gallon bucket if you plan to save the rest. Scoop what you need into a mud pan. Never return used mud from your pan back into the bucket. Even if it looks clean, it has picked up dust and spores from the air and your walls.
Using Hot Mud in Humid Areas
If you live in a humid climate or are working in a damp area like a basement where you might be troubleshooting a Carlin gas conversion burner, consider using powdered “setting-type” compound (Hot Mud). Because it hardens via a chemical reaction rather than evaporation, it dries much faster, giving mold less time to establish itself. Powdered mud also has an indefinite shelf life as long as it stays dry in the bag.
Choosing the Right Mud to Avoid Mold
Not all joint compounds are created equal when it comes to mold resistance. The table below compares the two main types of mud found in home centers.
| Feature | Pre-Mixed (All-Purpose) | Powdered (Setting-Type / Hot Mud) |
|---|---|---|
| Base Composition | Gypsum + Organic Binders + Water | Gypsum + Chemical Hardener |
| Mold Risk (Storage) | High (contains food for mold) | Near Zero (in powder form) |
| Shelf Life | 9-12 months (unopened) | Indefinite (if kept dry) |
| Best Use Case | Skim coating, finishing layers | Patching, high-humidity areas, deep fills |
| “Rotten” Smell Potential | Common in old buckets | Rare |
Final Thoughts on Drywall Maintenance
Moldy drywall mud is more than just a nuisance; it’s a sign that the organic materials in your home supply are compromised. If you are dealing with persistent humidity issues that are causing your supplies to spoil, you might want to check your HVAC system. A malfunctioning unit, indicated by alerts like a Trane XV80 red light flashing, can lead to excess indoor moisture, making it nearly impossible to keep drywall compound fresh or get patches to dry properly.
When in doubt, remember the golden rule of drywall repair: Mud is cheap; your health and your time are expensive. If the bucket smells funny, toss it and spend the $15 on a fresh one. It is the best insurance policy for a clean, professional-looking wall repair.