A hole in the ceiling is more than an eyesore. It can let conditioned air escape, allow dust and insulation fibers to drift down, and create a path for pests or moisture. In many cases, a permanent repair is the right long-term answer, but you may not be ready to tackle drywall work immediately. Perhaps you are waiting on a contractor, dealing with an insurance claim, or simply need a safe stopgap before the weekend.
Temporarily covering a ceiling hole is a practical skill that balances speed, safety, and neatness. The method you choose depends on the size of the hole, what is above it, and how long the cover needs to stay in place. This guide walks through several reliable temporary solutions, the tools they require, and the warning signs that mean you should stop and call a professional instead of covering the problem.
Safety First: Check What Is Above the Hole
Before you cover anything, look into the hole with a flashlight. You may see insulation, ductwork, electrical wiring, plumbing, or structural framing. The presence of any of those changes the risk level. A hole that exposes live electrical connections or a leaking pipe is not a cosmetic problem, and covering it without addressing the cause can hide a hazard.
If you see water staining, active dripping, or soft, crumbly drywall around the edges, the ceiling has likely been wet. Moisture can weaken drywall and lead to mold growth, so a temporary cover should not trap dampness against the surface. In that situation, the priority is finding and stopping the leak, then allowing the area to dry before any cover goes up. The guide on repairing a water-damaged drywall ceiling explains how to assess and fix the underlying damage.
If the hole is near a furnace, water heater, or HVAC equipment, pay attention to any unusual behavior from those systems. A furnace that only works when its cover is off can indicate a serious airflow or safety issue, and you can read about why a furnace cover affects operation before you assume the ceiling hole is unrelated. Never block access panels or vents with a temporary ceiling cover.
Method 1: Plastic Sheeting and Painter’s Tape
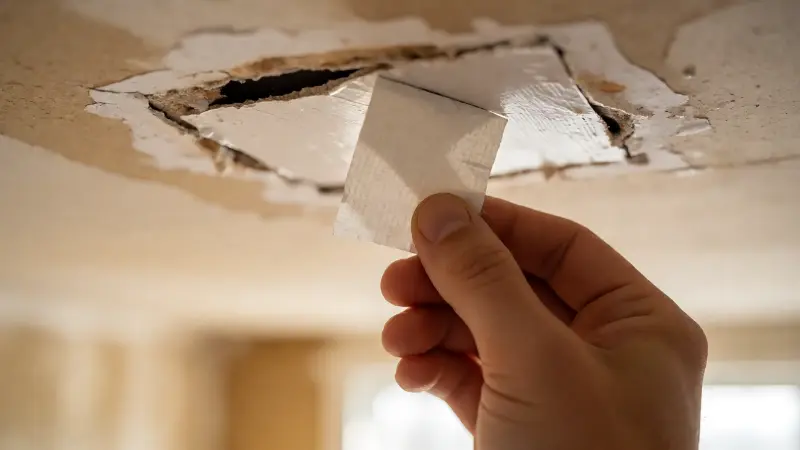
The simplest temporary cover is a piece of plastic sheeting taped over the hole. This method works best for small to medium holes and for situations where you need to stop dust or insulation from falling. Use a plastic sheet that is slightly larger than the hole, and tape it to the ceiling with painter’s tape or a low-residue tape to avoid damaging the paint.
Plastic sheeting is not airtight in a meaningful way, and it will not support any weight. It also looks improvised, which may be fine in a closet or utility room but less acceptable in a main living space. If the hole is in a visible area, consider a more finished-looking option such as a foam board insert or a decorative cover. Plastic is best treated as a short-term barrier, not a long-term solution.
When taping plastic overhead, use short strips and press them firmly. A large sheet of plastic can peel away at the edges over time, especially in a warm room. If the ceiling is painted with a gloss or semi-gloss finish, use a tape designed for delicate surfaces. Avoid duct tape on painted ceilings because it can pull off paint when removed.
Method 2: Cardboard or Foam Board Insert
A rigid insert can cover a hole more neatly than plastic and can be cut to fit the opening. Foam board, also called foam core, is lightweight and easy to cut with a utility knife. Corrugated cardboard works in a pinch but is less durable and more susceptible to moisture. For a temporary fix that lasts a few weeks, foam board is a reasonable choice.
Measure the hole and cut the insert slightly larger than the opening so it can rest on the surrounding ceiling surface. You can hold it in place with painter’s tape or a small amount of removable adhesive putty. If the hole is large, you may need to add a thin batten or a piece of strapping above the ceiling to support the insert, but that starts to blur the line between temporary and permanent repair.
Foam board can be painted to match the ceiling, which makes it less noticeable. A coat of ceiling paint on the face and edges helps it blend in. Keep in mind that foam board is combustible, so do not place it near heat sources such as recessed lights or heating vents. If the hole is directly below a light fixture or a heat register, choose a non-combustible cover or leave the area open until a proper repair is made.
Method 3: A Temporary Access Panel or Hatch
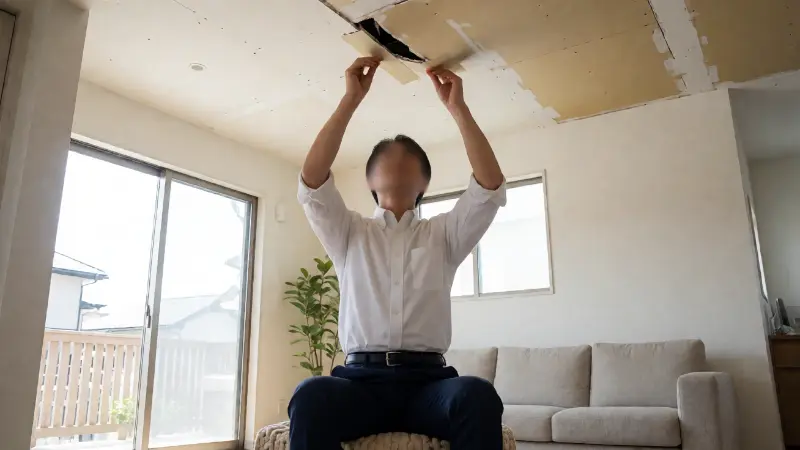
If the hole is large or if you need repeated access to the space above, a temporary access panel can be a practical solution. A spring-loaded access panel or a simple frame with a removable cover can be installed in the opening and removed later when the permanent repair is done. These panels are available in sizes that fit common openings, and some are designed for drywall ceilings.
An access panel is more work to install than a piece of plastic, but it looks more intentional and can be reused. It also avoids taping and untaping the ceiling repeatedly. If the hole was created to reach plumbing or wiring, an access panel may be a better long-term choice than patching the drywall, especially if future service access is likely.
When installing a temporary access panel, avoid cutting the opening larger than necessary. Check that the panel does not interfere with insulation or block airflow. If the space above is an attic or a mechanical chase, confirm that the panel does not compromise fire separation or insulation continuity. For a simple cosmetic cover, a lightweight panel held in place with removable clips is usually sufficient.
Method 4: Decorative Fabric or a Stretched Canvas
In a visible room, a fabric-covered frame or a stretched canvas can hide a ceiling hole while looking like a deliberate design choice. This method works well for holes in the middle of a ceiling where a flat cover can be attached without sagging. A lightweight frame covered with fabric can be secured with removable hooks or adhesive strips rated for the weight.
This approach is purely cosmetic. It does not seal air, block insulation, or provide any structural benefit. It is best for small holes in dry, stable ceilings where the only goal is to improve appearance until a proper repair is scheduled. Avoid hanging fabric near heat sources or light fixtures, and make sure the cover does not trap moisture against the ceiling.
If you use adhesive strips, follow the weight limits on the package. Overhead adhesion is less reliable than wall adhesion, so choose a product designed for ceiling use. Check the cover periodically to make sure it has not loosened. A falling cover can be a hazard, especially above a bed or seating area.
Method 5: A Plastic Bag and Tape for Small Holes
For a very small hole, such as one left by a removed smoke detector or a small plumbing access point, a plastic bag can be folded and taped over the opening as a quick barrier. This is not elegant, but it is fast and can keep dust and drafts at bay for a short time. Use a clean bag and tape it smoothly to avoid a flapping edge.
This method is not suitable for holes larger than a few inches, and it should not be used where the hole exposes electrical wiring or plumbing. It is a stopgap, not a solution. If the hole is in a closet or utility space, a small plastic cover may be entirely adequate until a permanent patch is made.
When removing any temporary cover, do so slowly to avoid pulling paint or drywall paper. If tape residue remains, use a mild adhesive remover or a damp cloth rather than scraping the ceiling. A gentle removal protects the surface for the eventual permanent repair.
Comparison Table: Temporary Ceiling Cover Methods
| Method | Best for | Tools and materials | Durability | Removal ease |
|---|---|---|---|---|
| Plastic sheeting and tape | Small to medium holes, dust control | Plastic sheet, painter’s tape, scissors | Short-term | Easy, low residue |
| Foam board insert | Small to medium holes in visible areas | Foam board, utility knife, tape or putty | Weeks to months | Easy |
| Temporary access panel | Large holes, repeated access needed | Access panel kit, screwdriver, saw | Months or longer | Moderate |
| Fabric or canvas cover | Cosmetic cover in living spaces | Frame, fabric, adhesive strips or hooks | Short to medium-term | Easy |
| Plastic bag and tape | Very small holes | Plastic bag, tape | Very short-term | Easy |
When a Temporary Cover Is Not Enough
A temporary cover is a stopgap, not a repair. If the hole is large, if the ceiling sags, or if there is evidence of water intrusion, the underlying problem needs attention. Covering a wet ceiling can trap moisture and encourage mold growth. Covering a hole that exposes damaged framing can hide a structural issue. In those cases, the right move is to address the cause before any cosmetic cover goes up.
If the hole is on an exterior soffit rather than an interior ceiling, the repair approach is different because the surface is exposed to weather. You can learn how to patch a hole in a soffit with methods designed for exterior conditions. Interior temporary covers are not suitable for soffits, and an exterior hole should be sealed against water and pests.
If the hole was created by a contractor or a previous owner to access plumbing or wiring, consider whether an access panel is a better long-term solution than a patch. An access panel makes future service easier and avoids repeated cutting and patching. If you are unsure, consult a qualified contractor or inspector before making a decision.
Tools and Materials to Keep on Hand
A small stash of temporary repair supplies can make the job quick and tidy. Painter’s tape, plastic sheeting, a utility knife, a tape measure, and a pencil cover most situations. Foam board and a lightweight access panel are worth keeping if you own an older home or are planning renovations. A flashlight is essential for inspecting the hole before you cover it.
For overhead work, a stable step stool or ladder is important. Avoid standing on furniture, and keep the ladder on a level surface. If the ceiling is high or the hole is in a stairwell, consider whether the job is safe to do yourself. A fall from a ladder is a serious risk, and a temporary cosmetic fix is not worth an injury.
Use a dust mask if the ceiling material is old or if there is insulation above the hole. Some older ceiling materials may contain hazardous substances, and disturbing them can release fibers or dust. If you suspect asbestos or lead paint, stop and consult a professional before doing any work. Covering the hole without testing is not a safe shortcut.
Preventing Future Ceiling Holes
Many ceiling holes come from plumbing leaks, roof damage, or poorly planned renovations. Regular inspection of the attic, roof, and plumbing can catch problems before they create a large opening. If you see water stains or bubbling paint, investigate the source rather than waiting for the drywall to fail.
When you hire a contractor for plumbing or electrical work, ask whether they will restore the ceiling as part of the job. Some contractors patch and paint, while others leave the opening for a drywall specialist. Clarifying that upfront avoids the situation where you are left with a hole and no plan for closing it.
If you create an access hole yourself, consider installing a proper access panel instead of a patch. That makes future service easier and avoids repeated damage. A little planning can turn a one-time hole into a reusable access point rather than a recurring repair.
FAQ
What is the fastest way to temporarily cover a ceiling hole?
For a small hole, plastic sheeting taped over the opening is the fastest method. For a slightly larger hole, a foam board insert cut to size and held with painter’s tape is quick and looks neater. Both are short-term solutions and should be replaced with a proper repair when possible.
Can I use duct tape on a ceiling?
Duct tape can hold a temporary cover, but it may pull paint or drywall paper when removed. Painter’s tape or a low-residue tape is safer for painted ceilings. If you must use duct tape, apply it to a small test area first and remove it slowly.
How long can a temporary ceiling cover stay in place?
It depends on the method and the conditions. Plastic and tape may last days to a few weeks, while a foam board insert or access panel can last months. Any cover should be checked periodically for looseness, moisture, or signs of pests. If the cover traps dampness or hides a worsening problem, remove it and address the cause.
Is it safe to cover a hole that exposes electrical wiring?
Not without addressing the wiring first. If the hole exposes live electrical connections, turn off the power to that circuit and have a qualified electrician assess it. Covering live wiring with plastic, foam, or fabric can create a fire hazard. A temporary cover should never be used to hide an electrical problem.
What should I do if the ceiling around the hole is soft or stained?
Soft or stained drywall usually indicates moisture damage. Find and fix the water source before covering the hole. Cut away any soft material and allow the area to dry. If the damage is extensive, consult a contractor. Covering damp drywall can lead to mold growth and further deterioration.
Can I paint a temporary cover to match the ceiling?
Foam board and some access panels can be painted with ceiling paint to blend in. Plastic sheeting and fabric are not paintable in the same way. If appearance matters, a painted foam board insert or a decorative fabric cover is a better choice than plastic. Keep in mind that paint does not make a temporary cover permanent.