There are few things more frustrating than waking up to a freezing house because your boiler decided to quit overnight. If you own a Peerless boiler, the pilot light is often the first place to look when the heat goes out. The most common reason a Peerless boiler pilot light won’t stay lit is a faulty thermocouple that fails to send the “flame present” signal to the gas valve, or a tripped spill switch caused by downdrafts in the chimney. While replacing a thermocouple is a standard fix, Peerless boilers have specific safety mechanisms—like the blocked vent switch—that can mimic a bad pilot but actually indicate venting issues.
This guide will walk you through everything from the basic relighting procedure to advanced multimeter testing, ensuring you can safely diagnose whether you have a simple part failure or a more complex airflow problem.
Understanding Your Peerless Pilot System
Before grabbing a wrench, it is critical to identify which type of ignition system your Peerless boiler uses. The troubleshooting steps vary significantly between older and newer models.
Standing Pilot vs. Intermittent Ignition
Most older Peerless residential boilers (like the earlier Series 63 or MI models) utilize a standing pilot. This means a small flame burns 24/7, ready to ignite the main burners whenever the thermostat calls for heat. These systems rely entirely on a thermocouple—a small copper rod—to generate a tiny electrical current that keeps the gas valve open.
Newer high-efficiency models often use intermittent pilot ignition (spark ignition). In these systems, there is no permanent flame. When the heat turns on, a control module sends a spark to light a temporary pilot, which then lights the main burners. If you hear a “click-click-click” sound but see no flame, you likely have an intermittent system. This guide focuses primarily on standing pilots, but we will address the specific electrical faults that plague spark systems as well.
Safety Precautions
Working with gas appliances requires absolute caution. If you smell gas (a rotten egg odor), do not attempt to light the pilot. Evacuate the area and call your gas utility immediately. Always turn off the electrical power to the boiler at the service switch or breaker panel before performing any maintenance. Even standing pilot boilers have 24-volt electrical controls that can short out if mishandled.
Common Reasons the Pilot Light Goes Out
If your pilot light refuses to stay lit after you release the knob, or if it lights but goes out a few hours later, one of the following culprits is usually to blame.
The Thermocouple: The Usual Suspect
The thermocouple is a safety device that sits directly in the pilot flame. It consists of two dissimilar metals that generate a millivolt signal when heated. This signal powers an electromagnet inside the gas valve, holding it open. If the thermocouple is worn out, bent, or covered in soot, it cannot generate the required 30 millivolts. Consequently, the gas valve “thinks” the fire is out and shuts off the gas supply to prevent a leak.
The “Peerless” Spill Switch Issue
This is a specific issue often overlooked by general handymen. Peerless boilers are equipped with a blocked vent switch (also known as a spill switch), usually located on the draft hood where the exhaust pipe connects to the boiler. If your chimney is blocked, or if a strong wind creates a downdraft, hot exhaust gases spill out into the room instead of going up the flue. This switch detects the heat and instantly cuts power to the pilot mechanism. If you find yourself constantly relighting the pilot on windy days, the issue is likely your draft, not the pilot light itself.
Dirty Pilot Orifice
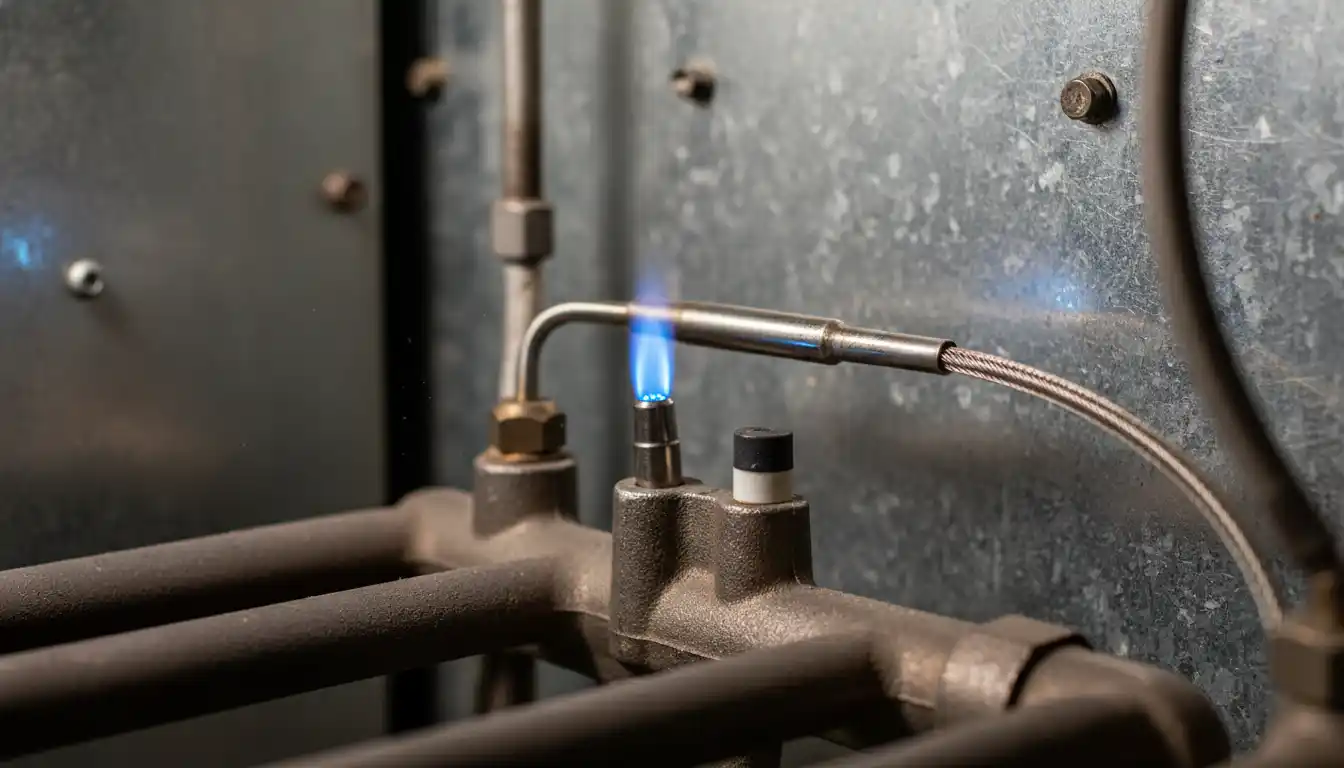
Over time, dust and combustion byproducts can clog the tiny pilot orifice. A healthy pilot flame should be strong, blue, and envelope the top 3/8 to 1/2 inch of the thermocouple. If your flame is weak, yellow, or wavering (like a candle flame), it is not hot enough to generate the voltage needed to keep the gas valve open. This is common in boilers installed in basements or utility rooms that are dusty or near laundry areas.
Step-by-Step: How to Light a Peerless Boiler Pilot
If you have determined it is safe to proceed, follow this standard procedure for lighting a standing pilot on a Peerless boiler equipped with a Honeywell or Robert Shaw gas valve.
1. Preparation
Locate the gas control valve. It typically has a knob with three positions: “ON,” “OFF,” and “PILOT.” Turn the knob to the “OFF” position and wait five full minutes. This allows any residual gas to dissipate. This is a critical safety step—do not skip it.
2. The Lighting Procedure
Turn the knob to the “PILOT” position. You will need to press this knob down (or press a separate red button, depending on the valve model) to manually feed gas to the pilot. While holding the button down, apply a flame to the pilot burner using a long grill lighter. Once the pilot flame appears, continue holding the button down for at least 60 seconds.
The most common mistake homeowners make is releasing the button too early. The thermocouple needs time to get hot enough to generate the electrical signal. Release the button slowly. If the flame stays lit, turn the knob from “PILOT” to “ON.”
3. Troubleshooting Immediate Failure
If the flame dies the instant you release the button, the thermocouple is not generating enough voltage, or the connection to the gas valve is loose. Try the process one more time, holding the button for a full 90 seconds. If it still fails, you likely need to replace the thermocouple or clean the pilot assembly.
Advanced Troubleshooting and Multimeter Testing
For those comfortable with a multimeter, you can diagnose the exact component failure without guessing. This section adds technical depth that goes beyond basic relighting.
Testing Thermocouple Voltage
A good thermocouple should read approximately 30 millivolts (mV) during an open circuit test. To test this under load:
1. Unscrew the thermocouple from the gas valve.
2. Light the pilot and hold the button down manually.
3. Place one probe of your multimeter on the copper line and the other on the tip that inserts into the valve.
4. You should see a reading above 25mV. If it is below 17mV, the thermocouple is dead.
Checking Electrical Continuity
In intermittent pilot systems, the issue is often electrical. The control module relies on the flame to complete a circuit (flame rectification). If your boiler has a bad ground, the system won’t “see” the flame even if it lights.
You should verify that the control module is receiving proper power. Check for continuity between hot and neutral at the boiler’s power switch to ensure 120V is present. Additionally, ghost voltages can cause erratic behavior; ensuring there is no unexpected continuity between neutral and ground is vital for the sensitive electronics in modern Peerless boilers to function correctly.
Inspecting the Thermal Cutoff
Some Peerless pilot assemblies include a thermal cutoff fuse in the thermocouple line. If a flame rollout event occurred, this fuse blows permanently. If you replace the thermocouple but reuse the old adapter with a blown fuse, the pilot will never stay lit. Always check continuity through any adapters connected to the thermocouple line.
Maintenance to Prevent Future Failures
Preventative maintenance can save you from emergency service calls in the dead of winter.
Cleaning the Pilot Assembly
Use a can of compressed air to blow out the pilot orifice and the air intake holes on the pilot burner annually. If you have a “lazy” yellow flame, it indicates the air mix is poor. A stiff wire brush can gently remove carbon deposits from the thermocouple tip, which acts as an insulator and reduces voltage transfer.
Controlling the Boiler Room Environment
Drafts are the enemy of a pilot light. If your boiler is located in an uninsulated outbuilding or a drafty garage, the wind can easily extinguish the flame or trip the spill switch. While you might not need to know how to enclose a pole barn completely, applying similar principles—like sealing large air gaps and ensuring the boiler room is protected from direct gusts—will drastically improve reliability.
Troubleshooting Matrix
| Symptom | Possible Cause | Recommended Solution |
|---|---|---|
| Pilot lights but dies immediately when knob is released. | Bad thermocouple or loose connection. | Tighten thermocouple nut 1/4 turn past finger tight. If that fails, replace thermocouple. |
| Pilot flame is yellow and wavering. | Dirty pilot orifice or lack of air. | Clean pilot assembly with compressed air. Ensure no dust is blocking air intakes. |
| Pilot stays lit but main burners won’t fire. | Faulty gas valve or thermostat issue. | Check thermostat batteries. If thermostat calls for heat but valve doesn’t click, valve may be dead. |
| Pilot goes out only on windy days. | Downdraft tripping the Spill Switch. | Inspect chimney cap. Reset spill switch (if manual). Consult a pro for chimney lining. |
| Spark igniter clicks but pilot won’t light (Intermittent). | No gas flow or spark gap too wide. | Verify gas supply is on. Clean spark rod and check ground wire continuity. |
By understanding the specific quirks of Peerless boilers—especially their sensitivity to drafting and the role of the spill switch—you can often solve pilot light issues without paying for an emergency service call. However, if you are ever unsure about a gas repair, the safety of your home is worth the cost of a professional inspection.