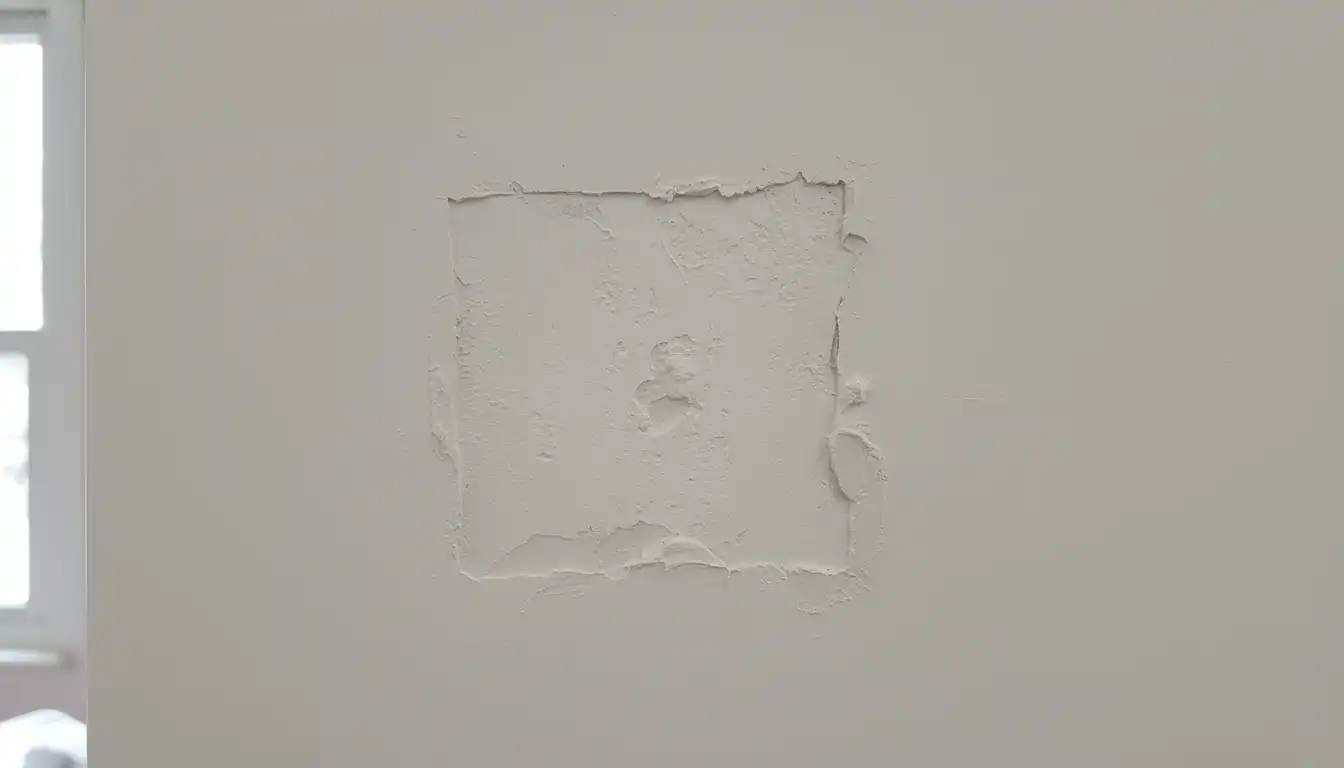
There are few DIY frustrations as persistent as a drywall patch that isn’t flush. You did the work, you filled the hole, but a stubborn mound or a sunken valley remains, creating an unmissable blemish on your otherwise perfect wall. This imperfection seems to catch every ray of light, making the repair more obvious than the original damage.
This common problem can make even the most patient homeowner want to give up. But a seamless, invisible repair is not out of reach. Understanding why your patch isn’t flush is the first step toward achieving a truly professional finish that blends perfectly with the surrounding surface.
Why Your Drywall Patch Isn’t Flush: The Hidden Causes
Achieving a perfectly flat drywall patch is a delicate balance. Too much or too little of anything—joint compound, pressure, or sanding—can lead to a flawed result. Before you can fix the problem, you need to diagnose the cause of your uneven surface.
The “Too Much Mud” Mountain: Over-application and Its Consequences
It’s a common mistake to think that piling on joint compound will solve the problem faster. In reality, applying too much “mud” creates a raised area, or a “hump,” that is difficult to blend into the surrounding wall. Each thick layer you add only exaggerates the mound, making it impossible to sand down without damaging the drywall paper around it.
The goal isn’t to build a mountain over the hole but to create a gradual, feathered slope. Thin, successive layers are always better than one thick coat. This approach allows you to slowly build the area up until it is perfectly level with the existing wall, ensuring a smooth transition that the eye cannot detect.
The “Sinking Ship” Syndrome: Under-filling and Mud Shrinkage
The opposite problem is a sunken or indented patch. This happens when not enough joint compound is used or when the compound shrinks as it dries. All water-based joint compounds shrink to some degree, and if the initial layers don’t account for this, you’ll be left with a concave area.
This issue is particularly common with deeper holes where the mud has more volume to lose. Rushing the process and applying the next coat before the previous one is fully cured can also contribute to sinking and cracking. Patience and proper layering are key to avoiding this sunken appearance.
Tape Telegraphing: When Your Seams Won’t Stay Hidden
For larger repairs requiring mesh or paper tape, “telegraphing” is a frequent issue. This is when the outline of the tape is visible through the dried compound. It can happen if the tape isn’t set properly in a thick enough bed of mud or if subsequent layers of compound are not feathered out wide enough.
Without proper embedding and wide feathering, the edges of the tape create a subtle ridge that will always be visible, especially after painting. The solution is to ensure the tape is fully covered and to extend your joint compound well beyond the tape’s edges to create a seamless blend.
The Pro’s Playbook: How to Fix a Drywall Patch That’s Not Flush
Fixing an uneven patch is less about starting over and more about correcting the surface with strategic technique. With the right tools and a methodical approach, you can turn that eyesore into an invisible repair.
Step 1: Honest Assessment and Strategic Sanding
First, identify whether your patch is too high or too low. Run a straight edge, like a 6-inch taping knife, over the area to feel for bumps or dips. Use a bright light held at a low angle against the wall; this will cast shadows that reveal every imperfection.
If the patch is raised, you must sand it down. Start with 100- or 120-grit sandpaper on a sanding block to carefully level the high spot. Be cautious not to sand too aggressively, which could tear the drywall paper. Your goal is to remove the excess compound and rough up the surface for the next coat, not to get it perfectly smooth at this stage.
Step 2: The Art of the “Float” – Building Out, Not Up
For both raised and sunken patches, the solution is to “float” the repair. This technique involves applying very thin layers of joint compound over a much wider area than the original patch. This builds up the surrounding surface gradually, making the transition to the repaired spot imperceptible.
Use a wide taping knife (10 or 12 inches) for this step. Apply a thin coat of mud, extending 6-8 inches beyond the edges of the problem area. Hold the knife at a low angle and apply firm, even pressure to spread the compound thinly, feathering the edges until they disappear into the wall.
Step 3: Mastering the Feathered Edge
Feathering is the most critical skill for an invisible patch. After applying your thin coat of mud, clean your taping knife. Then, with the clean knife, gently sweep over the outermost edges of the wet mud, blending them into the wall until there’s no discernible edge.
It often takes two or three of these wide, feathered coats to completely hide a flawed patch. Allow each coat to dry completely before applying the next. A light sanding between coats can help knock down any small ridges or imperfections.
Prevention is the Best Cure: Tips for a Flawless Patch from the Start
The easiest way to deal with a non-flush patch is to avoid creating one in the first place. Proper preparation and technique are everything. Before starting any repair, ensure your workspace is safe; this includes being aware of any nearby utilities to avoid accidental damage. Understanding how to join PVC pipe with a rubber coupling, for example, is crucial for plumbing work, just as understanding your wall’s anatomy is for drywall repair.
Tool and Material Checklist for a Perfect Drywall Patch
Having the right tools is non-negotiable for a professional finish. Investing in a few key items will make the job easier and the results far superior. Here’s a breakdown of what you need and why.
| Tool/Material | Purpose | Pro Tip |
|---|---|---|
| Putty Knife (6-inch) | Initial application of compound and taping. | A flexible steel blade provides better control than a plastic knife. |
| Taping Knife (10 or 12-inch) | Applying wide, thin coats for feathering and floating. | The wider blade is essential for blending large patches seamlessly. |
| All-Purpose Joint Compound | Bedding tape and initial fill coats. Dries harder. | Choose a compound with minimal shrinkage for the first layers. |
| Topping Compound | Final, thin coats. Sands more easily for a smooth finish. | This lighter compound is perfect for the final skim coat. |
| Sanding Sponge/Block | Sanding between coats and final finishing. | Use a medium grit (120) for initial sanding and a fine grit (220) for the final touch. |
| Fiberglass Mesh or Paper Tape | Reinforcing seams on larger patches to prevent cracking. | Paper tape is stronger, but self-adhesive mesh tape is easier for beginners. |
The Unseen Enemy: How Humidity Sabotages Your Repair
Ambient conditions play a surprisingly large role in how your joint compound behaves. High humidity slows down drying time significantly, as the water in the mud cannot evaporate into the already saturated air. This can lead to sagging, cracking, and a poor bond with the drywall. Conversely, overly dry conditions or direct heat can cause the compound to dry too quickly on the surface, trapping moisture underneath and leading to bubbles or cracks later on.
For best results, aim for a temperature between 55°F and 75°F with moderate humidity. Use a fan to ensure good air circulation, but avoid pointing it directly at the patch. Proper environmental control allows the compound to cure evenly and strongly, which is fundamental to a durable, flush repair.
When a Patch Becomes a Project: Is Skim Coating the Answer?
Sometimes a patch is so poorly done, or the surrounding wall has so many imperfections, that simply fixing the spot isn’t enough. In these cases, skim coating the entire wall might be the best solution. A skim coat involves applying a very thin layer of joint compound over the whole surface to create a fresh, uniform, and perfectly smooth finish.
This process can make an old, damaged wall look brand new. It’s also an excellent way to prepare a wall for painting, as it provides a consistent surface for the new coat. The decision between a skim coat vs primer depends on the wall’s condition; a primer seals the surface, but a skim coat physically corrects it.
Beyond the Blemish: The Final Steps to a Perfect Wall
Once your patch is perfectly flush and sanded smooth, the final step is priming and painting. Primer is essential as it seals the porous joint compound, preventing the paint from soaking in and creating a dull spot, a phenomenon known as “flashing.” Using a good quality primer ensures that your final paint coat will have a consistent sheen across the entire wall.
If you skip this step, you risk creating a new problem. A poorly sealed patch can affect paint adhesion over time, leading to issues down the road. You don’t want to find your beautiful repair job marred because the paint peeling off walls like rubber months later.
Conclusion: From Flawed Patch to Invisible Repair
A drywall patch that isn’t flush is a correctable mistake. By understanding the core principles of applying thin coats, feathering edges widely, and allowing for proper drying time, anyone can achieve a seamless repair. Don’t let a small bump or dip in your wall be a source of constant annoyance.
With patience and the right techniques, you can transform that flawed patch into an invisible part of the wall. The result is a clean, professional finish that restores the beauty of your room and provides the satisfaction of a job done right.