You have just finished a grueling weekend of renovating. The drywall is hung, the mud is sanded, and the fresh coat of expensive paint is drying. You stand back to admire your work, and straight-on, it looks perfect. But then, you walk to the window or turn on a hallway lamp, and suddenly, your smooth wall looks like a patchwork quilt. You can see every seam, every patch, and every screw hole as a dull or shiny spot “ghosting” through the paint. This isn’t just bad luck; it’s a technical failure known as drywall flashing.
Drywall flashing occurs when the porosity or texture of the joint compound differs from the surrounding drywall paper, causing the paint to dry with an uneven sheen or finish that is visible only under critical lighting conditions. While it is one of the most frustrating finish defects in home improvement, it is also entirely fixable—and preventable—if you understand the science of wall absorption.
In this guide, we will move beyond the basic “just prime it” advice. We will dissect why flashing happens even to experienced DIYers, the specific chemistry between mud and paint, and the professional-grade sealing techniques that will banish those ghost lines forever.
What Is Drywall Flashing? (The “Ghosting” Phenomenon)
Drywall flashing, often referred to by pros as “photographing” or “telegraphing,” is a visual defect where the underlying surface conditions show through the finish coat of paint. It is important to distinguish this from a poor taping job. If your wall has physical ridges, humps, or valleys, that is a finishing issue (you need more sanding or mud). Flashing, however, can happen on a wall that is perfectly flat and smooth to the touch.
The defect typically manifests in two ways:
1. Sheen Flashing (Porosity): This is the most common form. Drywall paper is somewhat porous, but joint compound (mud) is extremely porous, acting like a sponge. When you paint over a wall where the mud hasn’t been sealed properly, the mud sucks the binders and liquids out of the paint faster than the paper does. This leaves the paint on the mudded areas with less sheen (duller) than the paint on the paper.
2. Texture Flashing: Drywall paper has a slight stipple or grain. Sanded joint compound is glass-smooth. If you paint directly over this, the texture difference will catch the light differently. The smooth mud reflects light directly, while the textured paper scatters it. This contrast outlines your joints as clearly as a photograph.
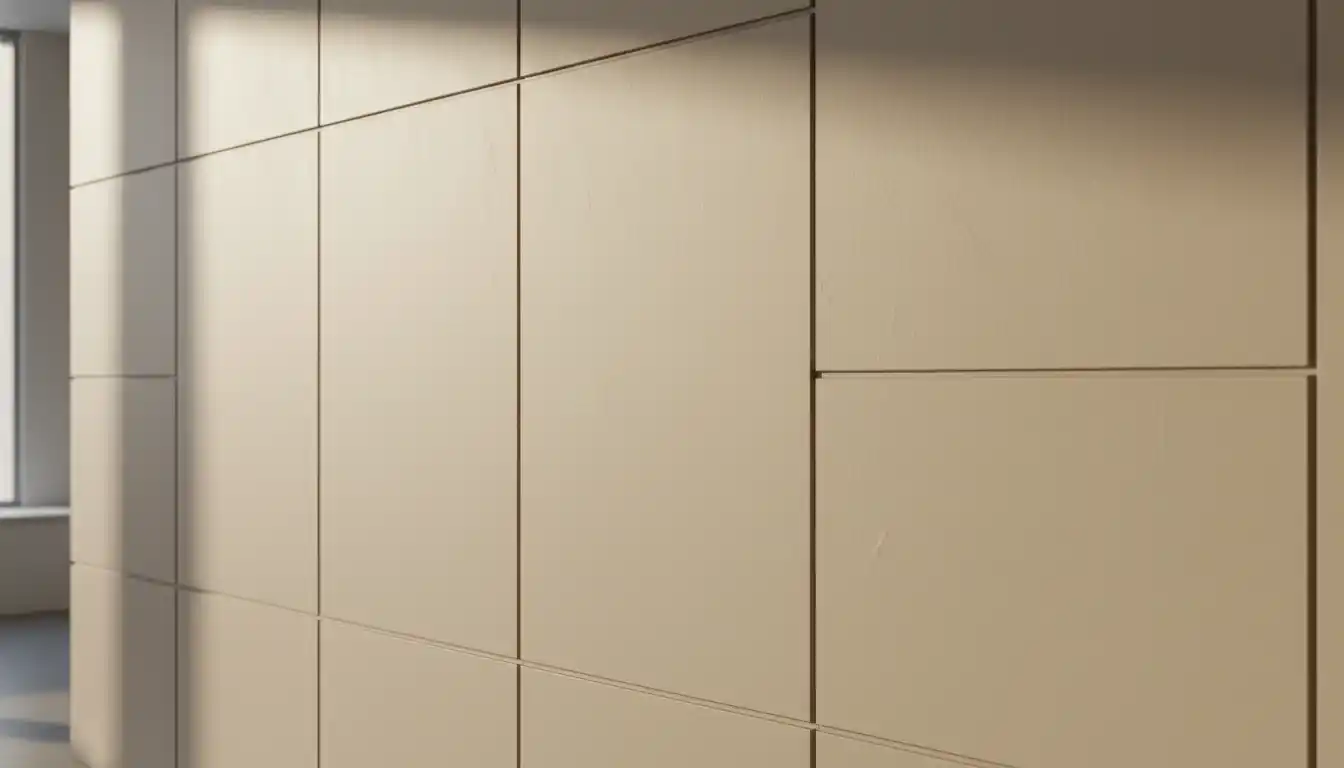
The image above illustrates a classic case of sheen flashing. Notice how the vertical band (the seam) appears lighter or duller than the rest of the wall? That is the paint losing its gloss because the surface beneath it was too thirsty.
Why Does It Happen? (It’s Not Just “Bad Painting”)
Many homeowners blame the paint quality when flashing occurs, but the culprit is almost always the preparation. Understanding the root causes helps you diagnose whether you need a new primer, a different roller, or a totally new approach.
The Porosity Trap (Mud vs. Paper)
Think of your wall as a landscape of different materials. The drywall face paper is designed to accept paint at a specific rate. The joint compound, which is essentially gypsum dust and glue, is far more absorbent. When you roll paint across this mixed surface, the vehicle (the liquid part of the paint) absorbs unevenly.
On the mudded seams, the liquid absorbs instantly, “freezing” the pigment and binder in place. On the paper, it sits wet longer, allowing the paint to level out. When it dries, the areas that dried too fast (the seams) look flat or dead, while the paper retains the intended eggshell or satin sheen. This is why “spot priming” often fails—if the spot primer doesn’t match the porosity of the paper exactly, you just create a different kind of flash.
The “Hot Mud” Factor
If you used setting-type compound (often called “hot mud” or “20-minute mud”) for your repairs, you are at higher risk for flashing. Hot mud sets by chemical reaction and becomes much harder and denser than standard drying-type compound. It also polishes to a higher sheen when sanded. This creates a surface that is chemically very different from the surrounding paper, making it stubborn to cover even with standard primers.
Critical Lighting and Glancing Angles
You might notice that your wall looks flawless at noon but terrible at sunset. This is due to “critical lighting” or glancing light. When light hits a wall from a sharp angle (like a window at the end of a hallway or a sconce light), it exaggerates microscopic differences in texture.
Home renovation is full of sticky situations, from faucet handles that won’t budge to paint finishes that look uneven. Just like plumbing diagnostics, diagnosing wall flashing requires looking at the problem from the right angle—literally. If you inspect your work with a light held directly against the wall (a “raking light”), you will see flashing that is invisible under ambient light.
How to Test for Flashing (The Flashlight Test)
Before you declare a project finished, you need to audit your walls. Professional drywall finishers don’t trust their eyes alone; they trust shadows.
The Raking Light Technique:
Take a high-powered LED flashlight or a work light. Turn off the overhead lights in the room. Hold the light against the wall surface, shining the beam parallel to the wall. This will cast long shadows across any imperfections.
If you see a physical ridge or bump, you need to sand more. But if the wall looks flat in the shadow, yet you see a distinct change in how the light reflects (shiny vs. dull strips), you have confirmed drywall flashing. This diagnostic step is crucial because sanding won’t fix flashing—only sealing will.
Just like diagnosing why water runs after a shut-off requires looking past the obvious, diagnosing wall flashing requires looking past the geometry of the wall and examining the chemistry of the surface.
The Fix: How to Repair Drywall Flashing on Painted Walls
So, the wall is painted, and the flashing is visible. Do not panic. You do not need to rip out the drywall. However, simply rolling another coat of the same paint will rarely solve the problem; it will just build up a thicker layer of the same uneven finish.
Step 1: Scuff Sanding
You need to break the surface tension of the existing paint. Use a 220-grit sanding pole or sponge and lightly scuff the entire wall. Focus on the flashing areas to knock down any high fibers or texture differences. You aren’t trying to remove the paint; you are just giving the new coating something to bite into and smoothing out the texture transition.
Step 2: The “Sealer” Secret (GARDZ vs PVA)
This is the step most DIYers miss. Standard PVA (Polyvinyl Acetate) drywall primer is great for new raw drywall, but it is often too thin to fix existing flashing problems on painted walls. For a repair, you need a sealer that penetrates and locks down porosity differences.
The Pro Solution: Clear Drywall Sealer (e.g., Zinsser GARDZ).
Unlike standard primers which sit on top, clear sealers are very runny and penetrate deep into the mud and paper. They dry rock-hard and create a uniform, sealed glass-like surface. When you paint over this, the paint has no choice but to dry evenly because the surface absorption is 100% uniform.
Alternative: High-Build Primer.
If your flashing is due to texture differences (smooth mud vs. rough paper), a clear sealer won’t hide the texture. In this case, use a “High-Build” or “Level 5” primer. These are thick, heavy-bodied primers designed to fill in the paper texture so it matches the smoothness of the mud.
Step 3: Repaint with Proper Technique
Once your sealer is dry, apply your finish paint. Use a high-quality microfiber roller cover (3/8″ or 1/2″ nap). Microfiber holds more paint and releases it more evenly than standard polyester covers, helping to mask texture differences.
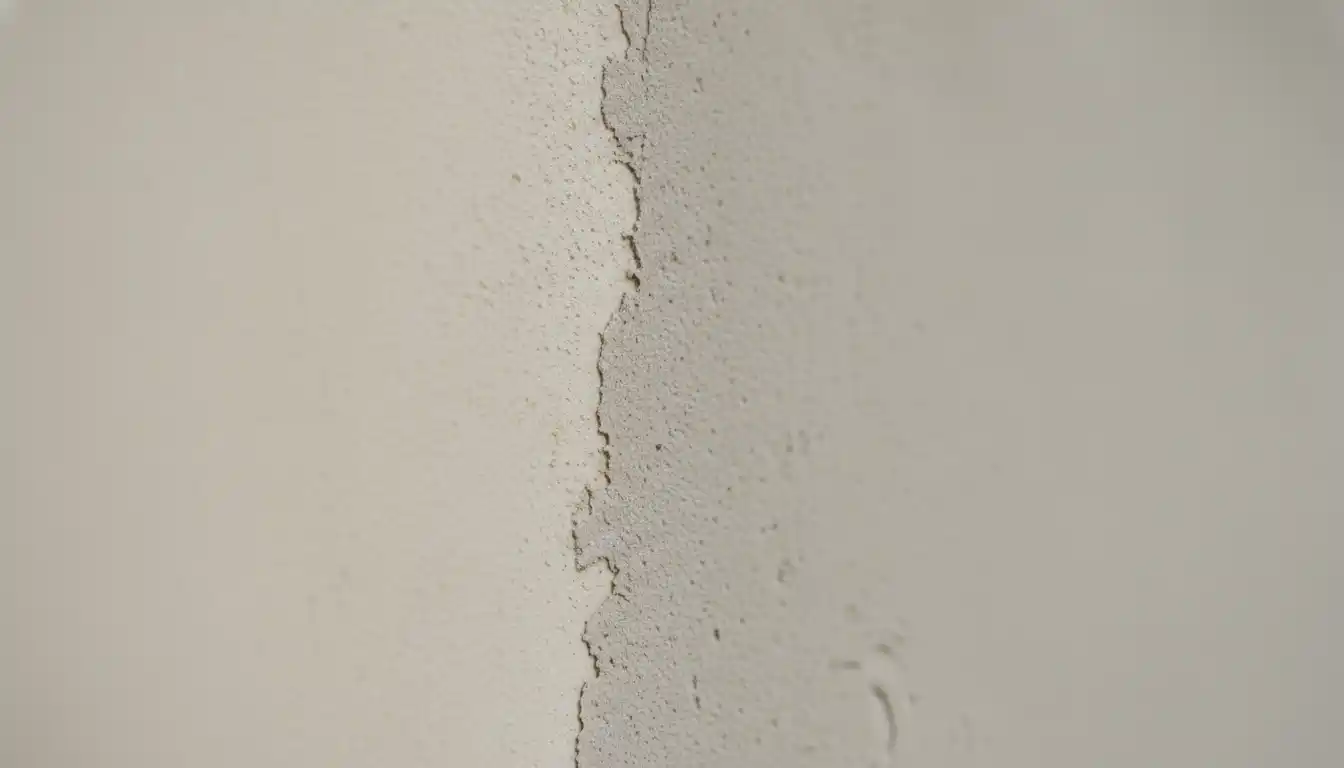
The image above shows the microscopic battleground: the fuzzy paper versus the smooth compound. Your goal with the sealer and repainting is to bridge this gap so the eye—and the light—can’t tell the difference.
Prevention: Stop It Before It Starts
If you are starting a new project, prevention is far cheaper than repair. The key to preventing flashing lies in the steps you take before the color goes on. You might have hauled your drywall home carefully (maybe even avoiding the roof rack mistakes typical with lumber transport), but delivery is just step one. The real delicate work happens during the prime coat.
Choose the Right Primer
Not all primers are created equal. The “paint and primer in one” products are fantastic for color changes on existing walls, but they are often insufficient for fresh drywall seams. For new drywall, you need a dedicated primer-sealer.
| Primer Type | Best For | Pros | Cons |
|---|---|---|---|
| PVA Primer | New, budget-friendly drywall installations. | Inexpensive; seals basic paper porosity. | Thin; doesn’t hide texture differences well; may flash with higher sheen paints. |
| High-Build Primer | Walls with critical lighting or poor framing; Level 5 prep. | Fills paper texture to match mud; excellent hiding power. | Expensive; thick application requires skill (often sprayed). |
| Clear Sealer (GARDZ) | Repairing flashing; Skim coated walls; Torn drywall face paper. | Penetrates deeply; locks down hot mud; equalizes absorption perfectly. | Runny consistency (messy); no hiding power for color (clear). |
| Universal Stain Blocker | Renovations with stains or old walls. | Blocks stains and odors. | Overkill for new drywall; harder to sand; strong fumes (if oil-based). |
The “Level 5” Concept
In high-end construction, the ultimate prevention for flashing is a “Level 5 Finish.” This involves skimming the entire surface of the wall with a thin coat of joint compound, then sanding it all smooth. This makes the entire wall one material (mud), eliminating the paper-to-mud transition entirely.
While labor-intensive, you can approximate this result by using a “surfacer” paint or a high-build primer applied with a thick nap roller. This is highly recommended for walls that will receive semi-gloss paint or will be washed by natural light from large windows.
Common Myths About Flashing
Myth 1: “Just add more coats of paint.”
False. If the underlying surface is porous, it will keep sucking the binder out of subsequent coats. You might eventually saturate it after 5 or 6 coats, but you are wasting money. Seal it once, paint it once.
Myth 2: “Flat paint fixes everything.”
It is true that flat (matte) paint hides flashing better than satin or eggshell because it doesn’t reflect light. However, using flat paint is a design compromise, not a fix. If you want a washable kitchen wall in satin, you shouldn’t be forced to use flat paint just to hide bad prep. Proper priming allows you to use any sheen you want.
Myth 3: “It’s the painter’s fault.”
Often, the painter gets blamed for the drywall finisher’s work. If the drywaller left high spots, or if the paper was sanded fuzzy (raised grain), the painter cannot hide that with liquid. It is a system failure. The transition from trade to trade is where flashing is born.
Conclusion: The Wall Prep Secret
Drywall flashing is the ghost in the machine of home improvement. It is the invisible error that only appears when you think you are done. The secret to a professional-looking wall isn’t in the $60 gallon of top-coat paint; it is in the $20 gallon of sealer hidden underneath it.
By understanding that flashing is a battle of porosity and texture, you can choose the right weapons—specifically high-build primers or clear sealers—to win the war. Don’t settle for walls that only look good in the dark. Audit your surfaces, seal your mud, and enjoy a finish that stands up to the brightest sunlight.