That sudden, violent rattling, thumping, or high-pitched squeal from your laundry room is a sound no one wants to hear. When your trusty clothes dryer transforms into a noise machine, a stripped dryer blower wheel is one of the most common culprits. This small but critical component is responsible for moving hot, moist air out of the dryer, and when it fails, your appliance’s performance plummets.
Fortunately, replacing a stripped blower wheel is a manageable DIY project that can save you a significant amount of money on a service call. This guide will walk you through understanding the causes, diagnosing the symptoms, and performing the repair step-by-step. Get ready to restore peace and quiet to your laundry routine.
What Causes a Dryer Blower Wheel to Strip?
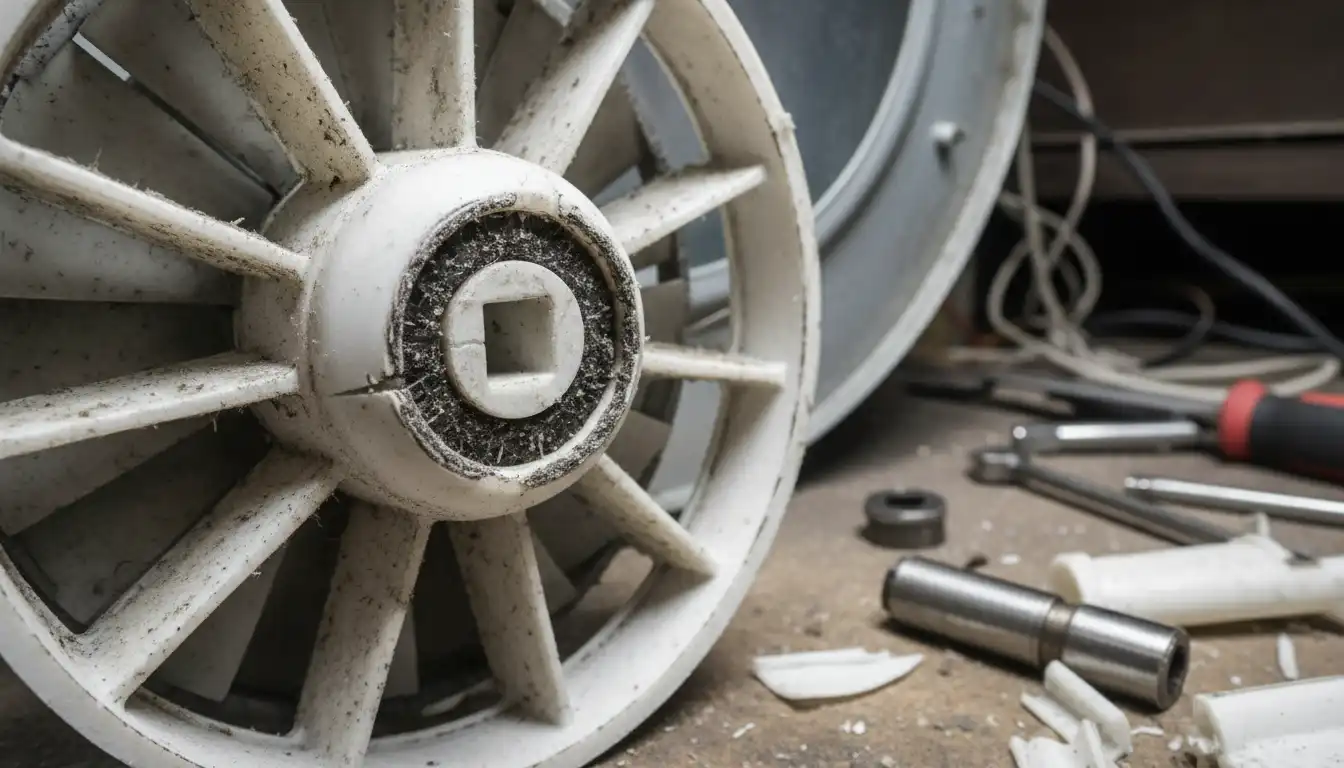
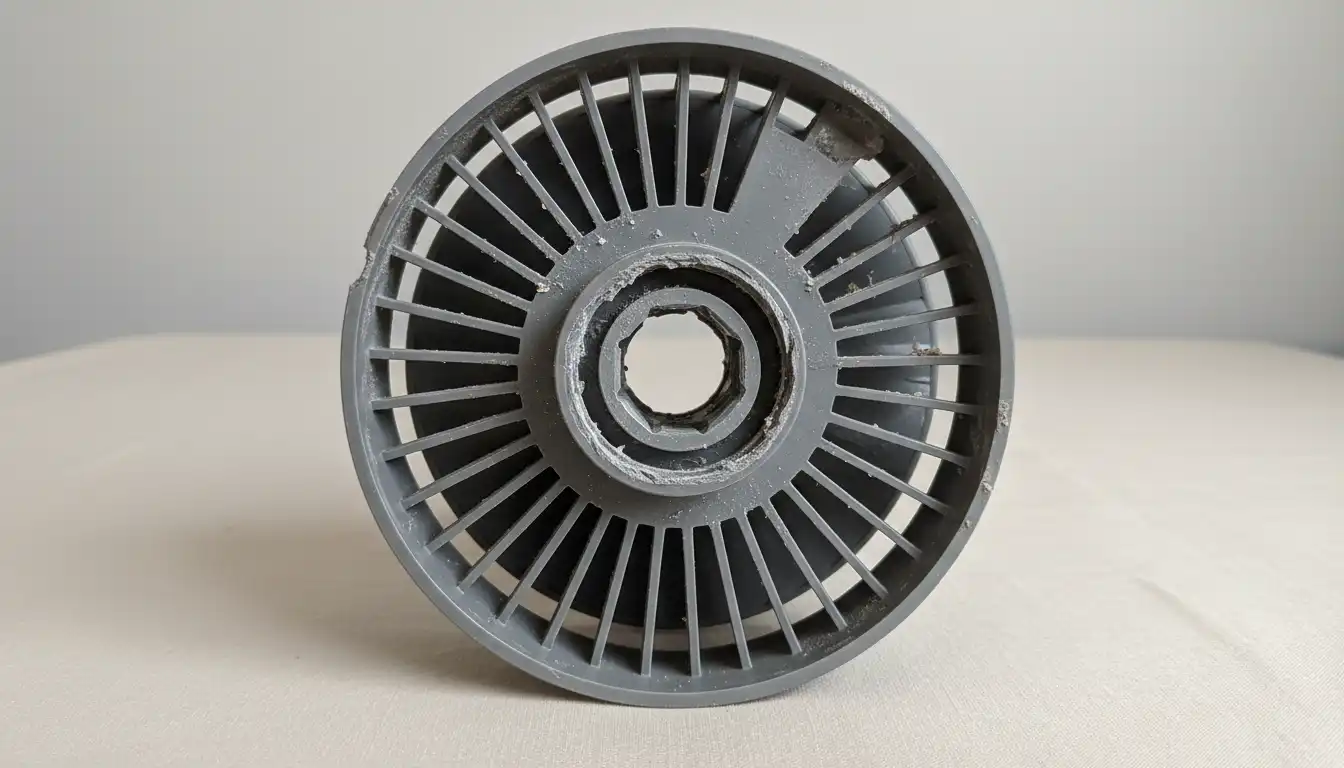
The blower wheel is typically a plastic or metal fan that attaches directly to the dryer’s motor shaft. The central hub, where it connects, is often the point of failure. Understanding why it strips is key to preventing a repeat problem.
Normal Wear and Tear Over Time
Like any mechanical part, a dryer blower wheel has a finite lifespan. The constant rotation against the metal motor shaft gradually wears down the plastic or soft metal of the wheel’s hub. Over thousands of drying cycles, this friction can cause the D-shaped mounting point to round out, losing its grip on the shaft.
Obstructions and Foreign Objects
This is a leading cause of sudden blower wheel failure. Coins, screws, buttons, pens, and even small clothing items like socks can get past the lint filter and find their way into the blower housing. When the wheel, spinning at high RPMs, collides with a hard object, the immense force can instantly strip the hub or shatter the fins.
Imbalance and Vibration
Consistently overloading your dryer can create severely unbalanced loads. This leads to heavy vibrations that travel through the drum, motor, and eventually to the blower assembly. This constant, excessive vibration puts immense stress on the connection between the blower wheel and the motor shaft, accelerating wear and leading to a stripped hub.
Incorrect Installation or Previous Repairs
If the blower wheel was not tightened correctly during manufacturing or a previous repair, it can wobble on the motor shaft. This slight movement, amplified by the high speed of rotation, will quickly destroy the mounting hub. Using a cheap, non-OEM replacement part can also lead to premature failure due to poor fitment or inferior materials.
Motor Shaft Issues: The Hidden Culprit
A frequently overlooked cause of recurring blower wheel failure is the motor shaft itself. The “D” shape of the shaft provides the flat surface for the wheel to grip. Over time, this metal shaft can also wear down, causing its flat edges to become rounded. When this happens, even a brand new blower wheel won’t be able to get a secure grip and will inevitably strip out in a short amount of time.
Telltale Signs: How to Diagnose a Stripped Blower Wheel
Before you start disassembling your dryer, it’s important to confirm that the blower wheel is indeed the problem. These common symptoms are strong indicators.
The Unmistakable Noises
A failing blower wheel produces very distinct sounds. A loud thumping, rumbling, or banging noise often means the wobbly wheel is hitting the inside of its housing. If you hear a high-pitched squealing or grinding sound, it’s likely the sound of the stripped plastic hub spinning freely on the metal motor shaft.
Reduced Airflow and Drying Performance
The primary job of the blower wheel is to move air. When it’s stripped, it can’t spin at the same speed as the motor, leading to a drastic reduction in airflow. A struggling blower wheel can cause poor airflow in your dryer, much like how ducting issues can lead to a room furthest from the furnace being cold. This results in clothes taking much longer to dry or coming out damp after a full cycle.
The “Wobble Test”: A Quick Physical Check
For a definitive diagnosis, you can perform a physical check. First, unplug the dryer from the wall. Depending on your model, you may be able to reach the blower wheel through the lint filter housing or by removing the vent tube from the back. Try to wiggle the wheel; if it’s stripped, you’ll feel significant play and it will wobble on the shaft.
Step-by-Step Guide: How to Replace a Stripped Dryer Blower Wheel
Once you’ve confirmed the blower wheel is the issue, it’s time to replace it. While the process varies slightly by brand and model, the general steps are consistent.
Safety First: Preparation and Tools
Your safety is paramount. The very first step is to disconnect the dryer from the power source by unplugging it from the wall outlet. If you have a gas dryer, you must also turn off the gas supply valve.
Gathering your tools beforehand will make the job much smoother. You’ll generally need a basic set of tools for this repair.
| Tool | Purpose |
|---|---|
| Putty Knife or 5-in-1 Tool | To release clips holding the top or front panel. |
| Nut Driver Set (usually 1/4″ & 5/16″) | For removing hex-head screws on panels and components. |
| Phillips Screwdriver | For various screws holding the cabinet together. |
| Adjustable Wrench or Socket Set | To hold the motor shaft and loosen/tighten the blower wheel. |
| Shop Vacuum | Essential for cleaning out lint and debris from the blower housing. |
| Work Gloves and Flashlight | To protect your hands and illuminate the interior of the dryer. |
Gaining Access: Opening the Dryer Cabinet
Accessing the blower wheel typically requires removing the front or back panel of the dryer. For most common models, you will remove the front panel. Start by using a putty knife to release the spring clips holding the top panel down, then lift the top. Next, you’ll remove a few screws inside the front edge to release the entire front panel.
Locating and Removing the Blower Housing
The blower wheel is located inside a plastic or metal housing, usually at the front-bottom corner of the dryer, connected to the motor. You’ll need to remove the screws holding the housing cover in place to expose the wheel itself.
The Moment of Truth: Removing the Old Blower Wheel
This can be the most challenging step. Most dryer blower wheels are reverse-threaded, meaning you have to turn them clockwise to loosen (“righty-loosey”). You will need to hold the motor shaft stationary while turning the wheel.
To do this, use an adjustable wrench to grip the flat spot on the motor shaft at the other end of the motor (near the drive pulley). With the shaft held firmly, use another wrench or a socket on the blower wheel’s hub to turn it clockwise. If it’s stuck, a small amount of penetrating oil can help, but use it sparingly to avoid damaging plastic parts.
The Critical Inspection (Don’t Skip This!)
With the old wheel removed, take a moment for a crucial inspection. Thoroughly clean the entire blower housing with a shop vacuum. Remove every last bit of lint, dust, and any foreign objects you find. This step is vital to prevent the new wheel from being damaged.
Next, closely inspect the motor shaft. Is the “D” shape still well-defined with a flat edge, or has it become rounded and worn? If the shaft is damaged, any new blower wheel you install will fail again quickly. In this case, the motor itself will need to be replaced, and that’s a job where you might consider calling a professional.
Installing the New Blower Wheel
Make sure your new blower wheel is the correct part for your dryer model. Thread the new wheel onto the motor shaft by turning it counter-clockwise (“lefty-tighty”). Hand-tighten it until it is snug. The motor’s natural rotation will continue to tighten it during operation, so there is no need to over-torque it and risk cracking the new plastic hub.
Reassembly and Testing
Carefully reassemble the dryer in the reverse order you took it apart. Reattach the blower housing cover, the front panel, and the top panel, ensuring all screws and clips are secure. Plug the dryer back in and run a test cycle (air fluff is fine) to ensure it operates smoothly and quietly before you push it back into place.
Pro Tips to Prevent Future Blower Wheel Failures
A little preventative maintenance can go a long way in extending the life of your new blower wheel and your dryer as a whole.
Master Your Lint Cleaning Routine
Clean the lint filter after every single load. This is the single most important maintenance task. At least once a year, disconnect the dryer and clean the entire vent line, from the back of the machine to the exterior vent cap. A clear vent reduces back pressure, easing the strain on the blower wheel and motor.
Check Pockets Religiously
Make it a habit to check every pocket of every item before it goes into the washer and dryer. Removing coins, screws, keys, and lip balm is the best way to prevent foreign objects from destroying your new blower wheel.
Avoid Overloading the Dryer
Large, heavy loads cause imbalance and strain on the entire system. Dry smaller, more balanced loads to reduce vibration and wear on the drum rollers, motor, and blower wheel.
Dryer Blower Wheel Replacement
Safety First: Before beginning, ensure you have unplugged the appliance.
Remove the Top Panel: Remove the top panel screws and set the panel aside.Remove the Control Panel: Depress the tabs on the control panel and pull it off. Disconnect the wire harness.Remove Internal Brackets: Remove the screws to release the circuit board bracket. Then, remove the control bracket screws and pull the bracket off.Remove the Lower Panel: Remove the screws located at the base of the dryer. Pull the lower panel out and then down to detach it.Disconnect Lower Harnesses: Reach into the lower cabinet to disconnect the door switch and moisture sensor wire harnesses.Remove the Front Panel: Remove the screws at the bottom and at the top of the front panel. Remove the mounting screws located inside the door. Pull the panel off.Remove the Bulkhead: Remove the lower bulkhead mounting screws and loosen the upper screws. Remove the mounting screws from the blower housing. Lift the bulkhead off the upper mounting screws and set it aside.Remove the Drum: Remove the dryer belt by depressing the pulley to release the tension and unthreading the belt from the pulley and motor shaft. Use the belt to lift out the drum.Remove the Old Blower Wheel: While securing the motor shaft with a wrench, use a square half-inch drive to detach the old blower wheel. Be aware you may need to use some force to successfully remove it.Install the New Blower Wheel: Thread the new wheel onto the motor shaft and tighten it slightly with the half-inch drive.Reinstall the Drum: Replace the drum by aligning its rim on the two rear rollers. Loop the belt around the tension pulley and motor shaft in a zig-zag formation. Rotate the drum to help align the belt.Reinstall the Bulkhead: Reinstall the bulkhead by aligning it on the upper screws. Tighten the screws. Replace the lower screws as well as the ones for the blower housing.Reattach the Front Panel: Reattach the front panel by lining it up on the cabinet. Secure it with the upper and lower screws, as well as the screws inside the door.Reconnect Lower Components: Reconnect the door switch and moisture sensor wire harnesses. Slide the lower panel up into position and secure it with the screws.Reassemble Top Components: Reinstall the control panel bracket. Reattach the circuit board bracket. Reconnect the control panel’s wire harness and snap the panel back into place.Final Steps: Replace the top panel and secure it with the screws. Plug the appliance back in to make sure it is functioning properly.
When to Call a Professional Appliance Technician
While this is a very doable DIY repair for many, there are times when it’s best to call in an expert. Some complex tasks, like troubleshooting a Carlin gas conversion burner, are best left to certified technicians, and the same applies here.
Consider calling a professional if you are not comfortable with the disassembly process, if you cannot remove a wheel that is seized onto the shaft, or if you discover that the motor shaft is damaged. Just as a project like learning how to hang drywall on 10-foot walls requires precision, so does complex appliance repair to ensure safety and proper function.
Conclusion: Restoring Peace and Quiet to Your Laundry Room
A stripped dryer blower wheel can be a noisy nuisance, but it doesn’t have to mean the end of your dryer. By understanding the causes and following a methodical repair process, you can confidently tackle this issue yourself. This repair not only saves you money but also extends the life of your appliance and empowers you with valuable home repair skills.
With your new blower wheel installed and your dryer running quietly and efficiently, you can get back to your routine without the disruptive soundtrack. A well-maintained dryer is a reliable workhorse, and now you have the knowledge to keep it that way.