Adding a covered patio is one of the most impactful upgrades you can make to your home, offering shade, protection, and a designated space for outdoor relaxation. However, the connection point between your new patio roof and your existing home is the single most critical structural detail. Many DIYers and inexperienced contractors make the mistake of screwing a ledger board directly into the fascia board—the cosmetic trim that holds your gutters. This is a recipe for disaster.
Attaching a patio roof directly to a fascia board is structurally unsound and typically violates building codes unless the fascia is reinforced with blocking and securely tied back into the house’s structural rafters. Because standard fascia is merely a trim board held on by finish nails, it cannot support the weight of a roof; you must instead transfer the load to the rafter tails or use roof-mounted riser brackets.
In this guide, we will break down the structural risks of improper attachment and detail the specific, code-compliant methods to safely secure your patio roof, ensuring it stands up to wind, snow, and time.
The Hidden Dangers of Direct Fascia Attachment
Before discussing how to do it right, it is vital to understand why the “easy way” is dangerous. The fascia board on your home is usually a 1-inch thick piece of spruce, pine, or cedar. It is nailed into the ends of your rafter tails, often with finish nails or small galvanized box nails. Its primary job is to hold up your gutters and cover the end grain of the wood, not to carry thousands of pounds of lumber and roofing material.
Fascia is Trim, Not Structure
When you attach a patio ledger board to the fascia, you are asking that trim board to support half the weight of your new patio roof. If the fascia is only held on by a few nails, the weight of the patio will eventually pull the fascia away from the house. This separation often happens slowly, creating gaps where water can infiltrate, leading to rot in your rafter tails—a repair that is far more expensive than building the patio correctly in the first place.
The “Leverage Effect” and Wind Uplift
Gravity isn’t the only enemy; wind is often worse. A patio roof acts like a giant sail. During a storm, strong winds can create significant uplift forces. If your patio is attached only to the fascia, a strong gust can rip the entire assembly off the house, taking the gutters and fascia with it. This creates a leverage effect where the fasteners act as a pivot point, amplifying the force on the weak fascia nails. Proper attachment requires a continuous load path that transfers these forces deep into the house’s framing structure.
Method 1: Structural Fascia Reinforcement
If you are determined to attach the patio roof at the fascia level (under the gutter), you cannot simply screw into the existing board. You must retrofit the eave to turn the fascia into a structural member. This process involves exposing the framing and creating a solid connection to the house’s skeleton.
Exposing the Rafter Tails
To begin, you typically need to remove the gutter and possibly the existing fascia board to expose the rafter tails (the ends of the roof trusses or rafters). This allows you to inspect the wood for rot. If the rafter tails are not vertical (plumb) because of the roof pitch, you may need to cut them plumb or install wedge-shaped blocking to ensure your new ledger board sits flat.
Sistering and Blocking: The “Sandwich” Method
The most robust way to reinforce the connection is to install “sister” joists or 2x blocking alongside the existing rafter tails. You can slide a 2×6 or 2×8 piece of pressure-treated lumber alongside the rafter tail, extending back into the soffit area as far as possible (ideally 2-3 feet) and bolting it through the existing rafter. This effectively extends the structural strength of the house framing out to the edge.
Once the blocking is secure, you can install a new, structural fascia board (often a 2×8 or 2×10 pressure-treated board) and lag-screw it directly into these new extensions. This creates a solid “header” capable of supporting your patio ledger.
Flashing Behind the Ledger
Waterproofing is critical here. Before installing the final ledger board, you must slip a piece of galvanized or copper flashing up under the existing roof drip edge and drape it over the fascia. This prevents water from backing up behind your patio roof and rotting the new connection points. Improper flashing is the number one cause of failure in ledger attachments.
Method 2: Roof Riser Brackets (The Pro Solution)
In many modern homes, the fascia is too low to provide comfortable headroom for a patio. If your eaves are only 8 feet high, attaching a patio roof there will result in a ceiling that feels oppressive, especially once you factor in the slope required for drainage. The solution is to bypass the fascia entirely using roof riser brackets, such as the SkyLift or similar engineered hardware.
Why Height Matters
Riser brackets elevate the patio roof above the existing house roof. This grants you an extra 6 to 12 inches of height, which makes a massive difference in airflow and light. It also solves the gutter problem; because the patio roof sits above the gutter, you don’t have to alter your existing drainage system. Rain from the house roof flows into the original gutter, while the patio roof drains independently.
How Riser Brackets Work
These brackets are installed by cutting small holes in the existing roof shingles (directly above the exterior wall plate). A heavy-duty steel pipe or post is bolted directly to the top plate of the wall, and the bracket extends up through the roof to support a beam. The patio rafters then rest on this elevated beam. This transfers the load directly to the vertical walls of the house, which is the strongest possible connection point. Just as you would ensure vertical stability when installing vertical rebar in block walls for a foundation, these brackets ensure vertical load transfer for the roof.
Method 3: Wall Mounting Below the Soffit
If you have a two-story home or a high gable end, you might be able to attach the patio ledger directly to the wall studs below the overhang. This is often the simplest structural method but requires careful planning regarding obstacles.
Dodging the “Plumber’s Box”
When attaching to a wall, you must locate the studs accurately. However, walls are often full of surprises. You might encounter vents, drain pipes, or electrical runs. Similar to how you would carefully frame around obstructions in plumbers box framing, you must map out your wall to ensure your lag screws hit solid wood (studs or a rim joist) and not a PVC pipe. If you hit a void, your ledger will have no holding power.
Clearance for Windows
If attaching to a wall, pay close attention to the second-story windows. The peak of your new patio roof must not block emergency egress routes. While local codes vary, maintaining visual and functional clearance is key. You can refer to spacing guidelines similar to the minimum space between two windows to ensure your new structure doesn’t crowd existing architectural features or violate fire safety codes.
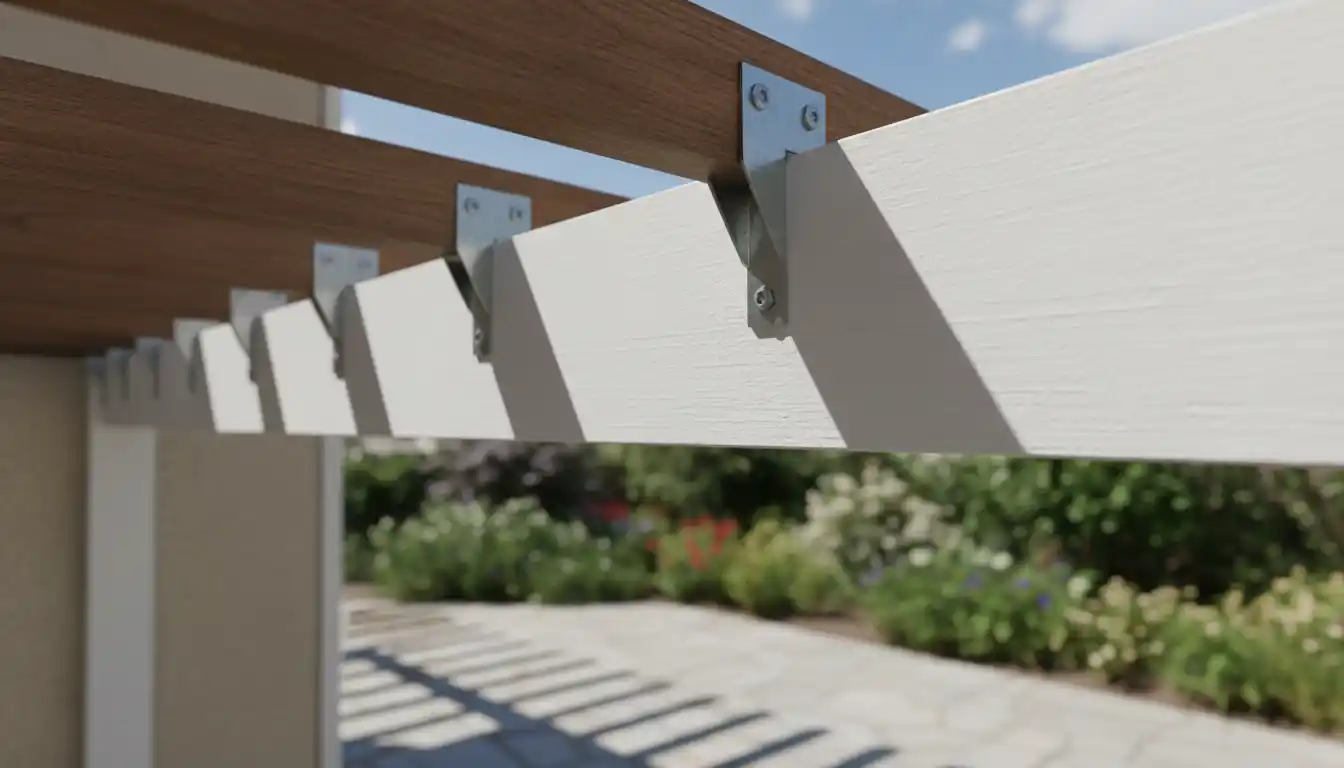
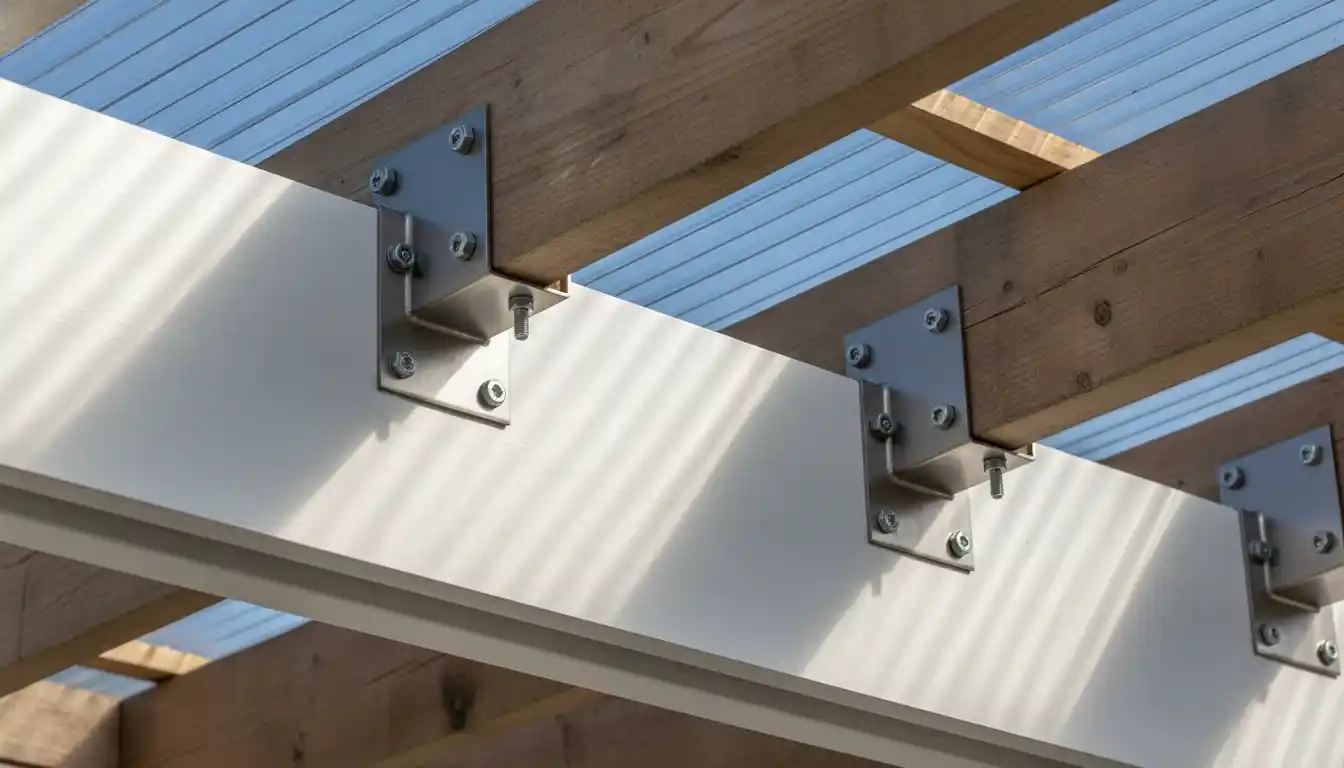
Essential Hardware & Code Compliance
Regardless of the method you choose, the hardware you use can make or break the project. Standard deck screws or nails are never acceptable for structural shear connections.
Selecting the Right Fasteners
For attaching a ledger board to structural wood (rafters or studs), you should use ½-inch diameter hot-dipped galvanized lag screws or modern structural screws like LedgerLoks or TimberLoks. These modern screws are thinner, do not require pre-drilling, and are engineered to have higher shear strength than traditional lags.
Lateral Load Connections (Tension Ties)
One aspect almost everyone overlooks is the “lateral load connection.” Code often requires that deck and patio ledgers be tied back into the house structure to prevent them from pulling away. This usually involves installing a tension tie (like a Simpson DTT2Z) on the inside of the attic or garage, bolting it to a rafter or joist, and connecting it through the wall to the patio framing. This mechanically locks the patio to the house, preventing separation during high winds or seismic events.
Comparison of Attachment Methods
| Method | Structural Integrity | Difficulty Level | Best Use Case |
|---|---|---|---|
| Direct Fascia Screw (Unreinforced) | Dangerous / Fail | Low | Never. Do not use this method. |
| Fascia Reinforcement (Sistering) | High | High | When you want a seamless look and have standard eave heights. |
| Roof Riser Brackets | Very High | Medium | Low eaves; need for more height or airflow. |
| Wall Mount (Below Soffit) | High | Medium | Two-story homes or high gable ends. |
Final Thoughts on Safe Patio Framing
Building a patio cover is a fantastic project, but the attachment to the fascia is the one step you cannot compromise on. The forces of wind, snow, and gravity are relentless. By choosing to reinforce your rafters or utilize modern riser brackets, you ensure that your outdoor sanctuary remains safe and secure for decades. Always check with your local building department for specific permit requirements in your area before breaking ground.