If you live in a two-story home, you are likely familiar with the “thermostat war.” The upstairs bedrooms feel like a sauna while the downstairs living room is freezing cold, or vice versa. You adjust the thermostat to cool the top floor, only to make the main floor uninhabitable. This thermal imbalance is the single most common complaint among homeowners with central air systems. The solution isn’t replacing your entire unit; it is adding a second zone to your HVAC system to control airflow independently.
Yes, you can add a second zone to an existing HVAC system by retrofitting your ductwork with motorized dampers, a zone control board, and a dedicated power transformer. However, simply cutting into ducts and adding stops is a recipe for disaster if you do not account for static pressure. Without the right pressure relief strategy, closing off half your ductwork can blow out your blower motor or freeze your evaporator coil. This guide will walk you through the engineering reality, the necessary components, and the installation steps to safely zone your home.
Understanding HVAC Zoning Basics
How a Zoned System Works
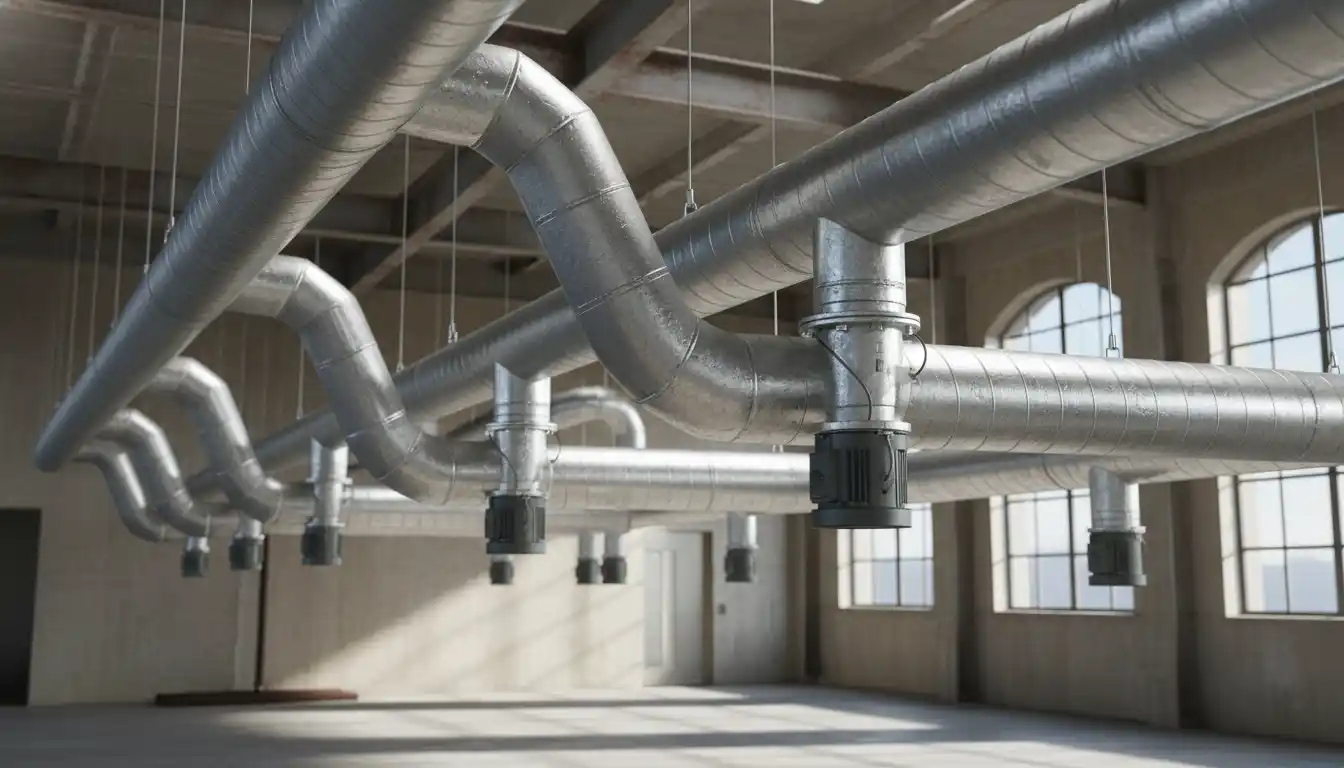
In a standard HVAC setup, your furnace or air handler pushes air to every register in the house simultaneously. It is an “all-or-nothing” event. Zoning changes this by dividing your ductwork into distinct sections, usually based on floors or sun exposure. Instead of one thermostat ruling the entire house, you install a thermostat in each zone. These thermostats communicate with a central zone control board, which acts as the traffic cop for your heating and cooling.
When the upstairs thermostat calls for cooling, the board signals the HVAC unit to turn on. Crucially, it also powers a motorized damper to close off the ductwork leading downstairs. This directs all the cold air exactly where it is needed: upstairs. Once the temperature is reached, the system shuts off or adjusts the dampers to satisfy the downstairs zone if it calls for air. This selective conditioning eliminates hot spots and can significantly reduce energy waste.
The Hidden Risk: Static Pressure
The concept sounds simple, but the physics are tricky. Your HVAC blower is designed to push a specific volume of air (measured in CFM) through a specific amount of ductwork. If you suddenly close 50% of the ducts (by shutting off the downstairs zone), that air has nowhere to go. This causes a massive spike in static pressure inside the ducts.
Think of it like pinching a running garden hose. The pressure builds up behind your thumb. In an HVAC system, this back-pressure increases the resistance against the blower fan. If you have a standard single-stage motor, it will struggle against this wall of air, leading to overheating and premature failure. Additionally, the slowed airflow over your air conditioner’s coil can cause it to drop below freezing, turning your A/C into a block of ice. Managing this pressure is the most critical part of adding a second zone.
Critical Pre-Installation Checks
Is Your Equipment Compatible?
Before buying a single damper, you must identify what type of equipment you currently have. The ideal candidate for zoning is a two-stage or variable-speed HVAC system. These units can ramp down their capacity—running at 60% or 40% power—when only one zone is calling. This naturally lowers the airflow volume, preventing dangerous pressure spikes.
If you have a standard single-stage system (which runs at 100% capacity constantly), zoning is harder but not impossible. You will need to install a bypass duct or use a “dump zone” strategy to handle the excess air. If your current unit is nearing the end of its life, upgrading to a variable-speed unit is the smartest move. Comparing options like Airtemp vs Goodman can help you find equipment that handles zoning logic natively, often with communicating technology that simplifies the wiring significantly.
Ductwork Accessibility
You cannot zone a system if you cannot access the “split.” For a standard upstairs/downstairs zone, your main supply trunk must separate into two distinct feeds near the furnace. If your ducts branch off randomly—with one branch feeding a kitchen vent and an upstairs bedroom simultaneously—you cannot zone that system without ripping out walls and re-piping the entire house. Go to your basement or attic and trace the main trunk line. You need to find a clear point where you can insert a damper to isolate one entire section of the house from the other.
The Components You Will Need
The Zone Control Board
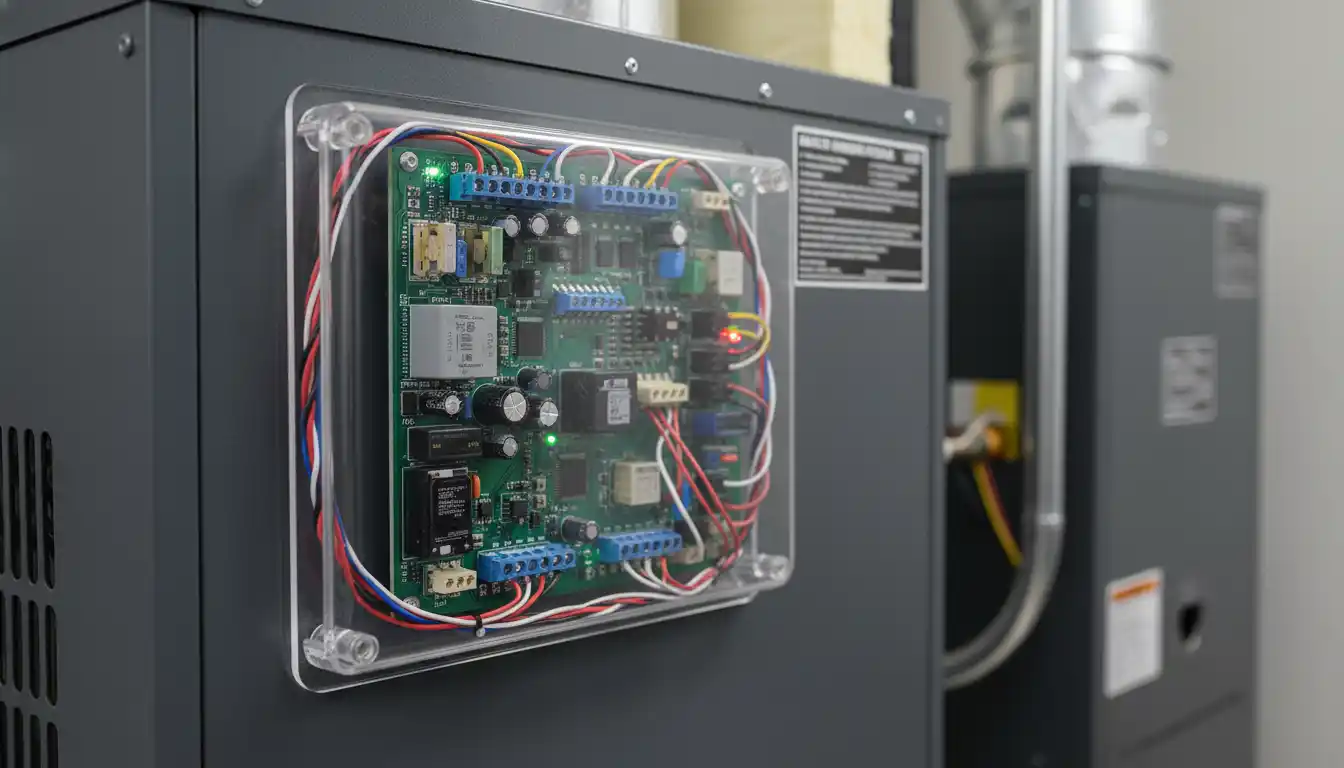
This is the brain of the operation. You cannot simply wire two thermostats to one furnace; the signals would conflict. If the upstairs wants cooling and the downstairs wants heating, a standard furnace wouldn’t know what to do. The zone control board accepts inputs from multiple thermostats and uses “voting” logic to decide what the equipment should do. It prioritizes calls, enforces purge cycles (to clear ducts between modes), and protects the equipment from short-cycling.
Motorized Dampers
These are metal valves that fit inside your ducts. They contain a small 24-volt motor that rotates a blade to block or allow airflow. You will need one damper for every main trunk line you intend to control. Dampers come in two main shapes: rectangular for the main plenum and round for branch ducts. When selecting dampers, look for “power open/power close” models rather than spring-return models. Power-driven dampers are more reliable and hold their position better against high static pressure.
The Bypass Damper (The Safety Valve)
If you are zoning a single-stage system, you will likely need a bypass damper. This is a short duct that connects the supply side (air coming out) directly back to the return side (air going in). When only one zone is open and pressure builds up, the bypass damper opens to recirculate the excess air back into the furnace. This keeps the airflow through the unit constant, protecting the blower and coil.
Pro Tip: Avoid cheap barometric bypass dampers that rely on a weighted arm. They are noisy and difficult to calibrate. Instead, opt for an electronic modulating bypass damper. These use a static pressure sensor to open exactly as much as needed to maintain safe pressure levels, ensuring your system runs quietly and efficiently.
Step-by-Step Retrofit Overview
Mapping the Zones
Start by defining exactly which rooms belong to which zone. In a two-story home, the split is usually vertical. However, in a ranch-style home, you might split the “living” areas (kitchen, living room) from the “sleeping” areas (bedrooms). Once you have mapped the zones, locate the specific branch ducts that feed these rooms. You may find that a single room, like a bathroom, is fed by a duct from the “wrong” zone. You will either need to accept this overlap or re-route that specific run.
Installing the Dampers
Installation involves cutting a section out of your existing metal ductwork and sliding the damper in. This is heavy-duty work involving tin snips and sheet metal screws. You must seal every connection with mastic or foil tape to prevent air leaks. Just as you might drill holes in patio for drainage to direct water where it belongs, you are modifying the structural path of airflow to ensure it doesn’t leak into basements or crawlspaces. Ensure the damper blade can rotate freely without hitting the duct walls.
When working in finished spaces, you might be cutting into drywall to access ducts. While you might worry about construction mess or ask can drywall get wet during delivery, your focus here should be on preserving the vapor barrier. Any time you expose ductwork in unconditioned spaces, re-insulate the area thoroughly to prevent sweating.
Wiring the Control Panel
Mount the zone control board near your furnace. You will need to run new thermostat wire (18/5 or 18/8 gauge) from the board to each damper and each thermostat.
- Thermostats: Connect the R, W, Y, G, and C wires from each thermostat to the corresponding Zone 1 and Zone 2 terminals on the board.
- Dampers: Run two or three wires (depending on the motor type) from the board’s “Damper” terminals to the actual dampers in the ducts.
- Transformer: Do not power the zone board from your furnace’s existing transformer. It likely cannot handle the extra load of multiple dampers. Install a dedicated 40VA transformer to power the zone board independently.
Handling Excess Airflow (The “Secret” to Longevity)
Why Barometric Bypass Dampers Fail
Many contractors will install a barometric bypass because it is cheap. This is a weighted flap that gets pushed open by air pressure. The problem is that it sends cold air immediately back into the return plenum. This super-cooled air hits the evaporator coil again, dropping its temperature even lower. If this loop continues for a long cycle, the coil will freeze solid.
The “Bleed-Through” Strategy
A more modern approach, often discussed by high-end energy auditors but missed by generalists, is the “bleed-through” method. Instead of using a bypass duct, you set the “closed” position of your zone dampers to be 10% to 20% open. When Zone A calls for cooling, Zone B closes but still leaks a small amount of air.
This leakage relieves the static pressure buildup without dumping cold air back into the return. It also keeps the air in the “off” zone from becoming stale or stagnant. This method often eliminates the need for a complex bypass duct entirely, provided your ductwork isn’t drastically undersized. This is the preferred method for high-efficiency installations as it maximizes the runtime of the equipment without short-cycling.
Cost vs. Benefit Analysis
Adding a second zone is an investment. It is generally cheaper than installing a second HVAC unit but more expensive than standard repairs. Below is a breakdown of the typical costs involved in a professional retrofit for a 2-zone system.
| Component / Service | Estimated Cost (Parts Only) | Estimated Cost (Installed) |
|---|---|---|
| Zone Control Board | $150 – $300 | $400 – $600 |
| Motorized Dampers (x2) | $300 – $500 | $600 – $1,000 |
| Thermostats (x2) | $100 – $500 | $200 – $600 |
| Bypass Damper & Ducting | $200 – $400 | $500 – $900 |
| Labor & Electrical | N/A | $1,000 – $2,000 |
| Total Project Cost | $750 – $1,700 | $2,700 – $5,100 |
Common Pitfalls to Avoid
Oversizing the Bypass
If you do install a bypass, sizing is critical. If the bypass is too large, it becomes the path of least resistance. The air will cycle endlessly in a loop through the furnace without ever reaching the rooms that need it. This results in the unit running forever while the house stays hot. A bypass should only be large enough to handle the excess pressure, not the entire system’s airflow.
Neglecting the Return Air
Most zoning retrofits focus entirely on the supply ducts (the air coming out). However, you must consider the return air. If you close the door to a bedroom in Zone 2, how does the air get back to the furnace? If that zone doesn’t have its own return air grille, you will pressurize the room, preventing fresh conditioned air from entering. Every zone must have an unobstructed path for return air, either through a dedicated return duct or by undercutting doors to allow flow to a central hallway return.
Leaving the Discharge Air Sensor Out
Every quality zone board comes with a Discharge Air Temperature (DAT) sensor. This probe goes into the supply trunk to monitor the air temperature leaving the unit. If the air gets too cold (indicating a freezing coil) or too hot (indicating a furnace limit trip), the sensor tells the board to shut down the equipment immediately. Many DIYers skip this step to save time. Do not skip it. The DAT sensor is the final fail-safe that prevents your $5,000 compressor from being destroyed by a zoning configuration error.