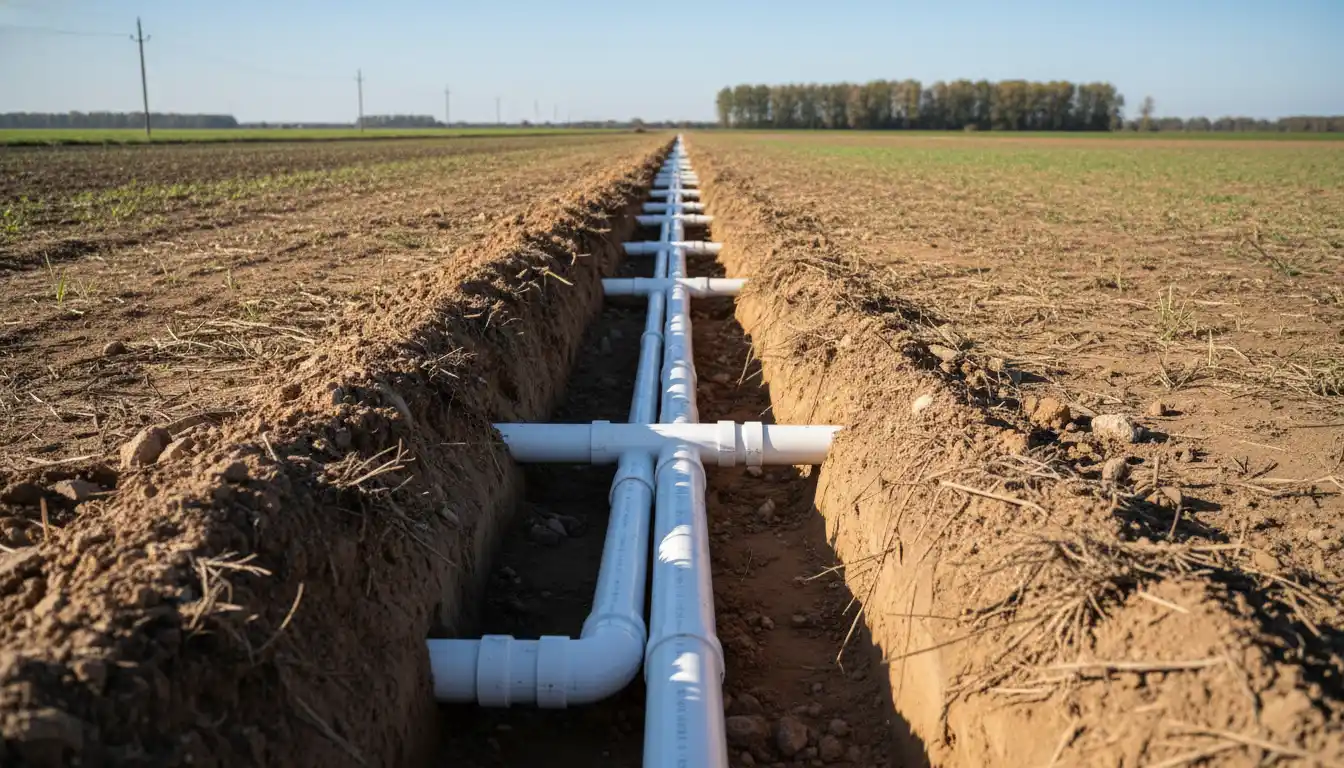
Whether you are running power to a new detached garage, installing landscape lighting, or laying water lines for a garden, getting the burial depth right is the single most critical step in your project. For most residential electrical applications using Schedule 40 PVC conduit, the National Electrical Code (NEC) requires a minimum burial depth (cover) of 18 inches from the top of the pipe to the finished grade.
Digging a trench sounds simple, but thousands of homeowners fail inspections every year because they misunderstand the difference between “trench depth” and “cover,” or they ignore specific exceptions for driveways and concrete slabs. Failing to bury your PVC deep enough not only risks code violations but also endangers anyone digging in your yard in the future. This comprehensive guide will walk you through the exact requirements for both electrical and plumbing applications, ensuring your project is safe, compliant, and built to last.
Understanding Schedule 40 PVC: Plumbing vs. Electrical
Before you pick up a shovel, it is vital to distinguish between the two types of Schedule 40 PVC you might encounter at the hardware store. While they share the same name and wall thickness, their applications and regulatory codes are entirely different.
The Gray vs. White Pipe Distinction
In the world of PVC, color codes are not just aesthetic suggestions; they indicate the material’s chemical composition and intended use. Electrical Schedule 40 PVC is gray. It is UV-stabilized to resist sunlight degradation and is fire-rated to suppress flames. Plumbing Schedule 40 PVC is white. It is pressure-rated for carrying water but is not tested for electrical safety or fire resistance.
You strictly cannot use white plumbing pipe for electrical conduit. An inspector will fail the installation immediately because white PVC becomes brittle under UV exposure and does not meet the UL safety listings required by the NEC. Conversely, you generally shouldn’t use gray electrical conduit for water, as it isn’t NSF-rated for potable water safety.
Schedule 40 vs. Schedule 80: When to Upgrade
Both schedules have the same outside diameter, meaning fittings are interchangeable, but Schedule 80 has a significantly thicker wall and a narrower internal diameter. This extra thickness makes Schedule 80 far more resistant to physical damage.
For underground burial in a trench that is free of rocks, Schedule 40 is the standard choice. However, wherever the conduit emerges from the ground (a “stub-up”) or is exposed to potential physical damage—like a weed whacker or lawnmower—the code often mandates switching to Schedule 80. Many professional electricians use Schedule 40 for the horizontal run underground and transition to Schedule 80 for the vertical risers.
NEC Table 300.5: Official Electrical Burial Depths
The National Electrical Code (NEC), specifically Table 300.5, dictates the rules for underground wiring. These rules vary based on what is above the pipe (dirt, concrete, driveway) and the type of circuit you are running.
Standard Residential Trenches (18-Inch Rule)
For the vast majority of home improvement projects, such as running a sub-panel to a shed or powering a gazebo, the magic number is 18 inches of cover. This applies to Schedule 40 PVC conduit buried in a trench in your backyard.
It is crucial to note that “cover” is defined as the distance from the top surface of the conduit to the finished grade of the soil. This means if you are using a 2-inch pipe, your trench must be at least 20 inches deep (18 inches of dirt + 2 inches of pipe). Digging exactly 18 inches down will result in a failed inspection.
The “GFCI Exception” (12-Inch Rule)
There is a popular exception that saves a lot of digging for smaller projects. If you are installing a residential branch circuit rated at 120 volts or less, with GFCI protection and a maximum of 20 amps, you can reduce the burial depth to 12 inches. This is common for garden outlets or post lights. However, ensure the circuit breaker or the first receptacle in the line provides that GFCI protection before the wire goes underground.
Burial Depths Summary Table
Below is a simplified reference based on NEC Table 300.5 for common residential setups using non-metallic raceways (PVC).
| Location / Application | Min. Cover (Sch 40 PVC) | Notes |
|---|---|---|
| Direct Burial in Soil | 18 inches | Standard for most backyard circuits. |
| Under Concrete Slab (4″ thick) | 4 inches | Slab must extend 6″ beyond the trench. |
| Under Driveways (One/Two Family) | 18 inches | Reduced from 24″ (commercial roads). |
| GFCI Protected (120V/20A) | 12 inches | Strictly residential branch circuits only. |
| Landscape Lighting (<30V) | 6 inches | Must be UF cable or low-voltage specific. |
Water Line Burial Depth: Fighting the Frost
While electrical code is uniform across the US, water line depth is entirely dependent on your local climate. The primary goal is to prevent the water inside the Schedule 40 plumbing pipe from freezing and bursting.
The Frost Line Factor
Building codes typically require water supply lines to be buried at least 6 to 12 inches below the local frost line. The frost line is the maximum depth to which the groundwater in soil is expected to freeze during the winter.
- Warm Climates (FL, TX, CA): You might only need to bury pipes 12 to 18 inches deep to protect them from physical damage (shovels, aeration).
- Cold Climates (MN, CO, NY): Frost lines can reach 48 inches or deeper. In these areas, a water line buried at 24 inches will almost certainly freeze and shatter.
Always check with your local building department for the official frost depth in your county before breaking ground.
Critical Installation Best Practices
Knowing the depth is only half the battle. How you install the pipe determines whether it survives for decades or fails in a few years due to ground shifting or accidental strikes.
The “Stub Up” Transition
When bringing your conduit out of the ground to mount a box or enter a wall, you must plan the location carefully. This is similar to the precision required when determining the minimum space between two windows during a remodel; if you miscalculate the riser location, you may end up clashing with framing or other obstacles.
Pro Tip: Use a 90-degree sweep elbow made of Schedule 80 PVC (or rigid metal) at the bottom of the trench for the turn upward. The friction of pulling wires is highest at the bend, and the thicker wall of Schedule 80 prevents the wire from burning through the pipe during installation.
Bedding and Backfill
Never throw large rocks or jagged debris back into the trench directly on top of your PVC. Over time, the weight of the settling soil can drive these rocks into the pipe, causing cracks or crimps.
Lay a 2-to-3-inch layer of sand or stone dust at the bottom of the trench before laying the pipe (“bedding”). After the pipe is laid, cover it with another 4 inches of sand (“shading”) before filling the rest with native soil. This sand buffer acts as a cushion against ground movement.
Warning Tape Strategy
One of the cheapest insurance policies you can buy is a roll of “Buried Electrical Line” warning tape. Do not place this tape directly on the pipe. Instead, backfill your trench until you are about 12 inches below the surface, lay the tape along the entire run, and then finish filling. If someone digs there in the future, they will hit the bright red or yellow tape first, giving them a warning to stop before they strike the conduit.
Common Mistakes to Avoid
Even seasoned DIYers can make errors that compromise the safety of their underground utilities. Avoiding these pitfalls will save you time, money, and potential legal headaches.
Ignoring Utility Conflicts
Before you dig, you must call 811 to have existing utilities marked. Striking a gas line is dangerous and expensive. If you are working near gas infrastructure, you know how sensitive these systems are—much like the precision needed for carlin gas conversion burner troubleshooting, underground gas lines require respect and separation. Typically, you should maintain at least 12 inches of separation between electrical conduit and gas or water lines running in parallel.
Forgetting Expansion Joints
PVC expands and contracts with temperature changes. A 100-foot run of PVC can change length by several inches between winter and summer. If you glue the entire run rigid without an expansion coupling, the pipe can buckle or pull out of the terminal boxes, exposing the wires.
For underground runs, the ground temperature is relatively stable, but the vertical risers emerging from the ground are subject to air temperature swings. Installing an expansion fitting (a slip joint) on the vertical riser ensures the pipe can move without breaking the seal.
Improper Sealing of Penetrations
When your conduit enters a basement or goes through a foundation wall, you are creating a potential path for water to enter your home. You must seal around the conduit and inside the conduit (using duct seal putty). This waterproofing mindset is crucial; just as you would ask can you paint over redguard to ensure a watertight shower, you must ensure your foundation penetrations are sealed with hydraulic cement or compatible silicone to prevent leaks.
Step-by-Step Guide to Success
- Plan Your Route: Map out the shortest, straightest path to minimize digging and wire pulling effort. Mark the path with spray paint.
- Call Before You Dig: Dial 811 at least a few days before excavation to locate public utilities.
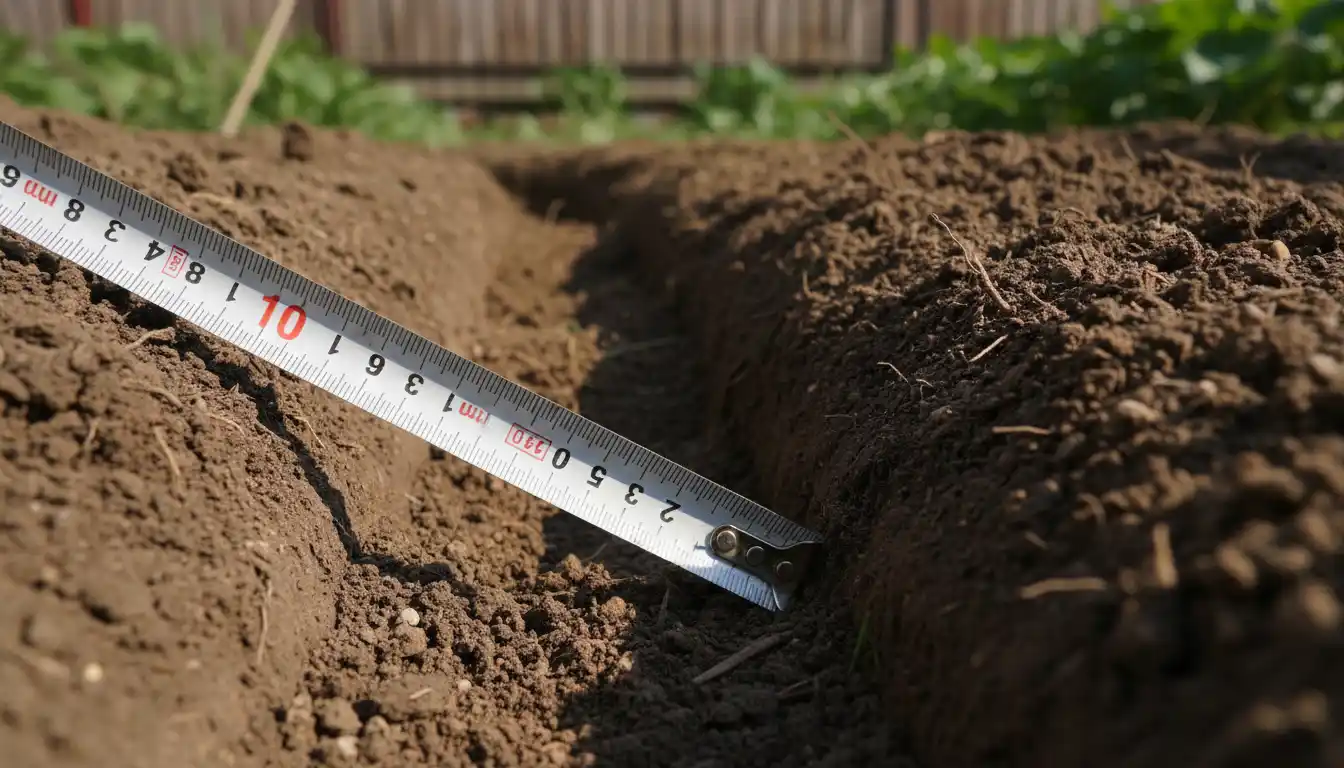
- Dig the Trench: Dig deep enough to account for the pipe’s diameter. For an 18-inch cover requirement with a 2-inch pipe, aim for a 21-inch trench depth to allow for bedding.
- Install Bedding: Pour 2 inches of sand to create a smooth, rock-free base.
- Lay the Pipe: Glue your Schedule 40 PVC sections together, ensuring a solid solvent weld. Use Schedule 80 for the risers at both ends.
- Inspection: Do not backfill yet! Call for an electrical inspection while the pipe is visible. The inspector will measure the depth.
- Partial Backfill & Tape: Add sand to cover the pipe, then fill with dirt to within 12 inches of the surface. Lay your warning tape.
- Final Grade: Fill the rest of the trench and tamp the soil down to prevent future sinking.
By strictly adhering to the NEC burial depth requirements and using the correct materials, you ensure that your underground PVC installation is safe, legal, and durable. Whether it is a simple garden light or a heavy-duty feeder for a workshop, taking the time to measure your “cover” correctly is the mark of a professional-grade job.