Most homeowners eventually face the ugly reality of the “bathtub gap”—that awkward space where the floor meets the tub or where the shower surround meets the wall. Installing PVC trim around your bathtub is the most durable, waterproof solution to seal these gaps, preventing rot and mold where traditional wood molding and simple caulk fail.
While wood absorbs moisture and silicone caulk eventually shrinks or peels, cellular PVC (polyvinyl chloride) offers a permanent, rot-proof barrier. It creates a crisp, professional finish that withstands the high humidity of a bathroom environment without warping or swelling.
Why Standard Wood Trim Fails Around Bathtubs
For decades, contractors used standard wooden baseboards or quarter rounds in bathrooms, relying on paint to protect them. In the splash zone of a bathtub, this is a ticking time bomb. Water inevitably penetrates the paint layer through pinholes or hairline cracks, causing the wood to act like a sponge.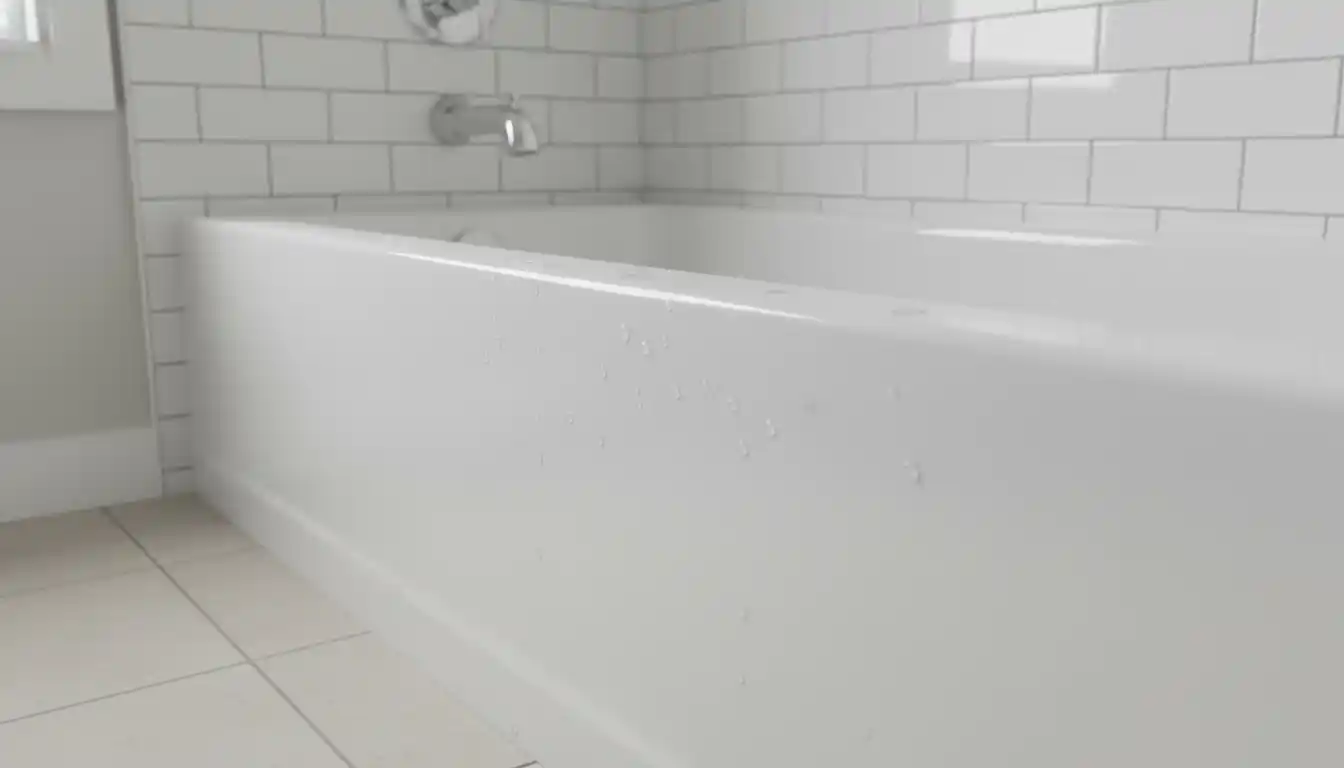
The Rot and Swell Cycle
Once moisture enters wooden trim, it cannot easily escape. This trapped water causes the fibers to swell, breaking the paint seal further and inviting more water in. If your bathroom has MDF (Medium Density Fiberboard) trim, the damage happens even faster. MDF acts like compressed cardboard when wet, puffing up to twice its size and crumbling apart. PVC, by contrast, is a solid plastic product. It is cellular at the core, meaning it can be cut and shaped like wood, but it is chemically impervious to water.
The “Caulk Only” Myth
Many DIY enthusiasts try to fill large gaps—anything wider than 1/8th of an inch—with just a bead of caulk. While high-quality silicone is waterproof, it is not structural. When you bridge a wide gap with a thick globs of caulk, it eventually sags, pulls away, or tears as the house settles or the tub expands with heat. Installing a rigid PVC trim provides a solid backing, meaning the caulk only has to seal the edges rather than fill a void.
Choosing the Best PVC Profile for Your Gap
Not all PVC trim is created equal. Selecting the right profile depends on the location of the gap and the materials you are bridging.
Rigid Cellular PVC Quarter Round
For the gap between the bathtub apron (the front face) and the bathroom floor, rigid cellular PVC quarter round is the gold standard. It mimics the look of traditional shoe molding but is 100% waterproof. It is stiff enough to bridge uneven tile cuts or floating floor gaps without conforming to the waves, creating a straight, clean visual line.
PVC Lattice or Tile Edging
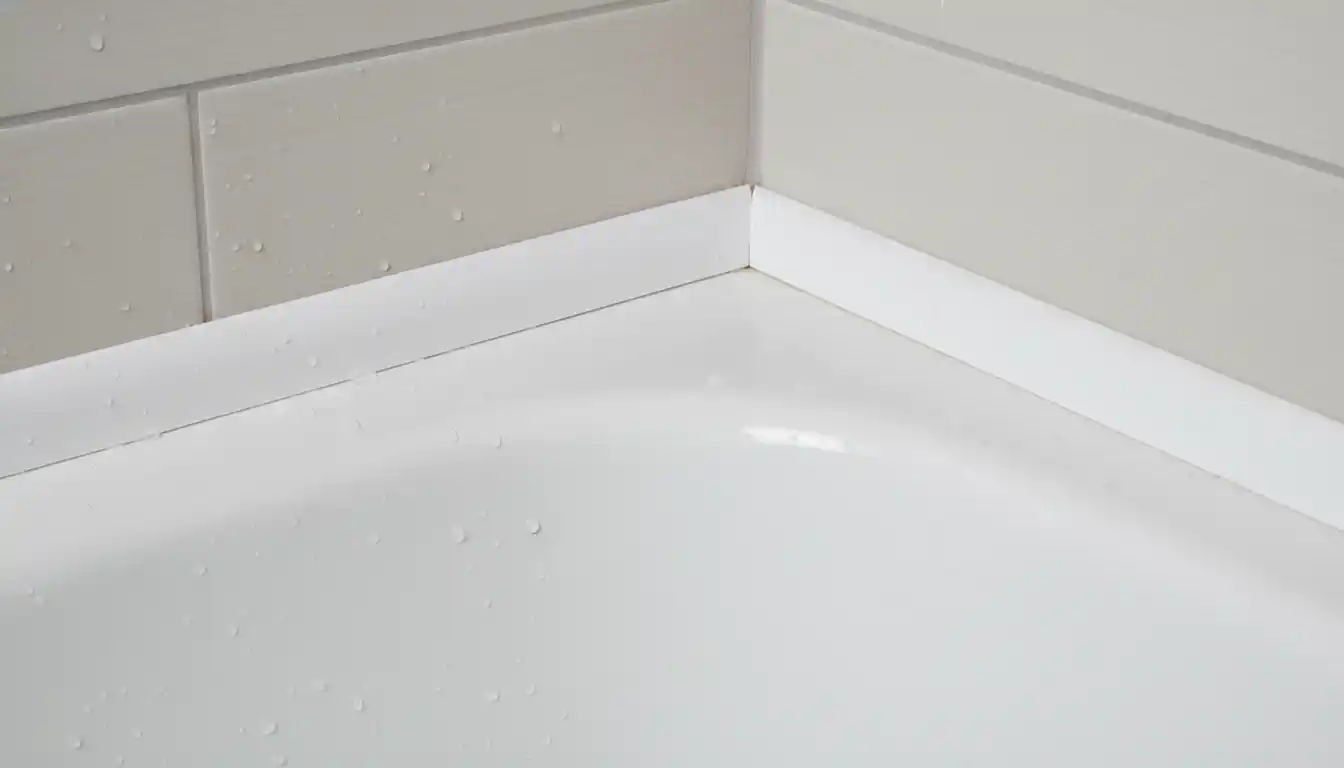
If you are trying to finish the vertical edge where a fiberglass tub surround meets the drywall, a quarter round is often too bulky. Instead, opt for a flat PVC lattice strip (usually 1/4 inch thick and 1 to 1.5 inches wide). This low-profile trim covers the ragged edge of the drywall and the flange of the shower surround without protruding into the room. For a more modern look, some renovators use PVC tile edging profiles, though these typically must be installed during the tiling process.
Flexible Self-Adhesive Strips
You may see rolls of “flexible caulk tape” or “self-adhesive trim” sold online. While these are convenient for a quick temporary fix, they lack the longevity of rigid cellular PVC. They often rely on a pre-applied adhesive backing that fails in high-humidity environments. Use these only as a last resort; rigid PVC installed with proper silicone adhesive is far superior for long-term value.
Critical Tools & Adhesives (The “Secret Sauce”)
The success of your installation comes down to chemistry. Bonding plastic to smooth surfaces like acrylic tubs or glazed tile requires specific adhesives.
The Right Adhesive: Silicone vs. Construction Adhesive
Do not use standard wood glue or water-based “Liquid Nails” intended for drywall. You need an adhesive that bonds to non-porous surfaces. 100% Silicone Sealant is often the best adhesive for attaching trim to the tub itself because it remains flexible. For attaching the trim to a painted wall, a polymer-based construction adhesive works well. If you are dealing with uneven wall surfaces, you might need to decide between a skim coat vs primer to ensure a smooth, bondable substrate before installation.
Cutting Tools
Cellular PVC cuts exactly like wood. You can use a standard miter saw for clean 45-degree angles. If you don’t have power tools, a simple miter box and hand saw will work perfectly. Because PVC doesn’t have a grain, it won’t splinter the way pine or oak might, making it very forgiving for beginners.
Step-by-Step Installation Guide
Follow this process to ensure a watertight seal that looks professional and lasts for years.
Step 1: Deep Cleaning & Prep
Adhesives will not stick to soap scum or old moldy caulk. Use a razor scraper to remove every trace of old sealant. Scrub the area with a bathroom cleaner, rinse, and then wipe the surfaces down with denatured alcohol. This removes invisible oils and guarantees a strong chemical bond.
Step 2: Measuring & Cutting Miters
Measure the length of your tub. If you are wrapping around corners, cut your PVC trim at 45-degree angles just as you would with wood molding. Dry fit the pieces to ensure they sit flush against both the floor and the tub. If you are installing trim against a wall, ensure the drywall is stable.
Step 3: The “Silicone Bed” Technique
Here is the pro tip that separates a waterproof install from a failure: apply a continuous bead of silicone on the back of the trim where it contacts the tub. This creates a primary waterproof seal hidden behind the trim. Do not rely solely on the caulk you apply after installation.
Step 4: Installing the Trim (Floating Floor Consideration)
If you have Luxury Vinyl Plank (LVP) or another floating floor, do not glue the trim to the floor. The floor needs to move freely with temperature changes. Apply your adhesive only to the side of the trim that touches the tub. Press the trim firmly into place. You can use painter’s tape to hold it tight while the adhesive cures.
Step 5: Final Sealing
Once the adhesive has cured (usually 24 hours), apply a final thin bead of high-quality kitchen and bath silicone along the top and bottom edges of the trim. This prevents water from wicking behind the molding via capillary action. Smooth the bead with a wet finger or a caulk finishing tool for a seamless look.
Expert Tips for a Long-Lasting Seal
Even with the right materials, environmental factors in a bathroom can affect your trim.
Thermal Expansion Management
Plastic expands and contracts more than wood when temperatures change. In a bathroom that cycles between hot showers and cold idle periods, this movement is real. Leave a tiny expansion gap (1/16th inch) at the ends of long runs of trim and fill it with flexible silicone rather than hard filler. If you hear creaking or popping sounds from your bathroom materials, you may want to learn how to stop thermal expansion noise to diagnose if your tub or floor is moving excessively.
Painting PVC Trim
Cellular PVC usually comes in a bright white that matches most tubs. However, if you need to paint it to match your decor, use 100% acrylic latex paint. Do not use oil-based paints, as they can take weeks to cure on PVC and may yellow over time. Because PVC is non-porous, it doesn’t hold paint as mechanically well as wood, so a high-adhesion primer designed for plastics is recommended if you are changing the color.
Heating and Comfort Upgrades
While you are working down at floor level, inspect the area for drafts. A gap under the tub is a common source of cold air. Sealing this with PVC trim helps, but if your bathroom remains chilly, you might consider other upgrades. For example, installing a supplemental heater can transform the space. Check out the toe kick heater pros and cons to see if utilizing the space under your vanity is a viable option for adding warmth.
Comparison of Bathtub Edge Solutions
To help you decide if PVC trim is the right choice for your specific bathroom, compare it against other common methods.
| Solution | Water Resistance | Durability | Installation Difficulty | Best Application |
|---|---|---|---|---|
| Cellular PVC Trim | Excellent (100% Waterproof) | High (Rot-proof, dent-resistant) | Medium (Requires cutting/gluing) | Permanent fix for floor-to-tub gaps & surround edges. |
| Wood Molding | Poor (Prone to rot) | Low (Swells with moisture) | Medium (Easy to cut, hard to paint seal) | Dry areas only (never against a tub). |
| Adhesive Caulk Tape | Fair (Adhesive often fails) | Low (Peels over time) | Very Low (Peel and stick) | Temporary quick fixes or rentals. |
| Silicone Caulk Only | Good (If gap is small) | Medium (Shrinks/discolors) | Low (Requires steady hand) | Gaps smaller than 1/8 inch. |
By choosing the right PVC profile and installing it with the correct flexible adhesives, you can banish the “bathtub gap” forever. This upgrade not only improves the aesthetics of your bathroom but also serves as a critical line of defense against water damage and mold growth in your subfloor.