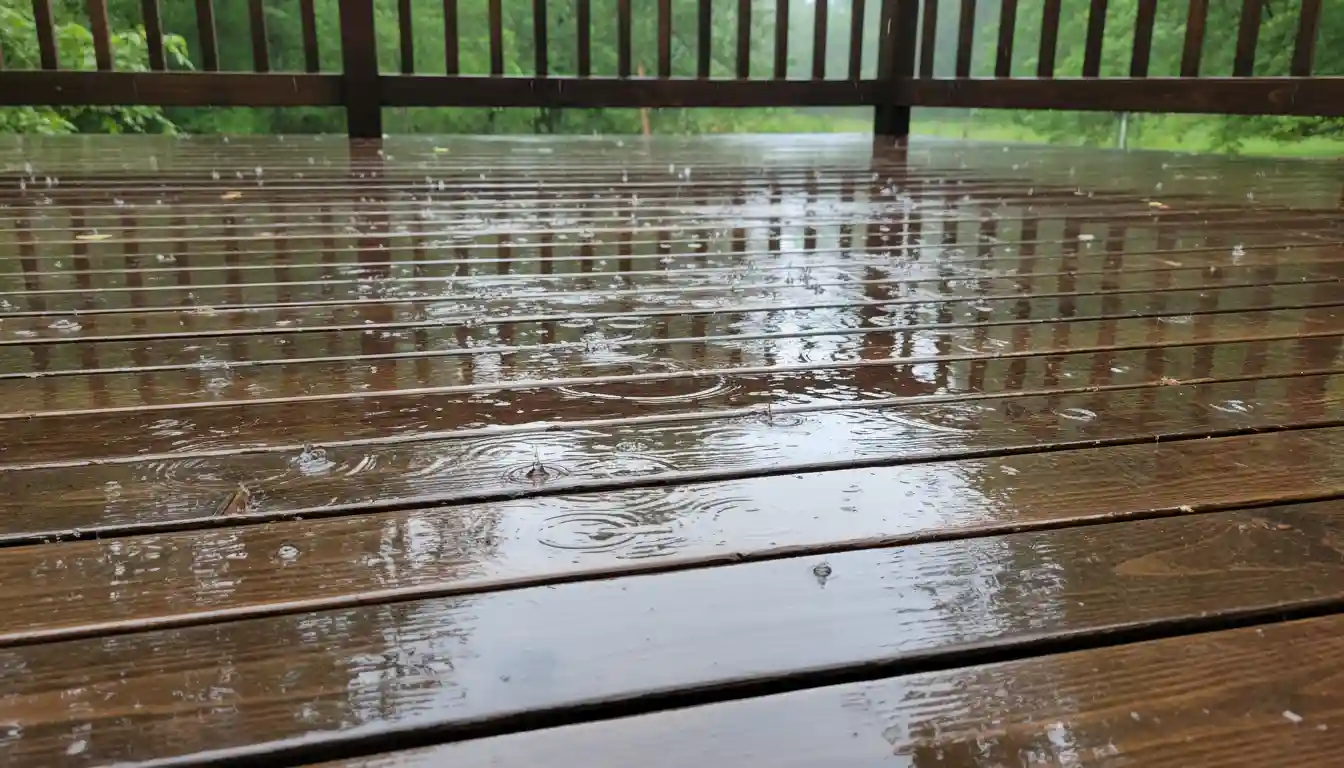
There is no feeling quite like the dread of seeing rain puddles on your beautifully, freshly stained deck. You spent hours preparing and applying the finish, only for the weather to betray you. The immediate fear is that all your hard work is ruined.
But before you panic, understand that standing water on a newly stained deck is not always a catastrophe. In many cases, it is a sign that the stain is doing its job, but how you handle the situation right now is critical to the final outcome.
This comprehensive guide will walk you through why water is pooling, how to assess the situation correctly, and the exact steps to fix any potential damage. We will also cover the professional techniques to ensure this never happens again.
Why Water Is Pooling on Your Freshly Stained Deck
When you see water beading or pooling on a new stain, it can mean two very different things. Understanding the cause is the first step toward the right solution. It is often a sign the stain is effectively repelling water, which is its primary function.
However, the duration the water stands and the curing stage of the stain determine if this water is harmless or harmful. The real issues arise when water sits for extended periods on a finish that has not fully hardened and bonded with the wood.
The Critical Curing Process Explained
Many people confuse “drying” with “curing.” A deck stain can be dry to the touch within hours, but it may not be fully cured for days or even weeks. This distinction is the most important factor in this situation.
Drying is simply the evaporation of the solvent—either water or mineral spirits—from the stain. Curing is the chemical process where the stain’s resins harden, cross-link, and bond deeply with the wood fibers to form a protective shell. Water interrupting this chemical process is the primary cause of damage.
Common Causes of Excessive Puddling
If you see large, persistent puddles, it often points to an underlying issue. One of the most common mistakes is the over-application of stain. When too much product is applied, it cannot all penetrate the wood pores.
Instead, it forms a thick film on the surface that prevents proper curing and traps solvents. Water then sits on top of this uncured film, leading to spots and peeling. Other factors include poor deck drainage from low spots or weather conditions like high humidity, which significantly slow down the curing time.
Assessing the Damage: What to Look For
Your first instinct might be to grab a towel and start wiping, but that can do more harm than good. You must first wait until the deck surface is completely dry to the bone. Only then can you accurately assess the condition of the stain.
Rushing this step can lead you to misdiagnose the problem or even create new ones by smearing the uncured finish. Patience is your best tool at this stage of the repair process.
Telltale Signs of Water Damage on New Stain
Once the wood is thoroughly dry, inspect the surface closely in good daylight. Look for specific indicators that the water has compromised the finish. These signs will tell you what your next steps should be.
Key signs of damage include milky, cloudy, or light-colored water spots where puddles sat. You may also see peeling or flaking, which suggests the stain’s adhesion failed. If the surface remains sticky or tacky long after it should be dry, the curing process was definitely interrupted.
When It’s Not a Problem: Normal Water Beading
It is crucial to recognize what a properly performing stain looks like. Healthy water repellency appears as tight, distinct beads of water that stand up on the surface. These beads should roll off easily or evaporate without a trace.
If the rain was light and the water was gone within a few hours, leaving behind a uniform finish, you have likely dodged a bullet. This means your stain was cured enough to withstand the moisture and is performing exactly as intended.
The Definitive Action Plan: How to Fix Water Damage on New Stain
If you have confirmed that the standing water left its mark, do not worry. Most issues are correctable without having to strip the entire deck and start over. Follow these steps methodically for a professional-looking repair.
The key is to use the least aggressive method first. The severity of the damage will dictate the intensity of the repair, from a simple re-application to targeted sanding and blending.
Step 1: Let It Dry Completely and Then Some
Patience is paramount. Before you attempt any fix, you must allow the deck to dry for several consecutive warm, sunny days. This ensures all moisture has evaporated from the wood and the stain has cured as much as it can under the circumstances.
Trying to fix a damp deck will trap moisture and cause even more significant problems with adhesion and mold down the line. Good airflow and low humidity are your best friends during this waiting period.
Step 2: Gently Remove Any Debris
Once dry, you may notice leaves or other debris stuck to tacky spots. Use a soft brush or a leaf blower on its lowest setting to gently remove them. Avoid scraping or using harsh tools that could gouge the soft finish.
This simple cleaning prepares the surface for the specific repair method you will need to use. It ensures you are working on a clean canvas, which is essential for any finish repair.
Fixing Minor Issues: Water Spots and Blotchiness
For light, cloudy water spots or minor discoloration, you can often fix the finish without sanding. The goal is to reactivate the top layer of the stain to allow the blemishes to melt back into the finish.
A highly effective professional technique for oil-based stains is re-emulsification. Apply a very thin coat of the same stain to the affected area with a clean, lint-free rag. This fresh coat’s solvents can soften the damaged layer, allowing the pigments to redistribute evenly as it cures again. Always test in a hidden spot first.
Tackling Major Problems: Peeling and Persistent Tackiness
If the stain is peeling or remains stubbornly sticky, a more robust repair is necessary. This indicates the stain did not bond with the wood in those areas. This requires removing the failed coating and starting fresh on the affected boards.
Begin by sanding only the damaged areas using 100-120 grit sandpaper. Your goal is to remove the compromised stain and slightly feather the edges into the good areas. Achieving a seamless repair here is similar to making a drywall patch flush with the surrounding wall; careful blending is everything.
After sanding, wipe the area meticulously with a tack cloth to remove all dust. Then, apply a very thin coat of stain to the bare wood, using a rag or artist’s brush for precision. Wipe away any excess immediately to ensure it blends seamlessly with the surrounding finish.
Proactive Prevention: Avoid Standing Water Issues in the Future
The best way to fix a problem is to prevent it from ever happening. Protecting your deck finish from water damage starts long before the first drop of rain falls. It is all about proper preparation, application, and timing.
By integrating these professional practices into your staining routine, you can guarantee a durable, beautiful finish that stands up to the elements from day one. These steps are not difficult, but they are non-negotiable for a quality job.
The Golden Rule: Application is Everything
The single most common cause of premature deck stain failure is over-application. Always remember that penetrating deck stain is meant to be in the wood, not on it. Apply thin, even coats and always wipe back any excess stain that has not soaked in after 10-15 minutes.
This “wipe-off” method is crucial. It prevents the formation of a surface film, which is prone to peeling and water spotting. A proper application ensures the wood itself is sealed, not just covered.
Timing is Critical: Master the Weather Forecast
Becoming an amateur meteorologist is part of any exterior staining project. You must look for a clear, dry window of at least 48-72 hours after you finish staining. This gives the product adequate time to cure without interruption.
Pay close attention not just to rain, but also to temperature and humidity. Most stains cure best in mild, dry conditions. Staining on a hot, humid day can slow the curing process dramatically, leaving your deck vulnerable for longer.
| Environmental Factor | Ideal Condition | Poor Condition (Avoid) | Reasoning |
|---|---|---|---|
| Temperature | 50-90°F (10-32°C) | Below 50°F or Above 90°F | Temperatures that are too low slow curing; too high can cause the stain to dry too fast, preventing penetration. |
| Humidity | 40-60% | Above 80% | High humidity slows the evaporation of the solvent, significantly extending the curing time and risk of water damage. |
| Forecast | 3+ consecutive dry days | Rain within 24-48 hours | Provides a safe window for the stain to become sufficiently water-resistant before being exposed to rain. |
| Sunlight | Overcast or indirect sun | Direct, intense sunlight | Direct sun can “bake” the stain, causing it to dry on the surface before it can penetrate and bond with the wood. |
Long-Term Deck Health: Beyond the Stain
A healthy deck is one that handles water efficiently all year round. Ensure the gaps between your deck boards are clear of leaves and debris. This allows for proper ventilation and lets water drain through instead of pooling on top.
This principle of preventing trapped moisture is universal in home maintenance. Whether it is keeping deck board gaps clear or sealing porous surfaces that can make grout look wet in spots, controlling moisture is key to longevity. Also, check that your deck has a slight slope away from your house to encourage runoff.
Frequently Asked Questions (FAQ)
There are a few common questions that always come up when dealing with new deck stain and weather. Here are clear, straightforward answers to the most pressing concerns.
How long after staining a deck can it get wet?
This depends heavily on the type of stain (oil vs. water-based) and the weather conditions. As a general rule, most stains need a minimum of 24 hours before they can handle a light shower. For heavy, pooling rain, a 48-72 hour dry window is much safer.
Will morning dew ruin fresh deck stain?
Typically, no. Morning dew is a light condensation that evaporates quickly with the morning sun. It is rarely enough volume to cause the puddling that leads to water spots. The primary enemy is prolonged contact with standing water from rainfall.
Can I use a tarp to cover my newly stained deck?
This is extremely risky. If you must cover the deck, the tarp cannot touch the stained surface. A tarp laid directly on the deck will trap solvents, stick to the finish, and create a blotchy, uneven cure. You must build a tent-like frame to suspend the tarp well above the deck, allowing for constant airflow underneath.
My deck stain is still tacky after a week. What should I do?
A tacky finish after a week is almost always caused by over-application. To fix this with an oil-based stain, dampen a rag with mineral spirits and wipe the surface. This will remove the excess, sticky stain that failed to penetrate. This frustrating problem requires a specific solution, much like when you can’t remove your Kohler faucet handle; brute force is not the answer.
Your Deck Is Not Ruined
Seeing standing water on your new deck stain is alarming, but it is usually a fixable problem. The key is to wait, assess properly, and apply the correct, measured solution. Do not rush to a drastic conclusion like stripping the entire deck.
By understanding the difference between drying and curing, learning to apply stain correctly, and respecting the weather, you can achieve a flawless, durable finish. Your deck is a significant investment, and with this knowledge, you are now equipped to protect it effectively.